
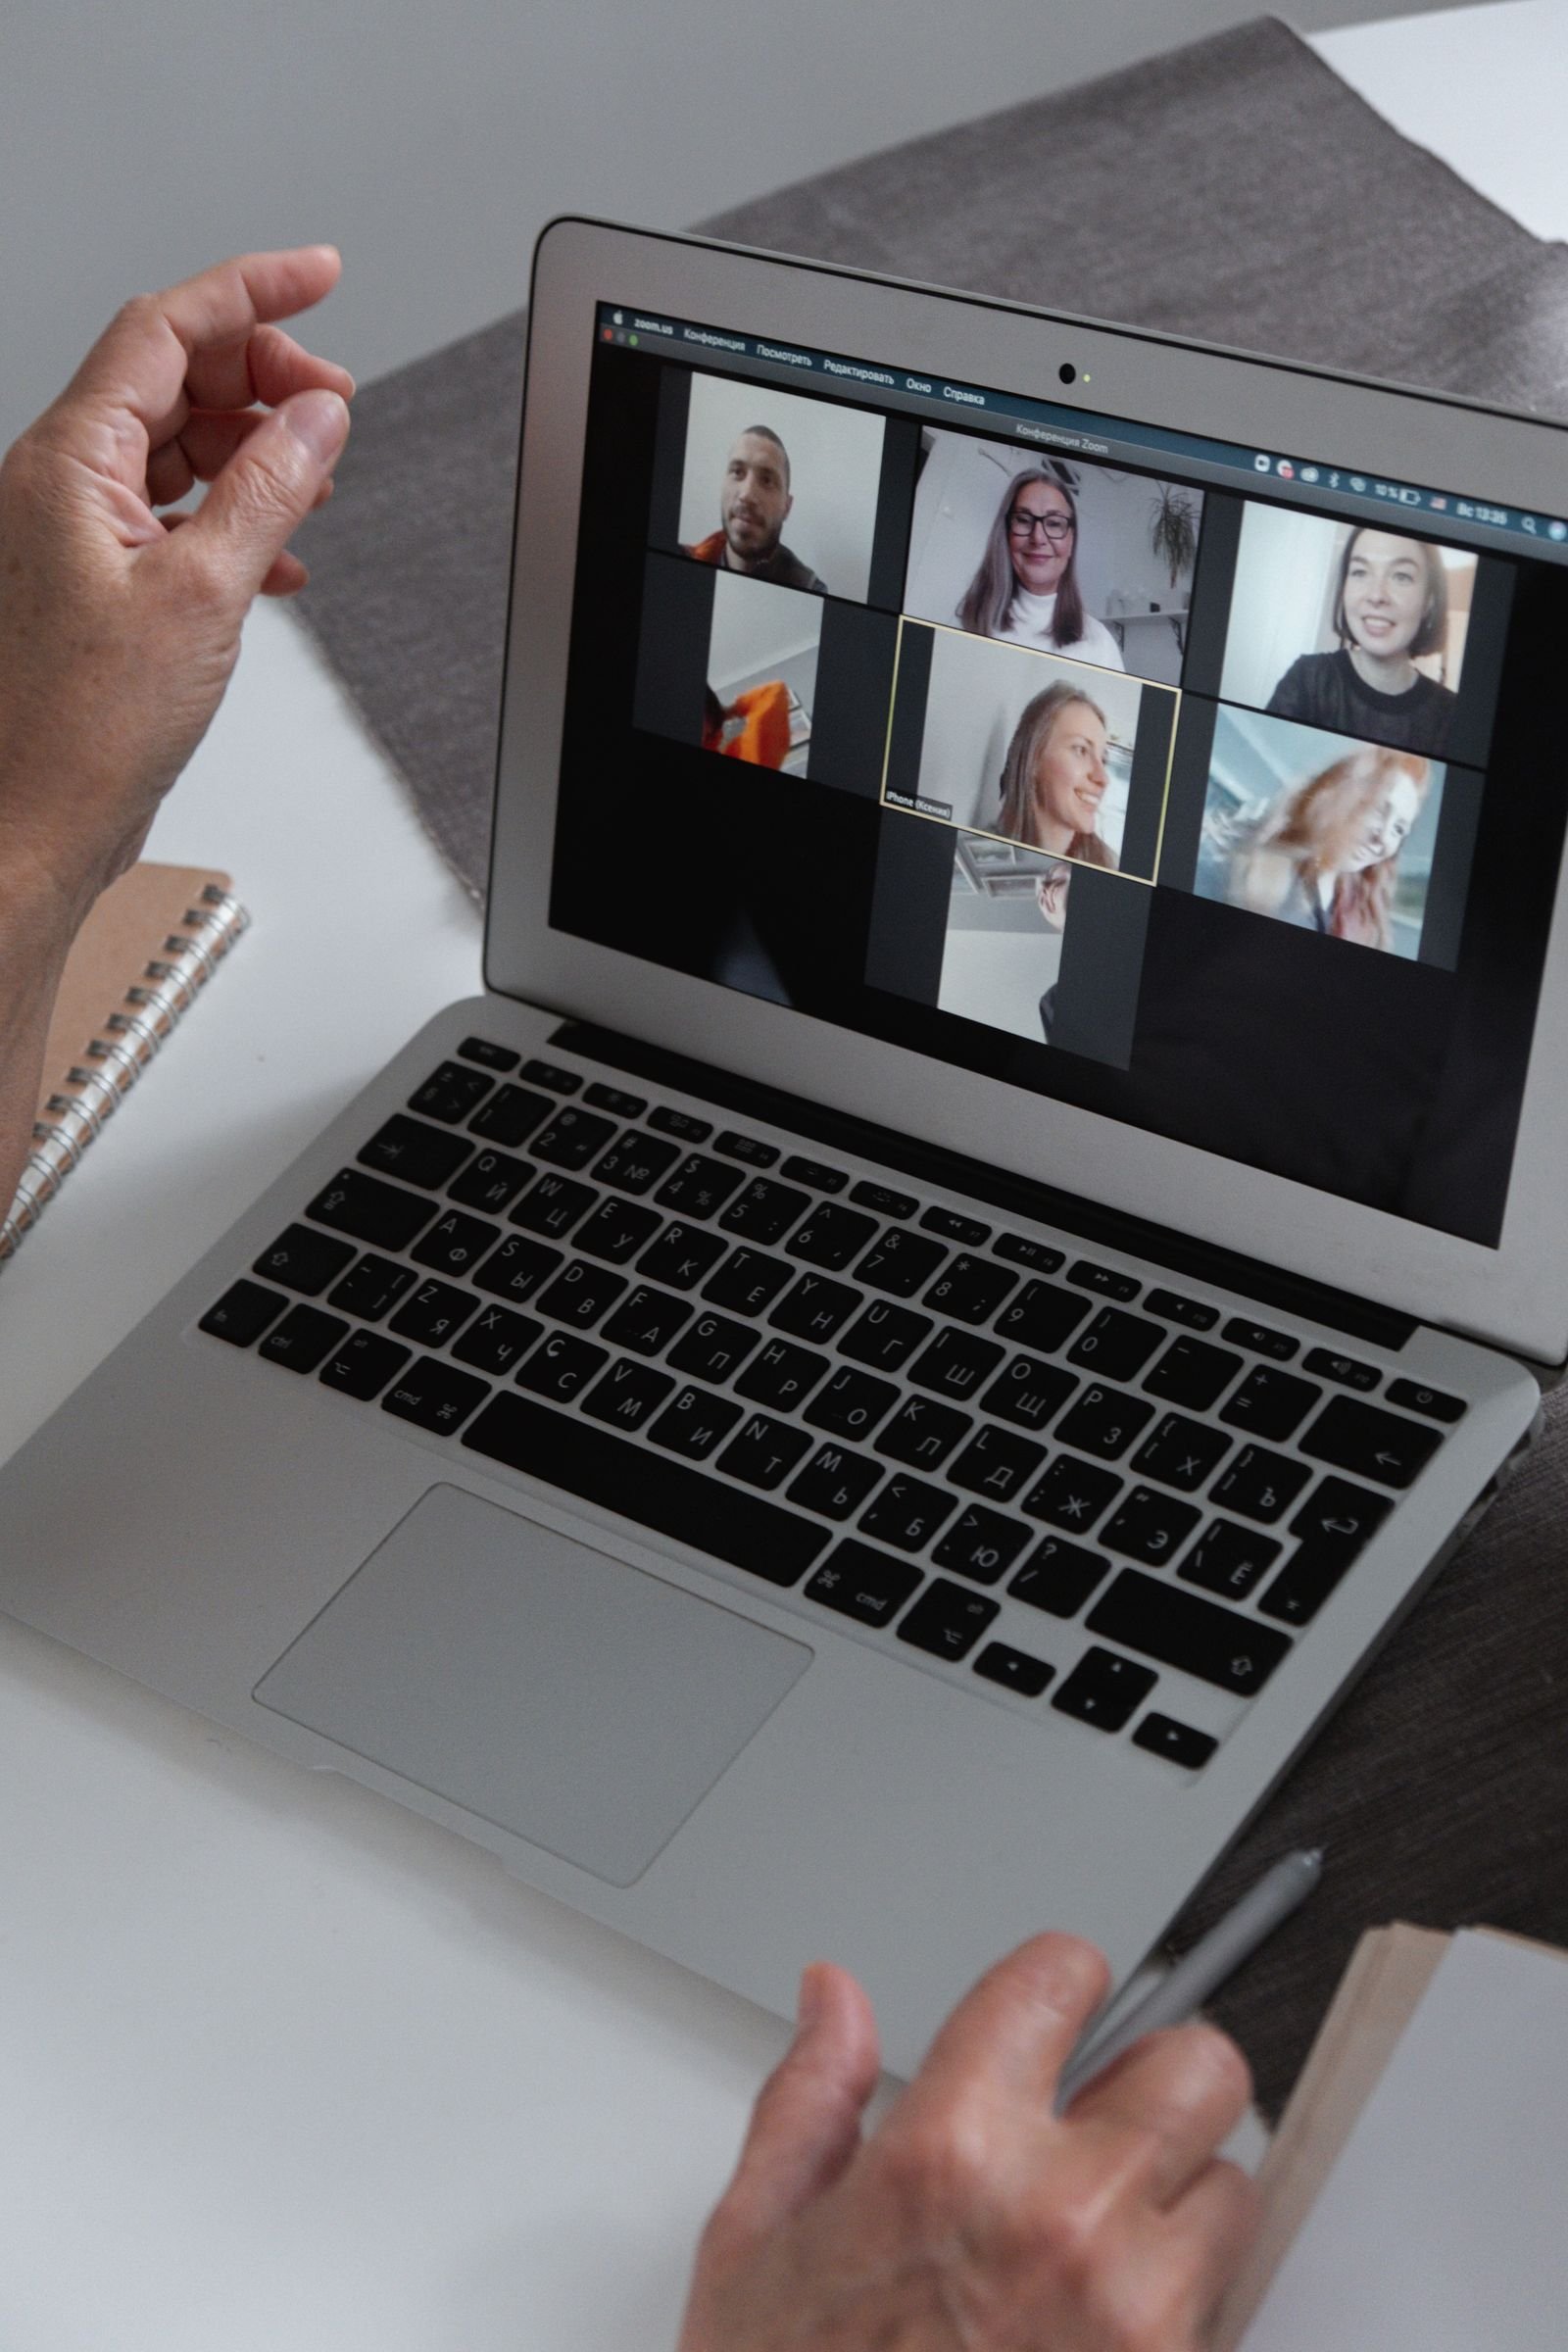
Picture the scene. You join an important video call from your home office in the morning, your notes are ready and your ideas are sharp, but the moment your camera switches on, your face is a dark shape against a bright window. Your colleagues can hear you fine, yet they keep asking you to repeat yourself, and you can see them squinting at their screens. Learning how to improve video call lighting at home is not about buying studio gear or rebuilding your room. It comes down to one simple fact: a webcam can only record the light that reaches your face, and most home offices light the room behind you instead. Put the light in front of you, soften it a little, and test it once, and you will look clear and professional on every call from now on. This guide shows you how to do it with free daylight first, one cheap lamp second, and a few small fixes that cost nothing at all.
Why your webcam makes you look worse than you really do
Your eyes are remarkable at adjusting to light and dark in the same instant. You can sit in a room with a bright window behind you and still see the face of the person across the table clearly, because your brain balances the bright and dark parts of the scene without you even noticing. A webcam cannot do that. It has a much narrower range, which means it must choose one brightness for the whole picture, and it usually chooses the brightest thing in the frame. When that brightest thing is the window behind you, your face goes dark by comparison, and no amount of smiling will fix it.
This is why a room that feels bright and pleasant to sit in can still make you look gloomy on camera. The light in the room is fine for your eyes, but the camera sees a different scene. It sees a bright rectangle of sky and a dark shape in front of it, and it records exactly that. The good news is that the fix is simple once you understand what the camera needs. It needs light falling on your face from the front, at about the same brightness as the wall behind you, so that your face becomes the brightest thing in the frame instead of the window.
Many people try to solve this by buying a better webcam, and they are often disappointed. A sharper camera in the same bad light still records a dark face, only in higher detail. Light matters far more than the camera, and it matters more than the laptop, the headset, or the internet connection. Get the light right first, and even an old built in webcam can produce a clear and friendly picture. Get it wrong, and the most expensive camera on the market will still make you look like a shadow.
How to improve video call lighting at home with window light
Daylight is the best light you will ever get for free, and it is also the softest and most flattering light available in most homes. The trick is to use it in the right direction. Light that falls on your face from the front fills in shadows, evens out your skin tone, and makes your eyes look bright and alert. Light that comes from behind you does the opposite, turning you into a silhouette while the room behind you glows. Everything in this section comes down to that one idea: turn yourself so the window lights your face.
Face the window, never sit with your back to it
Move your desk so that you face the window while you sit at it, with your laptop between you and the glass. This single change fixes more video call lighting problems than any purchase. When you face the window, daylight falls evenly across your face, your eyes look clear, and the camera can expose for your face instead of for the sky. If your desk cannot move, turn your chair around so the window is in front of you, even if that means your back faces the room. On a call, what matters is the picture your colleagues see, not the view you see.
If the window is to your side rather than in front of you, that can work well too. Side light gives your face a little shape and depth, which many people find more natural than flat front light. The key is to keep the window on the side that lights the front of your face, not the side that leaves half your face in shadow. Sit close enough to the window that the light reaches you, usually within one to two metres, and check your camera preview to see the result. A small move of the chair can change the picture completely.
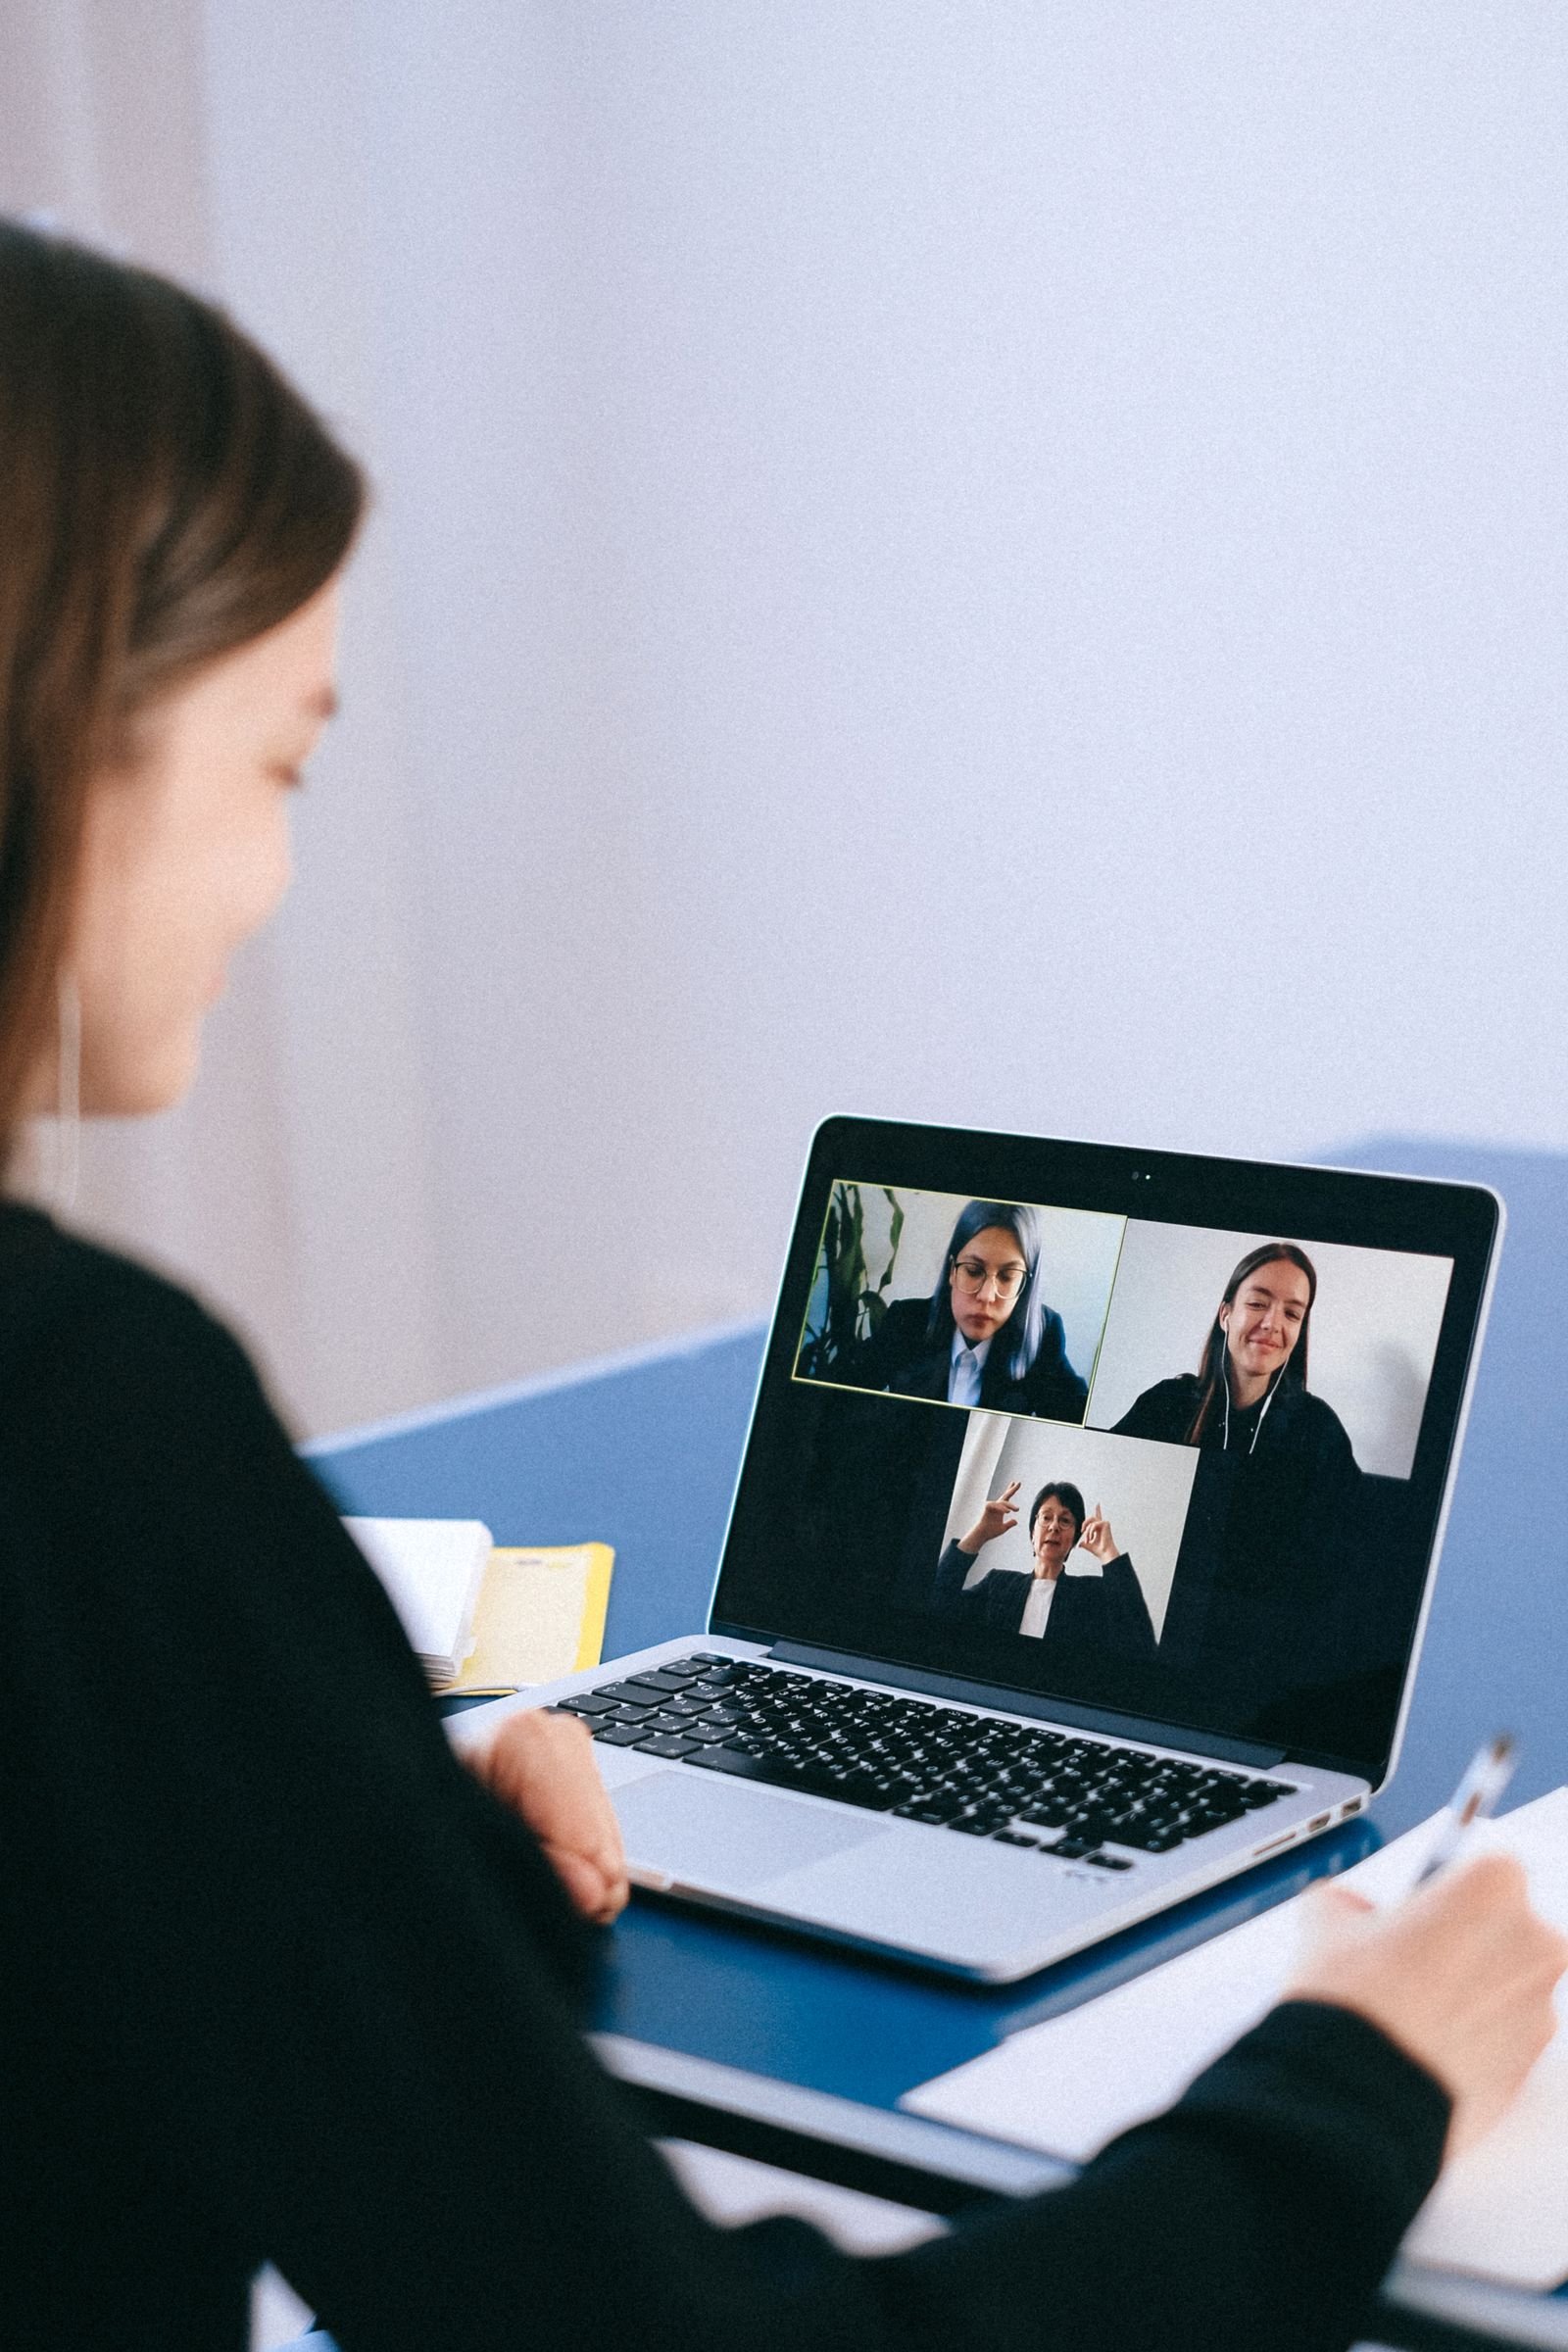
Watch out for the common trap of putting your desk directly in front of a window with your back to it. It feels natural, because you get a pleasant view while you work, and the light on your desk is lovely for reading. But the moment a call starts, the camera sees the bright window and your dark outline, and your colleagues see almost nothing of your face. If you love the view, enjoy it between calls, then turn around when the camera goes on. The view will still be there when the meeting ends.
Soften harsh sunlight with a sheer curtain
Direct sun on your face is too much of a good thing. It creates hard shadows under your eyes and chin, makes you squint, and can wash out one side of your face while the other stays dark. A sheer curtain, a thin white sheet, or even a piece of white baking paper taped to the glass will soften the light beautifully. The curtain spreads the sunlight out, turning a harsh beam into a gentle glow that wraps around your face instead of striking it.
Overcast days are a gift for video calls, because clouds do exactly the same job for free. A grey sky is nature’s softbox, and it produces the kind of even, flattering light that photographers pay good money to copy. If your call falls on a cloudy morning, sit facing the window and enjoy the best light of the week. On bright days, close the sheer curtain and let it do the work. The goal is always the same: soft light from the front, not hard light from any direction.
Watch the light change through the day
Daylight moves, and a setup that looks perfect at nine in the morning can turn into a glare problem by three in the afternoon. The sun shifts across the sky, clouds come and go, and the light in your room changes with them. This is why a quick camera check before each important call matters so much. Open your video preview, look at your face the way your colleagues will see it, and adjust the curtain or your chair if the light has changed.
Morning light tends to be softer and cooler, while afternoon sun can be strong and warm, especially through a west facing window. If your afternoon calls often look harsh, try moving your desk a little further from the window in the afternoon, or close the curtain a little more. Some people keep a simple routine: window light in the morning, a desk lamp in the afternoon, and both together on dark winter days. The habit of checking the light takes five seconds, and it saves you from an hour of looking like a shadow.
Add one lamp and put it in the right place
Window light is wonderful, but it disappears in the evening, and it can be unreliable on dark winter days. That is where one good lamp earns its keep. You do not need a ring light, a panel light, or any piece of equipment sold for creators. An ordinary desk lamp with an adjustable head, placed in the right spot, does the job for most people. The lamp is your backup for the hours when daylight cannot help, and it gives you the same picture every time, whatever the weather is doing outside.
Choose a bulb colour that looks natural on camera
Light has a colour, and your camera notices it even when your eyes do not. Warm bulbs, the yellowish kind often used in living rooms, can make your skin look orange on camera. Very cool bulbs, the bluish kind used in some offices, can make you look pale and washed out. The sweet spot for video calls is neutral white light, around 4000 to 5000 Kelvin, which looks close to daylight and keeps skin tones honest. Most bulb boxes print the Kelvin number on the side, so check before you buy.
Just as important as the colour is consistency. Do not mix a warm lamp with cool daylight, or a cool lamp with warm ceiling lights, because the camera struggles to balance two different colours at once and your face ends up with a strange tint. Pick one colour temperature for the lights that face you, and stick with it. If your room has warm ceiling lights, turn them off during calls and use only your neutral lamp and the window. One colour of light is always easier for a camera than two.
Place the lamp behind your camera at eye level
The best place for your lamp is just behind your laptop, at about the same height as your eyes, pointing at your face. This puts the light where the camera is, so it falls on your face from the front and fills in the shadows under your eyes and chin. A lamp sitting low on the desk and pointing upward creates a spooky effect, like a torch held under your chin, so raise it if you can. A small stack of books under the lamp base works well, and a lamp with a bendable neck lets you aim it exactly where you need it.
Keep the lamp close enough to make a difference, usually within an arm’s length of your face, but far enough back that it stays out of the camera frame. If the lamp appears in your video, it will distract everyone on the call, so check the preview and move it a few centimetres to the side if needed. The lamp should light you, not star in the meeting. A lamp placed slightly to one side of the camera, at about 30 to 45 degrees, gives your face a little shape without casting hard shadows, and many people find this angle the most flattering of all.
Two lamps beat one bright lamp
If one lamp leaves one side of your face in shadow, add a second smaller lamp on the other side of your camera. Two gentle lights from opposite sides cancel out each other’s shadows and produce a soft, even glow that a single bright lamp cannot match. You do not need matching lamps for this. A desk lamp on one side and a small clip on light on the other side will do, or even a second lamp borrowed from another room for the duration of an important call.
Your computer screen can help here too. A large bright monitor throws a surprising amount of soft light onto the front of your face, and opening a plain white page or a bright document before a call can lift the shadows a little. It will never replace a real lamp, but as a free fill light it is better than nothing, especially in the evening when the window has gone dark. Think of your lighting as a team: the window or the lamp does the main work, and the screen and a second small light fill in the gaps.
Fix your background and kill the glare
Good lighting is not only about your face. The background behind you shapes how the camera reads the whole picture, and a bright or messy background can pull the camera’s attention away from you. A plain wall, a tidy shelf, or a closed door all work well. What you want to avoid is a bright window in the frame behind you, a mirror that catches the light, or a shiny surface that throws reflections into the lens. If the camera can see a bright window over your shoulder, it will expose for that window, and your face will go dark again, even if your lamp is doing its best.
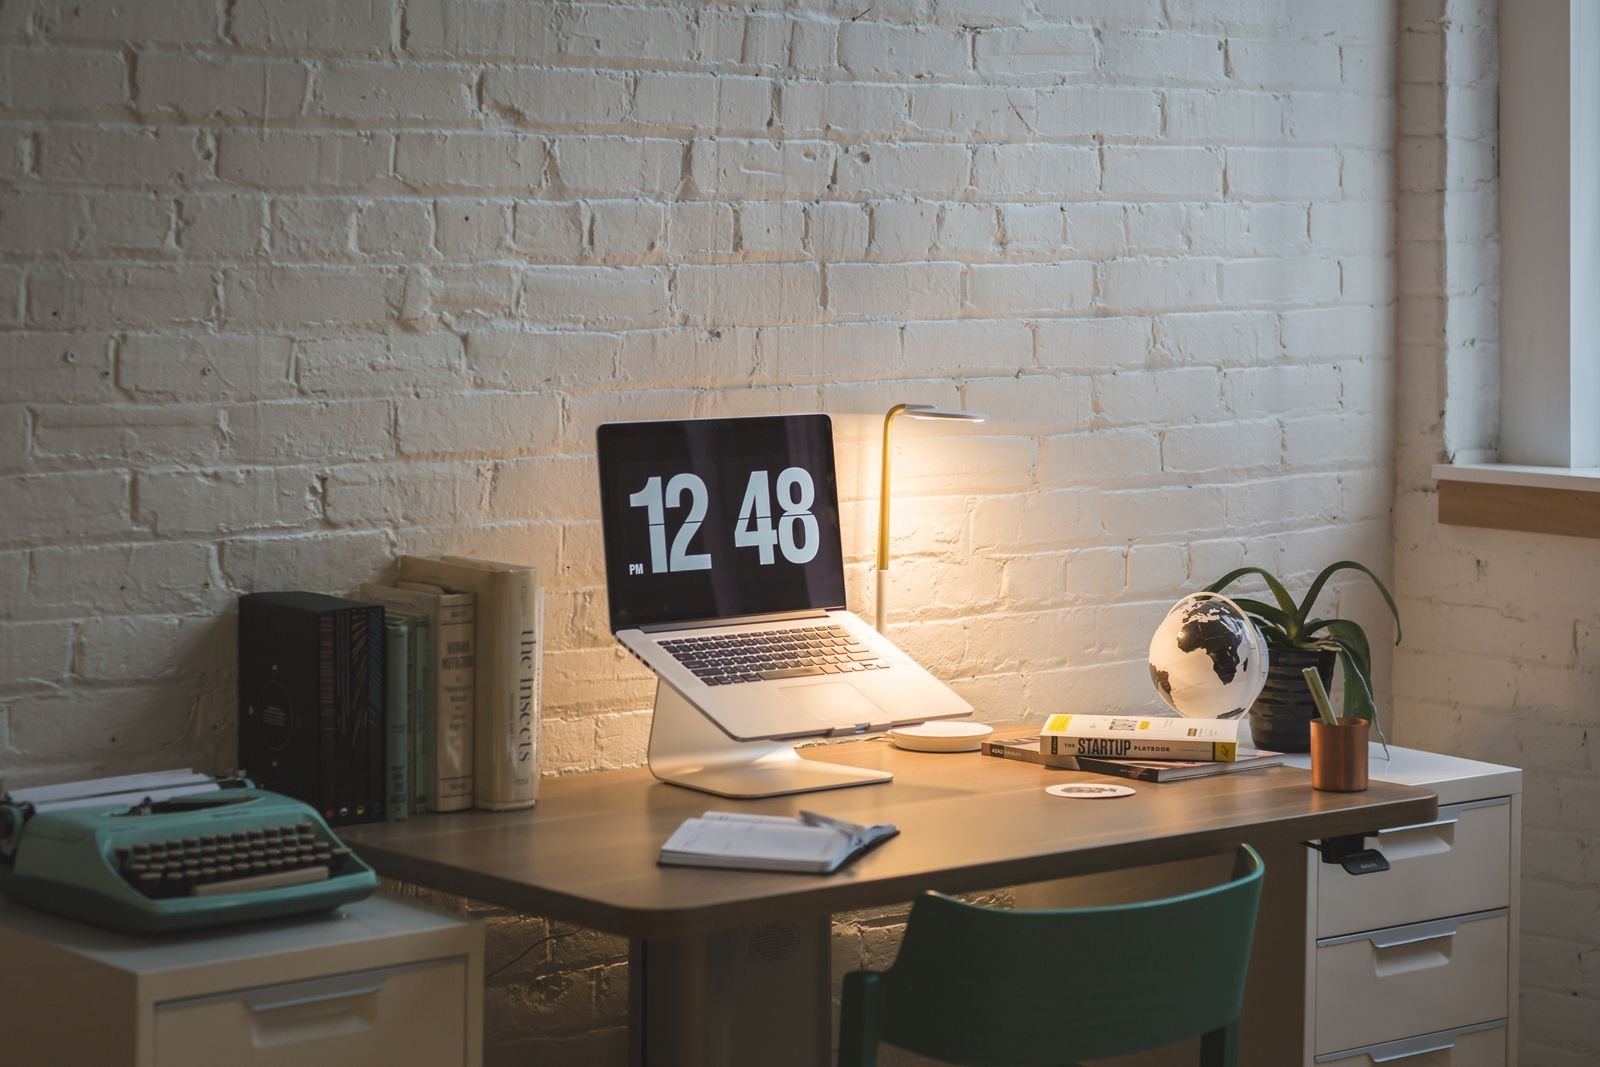
Close the blinds behind you, or turn your chair so the window is out of frame entirely. If you cannot move the window out of the shot, a sheer curtain will dim it enough that the camera stops fighting it. The same idea applies to lamps and ceiling lights behind you. A bright bulb in the frame is a distraction and a source of glare, so switch off any light that sits behind you and within view of the camera. Your face should be the brightest thing in the picture, not the lamp on the shelf behind your head.
If you wear glasses, you will know the frustration of light reflecting off the lenses and hiding your eyes. The fix is usually a small change in angle. Move your lamp a little to the side, tilt your screen down slightly, or raise the lamp a few centimetres so the reflection moves out of view. A lamp with a diffuser, or a piece of white paper taped over the bulb as a makeshift shade, softens the light and reduces reflections. Check the preview with your glasses on, because the glare that is invisible to you can be obvious to everyone else on the call.
Sound matters on a call too, and a noisy laptop can undo all your good lighting work. If your machine roars like a small jet whenever it works hard, your colleagues will hear the fan more than your voice. If that sounds familiar, read our guide on how to stop laptop fan noise without opening it before your next big meeting, because a quiet laptop and a clear picture together make a far better impression than either one alone.
The five minute test before every important call
All the advice in this guide on how to improve video call lighting at home comes together in one small habit: test your picture before the call starts. Open your video app a few minutes early, switch on your camera preview, and look at yourself the way your colleagues are about to see you. Is your face brighter than the wall behind you? Does your skin look natural, not orange and not washed out? Is there a bright window or a shiny reflection anywhere in the frame? Can you see your eyes clearly? If the answer to all four questions is yes, you are ready. If any answer is no, fix that one thing before you join.
The test also catches the small details that ruin otherwise good lighting. A lamp that drifted out of place, a curtain left open after lunch, a ceiling light switched on by someone else in the house, all of these show up in the preview in seconds. It is far better to notice them in the preview than to hear about them from a colleague halfway through your presentation. Make the test part of your routine, like checking your notes or pouring a glass of water, and it will soon feel automatic.
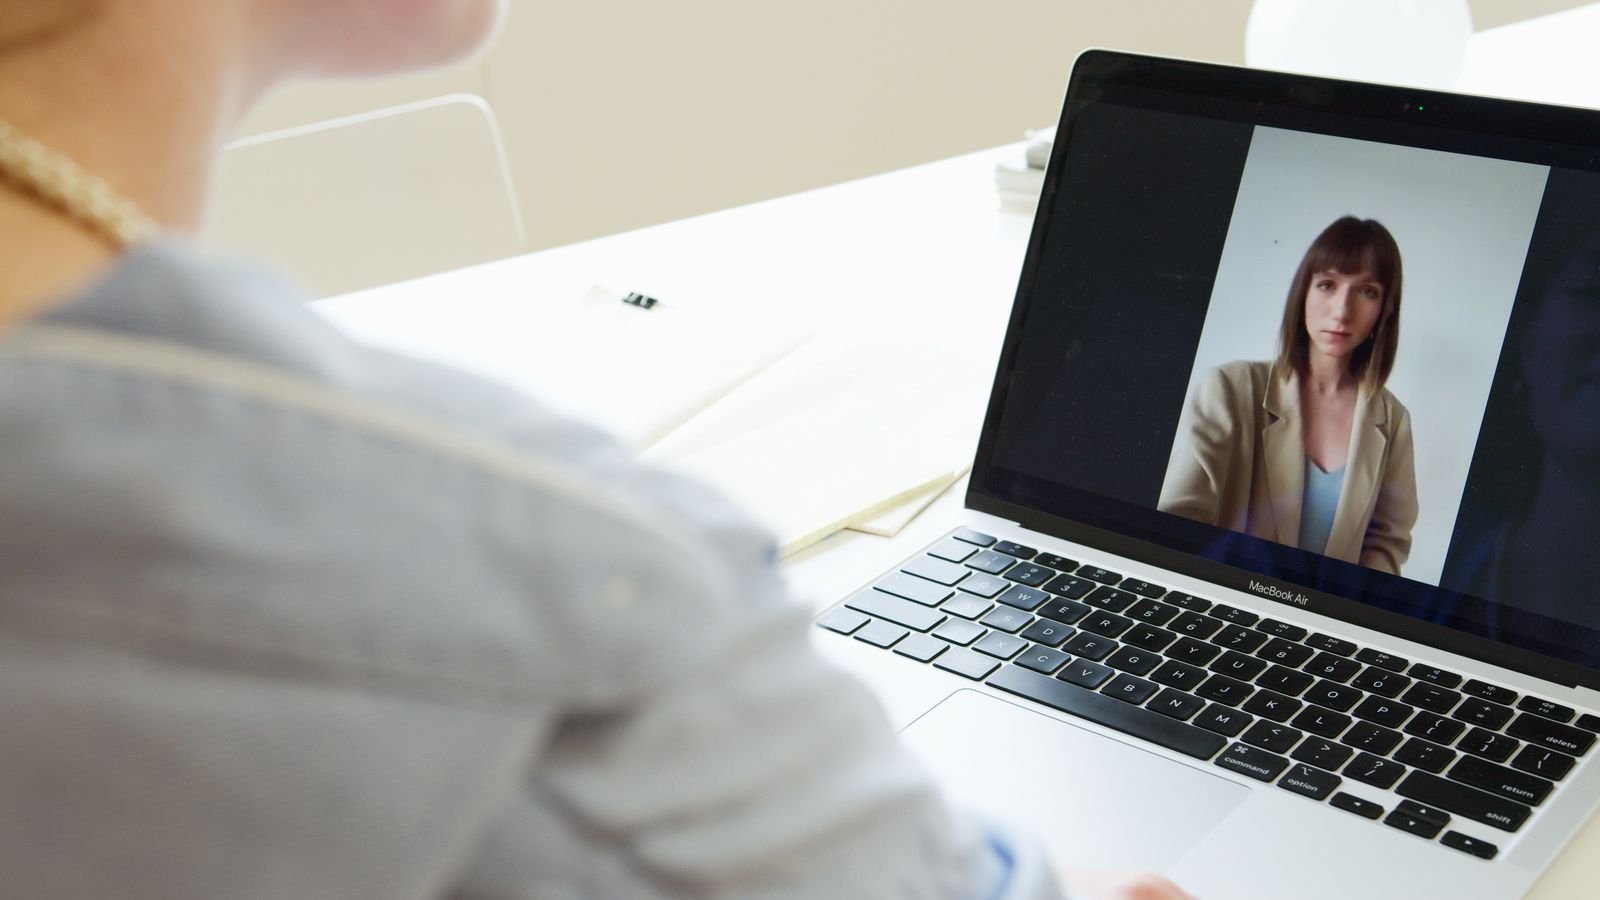
Try the same test at different times of day, because the light in your room changes as the sun moves. A setup that looks perfect in the morning may need the curtain closed or the lamp switched on by mid afternoon, especially in a room with a west facing window. If you work from home every day, spend one week testing at different hours and note what works at each time. By the end of the week you will know your room’s rhythm, and you will be able to set up your light in seconds without thinking about it. Your voice matters as much as your picture on a call, and if you want to sound as clear as you now look, our guide on how to record a professional voicemail greeting for small business explains how to speak clearly and confidently whenever you record a message.
When a ring light is worth buying
After trying the window and a desk lamp, some people still want a little more. That is when a ring light starts to make sense. A ring light is a circle of LED bulbs that sits around your camera, throwing soft and even light directly onto your face from the front. It removes shadows almost completely, which is why creators and presenters love it, and it gives a consistent picture whatever the time of day. If you spend hours on video every day, or you present to clients and want to look your best, a ring light is a reasonable purchase.
Buy one that lets you change both the brightness and the colour temperature, because a fixed light will be too harsh on some days and too dim on others. A light around 25 to 30 centimetres across suits a desk, and a small tripod or clip mount keeps it steady behind your laptop. You do not need the largest or most expensive model. A modest ring light used well beats a large one used badly, and the same rules still apply: keep it in front of you, keep it out of the frame, and match its colour to the rest of your light.
For most people, though, a ring light is a luxury rather than a necessity. Try the free fixes first. Face the window, soften the sun with a curtain, add a desk lamp at eye level, and test your picture before each call. If that combination already gives you a clear and flattering picture, save your money. Buy a ring light only when the free and cheap options have been tried and you still want a steadier or softer result. Many people find that the window and one lamp are all they ever need.
Mistakes that ruin video call lighting
Most bad video call lighting comes from a handful of habits that feel sensible but work against the camera. The most common is relying on a single ceiling light directly above you. Overhead light casts shadows under your eyes, your nose and your chin, which is why it makes everyone look tired, even after a good night’s sleep. Always add a light in front of you to fill in those shadows. The ceiling light can stay on as background light, but it should never be your only light.
The second mistake is mixing light colours, as described earlier. A warm lamp on one side and cool daylight on the other confuses the camera’s white balance, and your face ends up with one warm cheek and one cool cheek. Stick to one colour temperature for the lights that face you. The third mistake is buying gear before trying the free options. A new ring light in a room with a bright window behind you will still leave you in silhouette, because the window wins. Fix the direction of your light first, then decide whether you need to buy anything at all.
The fourth mistake is forgetting the test. People set up their lighting once, on a bright morning, and then never check it again. Weeks later they wonder why their afternoon calls look terrible. Light changes through the day and through the seasons, and a five second check before a call catches every change. The fifth mistake is sitting too far from the light. A lamp across the room does almost nothing for your face, because light fades quickly with distance. Keep your lamp close, within an arm’s length, and let it do its work.
Conclusion
Learning how to improve video call lighting at home comes down to three ideas that are easy to remember. First, put the light in front of your face, not behind you, and let free window light do the heavy lifting whenever you can. Second, add one lamp at eye level behind your camera for the evenings and the dark days, and keep its colour matched to the rest of your light. Third, test your picture for a few seconds before every important call, because light changes through the day and a quick preview catches every problem before your colleagues see it. Pick the setup that fits your room, keep your face brighter than the wall behind you, and you will look clear, confident and professional on every call. If you spend the hours between calls typing up notes and follow up messages, our guide on how to use voice typing to write faster can help you work with less strain on your wrists and your time.
Frequently asked questions
Can I improve video call lighting at home without buying anything?
Yes. Sit facing a window so daylight falls on your face, soften harsh sun with a sheer curtain, and use your bright computer screen as a fill light. These three free changes fix most video call lighting problems with no purchase at all.
What colour light is best for video calls?
Neutral white light around 4000 to 5000 Kelvin looks most natural on camera, because it is close to daylight and keeps skin tones honest. Avoid mixing warm and cool lights, because the camera struggles to balance two colours at once.
Why do I look dark on video calls even in a bright room?
Your camera exposes for the brightest thing in the frame, which is often a window or a bright wall behind you. Your face then goes dark by comparison. Face the window instead, close the blinds behind you, and add a lamp in front of you so your face becomes the brightest thing in the picture.
Is a ring light better than a desk lamp for video calls?
A ring light gives softer and more even light, and it is worth buying if you spend hours on video every day. For most people a desk lamp placed behind the camera at eye level works just as well, and it costs far less. Try the window and a lamp first, then buy a ring light only if you still want a steadier result.
How do I stop my glasses reflecting light on video calls?
Move your lamp a little to the side, tilt your screen down slightly, or raise the lamp a few centimetres so the reflection moves out of view. A lamp with a diffuser, or a sheet of white paper over the bulb as a shade, softens the light and reduces glare on the lenses.