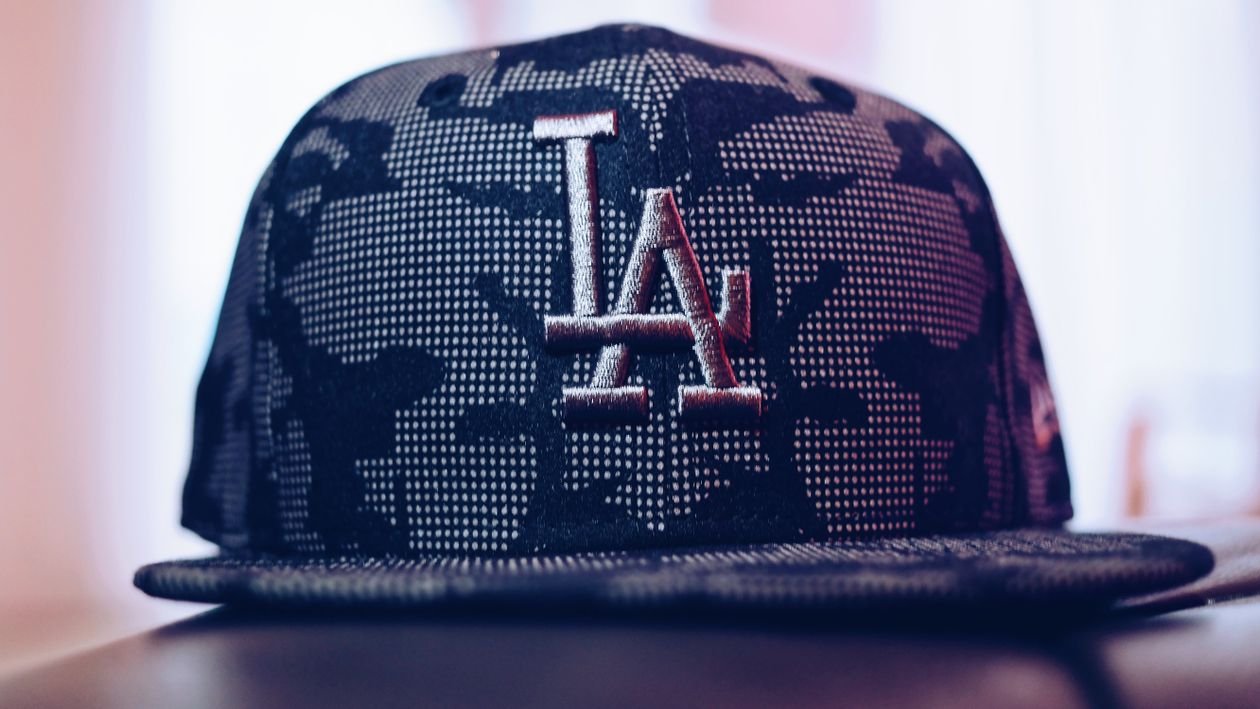
Your favorite baseball cap has seen better days. The sweatband is ringed with white salt lines, the crown smells like last summer, and you are scared to wash it because you have heard the horror stories. Caps come out of washing machines looking like sad deflated pancakes, so most people just keep wearing the grime. Here is the good news. Learning how to wash a baseball cap without ruining it is simple once you understand the two enemies of every cap: heat and rough handling. This guide walks you through a safe hand washing method that protects the shape, the color and the embroidery, plus what to do about sweat stains, vintage caps and the famous dishwasher trick.

Why the wrong wash ruins a cap
A baseball cap is not just fabric. The front panels of a structured cap are stiffened with a material called buckram, a coarse woven layer laminated behind the outer cloth. Heat softens that layer. Once it softens, the crown collapses and no amount of ironing brings the original dome back.
Agitation is the second killer. A washing machine twists and pounds the cap for thirty minutes. The brim bends, the seams pucker and embroidered logos fray at the edges. The spin cycle then presses all of that damage into place. This is why the number one rule of cap care is so simple: cold water, gentle hands, no machine.
Color is the third thing at risk. Bright dyes, especially reds and blacks on cheaper caps, can bleed when they sit in warm soapy water. A quick color test before you soak (more on that below) saves you from a pink crown and a ruined shirt that shared the sink. Understanding these three risks is the real secret behind how to wash a baseball cap without ruining it, because every step of the safe method exists to avoid one of them.
Check three things before you wash
Two minutes of inspection prevents ninety percent of cap washing disasters. Check these three things every time.
Read the care label
Most modern caps have a small tag sewn inside with care symbols. If it says spot clean only, respect it. If the tag is missing, which is common on vintage and promotional caps, treat the cap as delicate and default to hand washing.
Figure out the brim type
Tap the brim with your fingernail. A modern plastic brim makes a light clicking sound and feels springy. An old cardboard brim feels papery and soft, and it will disintegrate if it soaks up water. Plastic brim caps can be fully submerged. Cardboard brim caps get spot cleaning only, with the brim kept dry. When in doubt, assume cardboard.
Know the fabric
Cotton twill is the most common cap fabric and the most forgiving. Polyester and performance blends handle washing well. Wool shrinks and felts if you agitate it, so wash wool caps with almost no rubbing. Leather or suede panels should never be soaked. Spot clean those areas with a barely damp cloth.
How to wash a baseball cap without ruining it in seven steps
This is the method cap collectors and team equipment managers actually use. It takes about ten minutes of active work plus drying time.
Step 1: Gather your supplies
You need a clean sink or basin, cool to lukewarm water, a small amount of mild laundry detergent or a few drops of dish soap, an old toothbrush with soft bristles, and a clean towel. Skip bleach entirely. It weakens fibers and yellows white fabric over time. Skip harsh stain removers on embroidery too.
Step 2: Pretreat the stains first
Look at the sweatband and the front panel just above it. That is where body oils and salt collect. Dab a little detergent directly onto those spots and work it in gently with your fingertip. For stubborn yellow sweat stains, make a paste of baking soda and a few drops of water, spread it on the stain and let it sit for fifteen minutes before you move on.
Step 3: Soak in cool soapy water
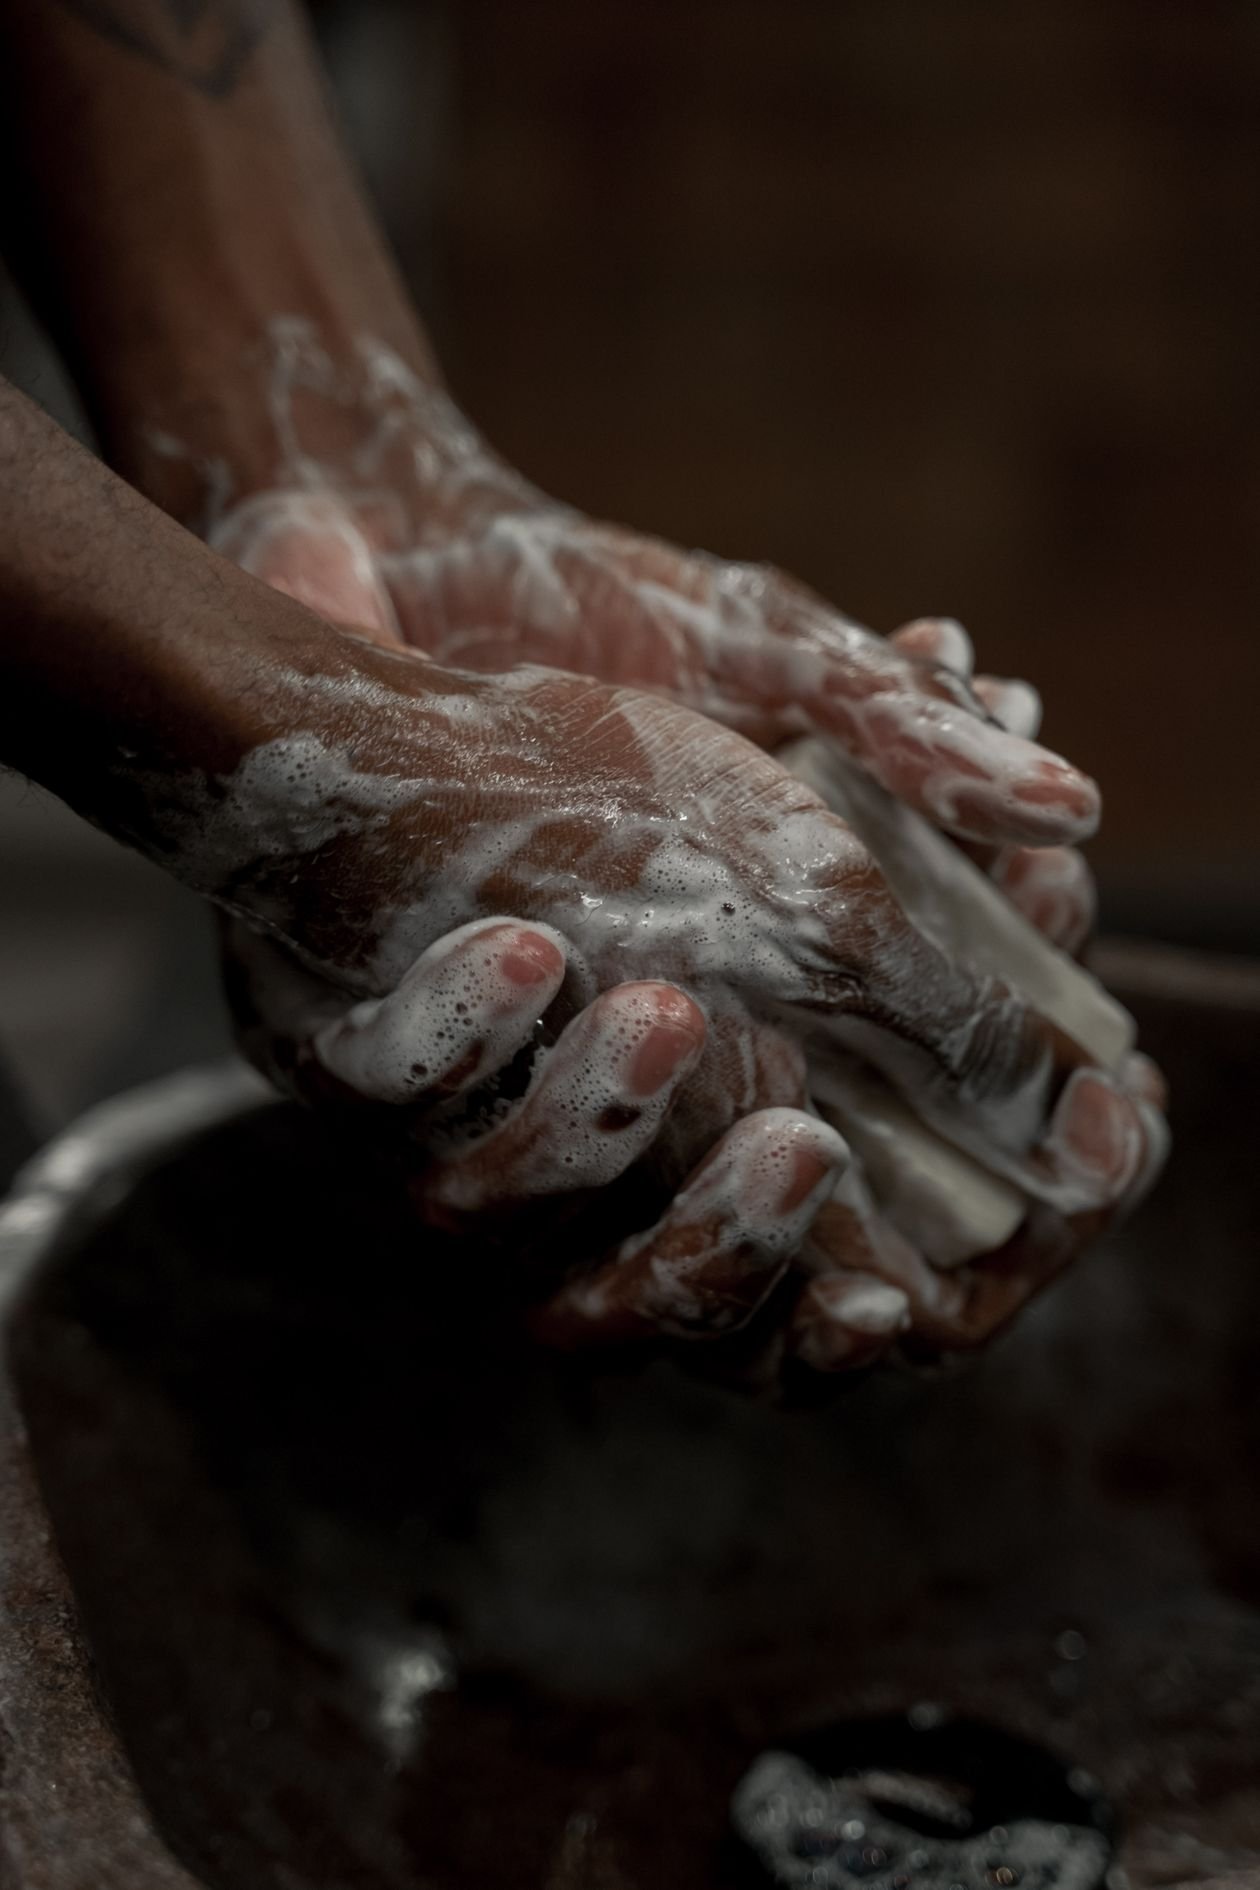
Fill the basin with cool water and add about one teaspoon of detergent. Swish it with your hand until the water turns lightly sudsy. Submerge the cap completely and let it soak for twenty to thirty minutes. The soak does most of the work for you, loosening embedded dirt without any scrubbing. Check the color after five minutes. If the water turns strongly tinted, pull the cap out and switch to spot cleaning instead of a full soak.
Step 4: Scrub gently with a soft brush
Dip the toothbrush in the soapy water and use light circular motions on the sweatband and any stained areas. Be gentle around embroidered logos and stitched lettering. Pressing hard can snag threads and distort the design. The goal is to lift grime, not to scour the fabric.
Step 5: Rinse until the water runs clear
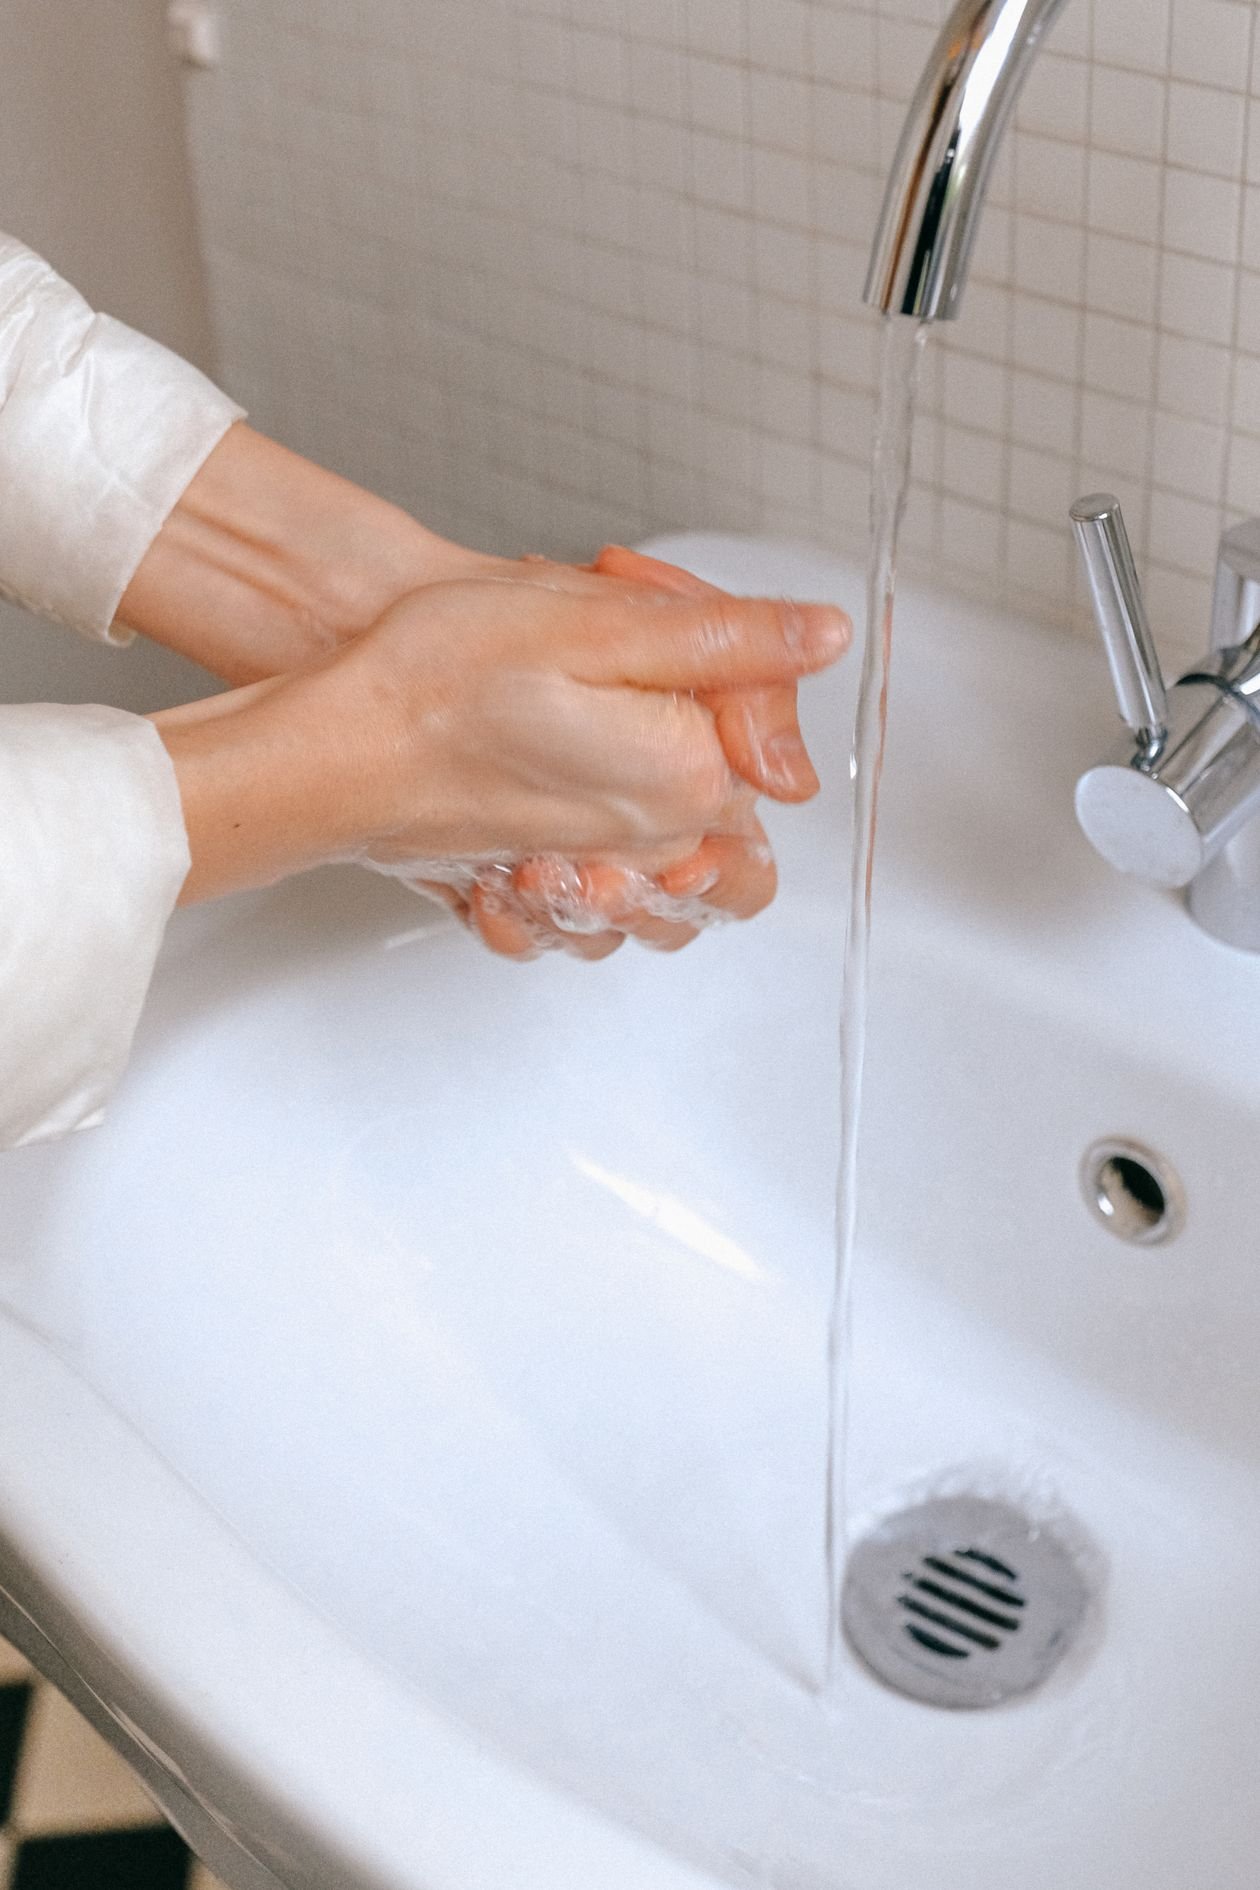
Drain the soapy water and rinse the cap under cool running water. Keep rinsing until no suds remain and the water runs clear. Leftover detergent dries into a stiff residue that attracts dirt faster and can irritate your forehead the next time you wear the cap. Press the water out gently against the side of the basin. Never wring or twist the cap, which crushes the crown and creases the brim.
Step 6: Reshape the cap while it is damp
This step is what separates a cap that looks new from one that looks tired. While the cap is still damp, mold the crown back into its dome shape with your hands and curve the brim the way you like it. Stuff the crown lightly with a clean dry towel so it holds the shape.
Step 7: Air dry away from heat
Set the cap upside down on a bowl, a coffee can or a rolled towel so air circulates inside the crown. Let it dry in a well ventilated room at normal temperature. Keep it away from radiators, hair dryers and direct sunlight. Heat warps brims and direct sun fades colors. Most caps dry fully within twelve to twenty four hours.
How to remove sweat stains from the band
The inner sweatband takes the worst beating of any part of the cap, especially if you wear yours through workouts. Salt stains respond well to the baking soda paste trick described above. For old set in stains, dampen the band with a mix of one part white vinegar to two parts cool water, let it sit for ten minutes, then wash as normal. Vinegar dissolves mineral deposits without harming most fabrics.
If you train hard enough to soak a cap regularly, consider rotating two caps so each one dries fully between wears. A cap that never fully dries develops a musty smell that no amount of washing fixes easily. Runners and lifters who finish sessions with a dumbbell pullover and a full upper body workout will recognize the problem: the band absorbs everything.
Vintage and wool caps need a lighter touch
That thrift store find from the eighties deserves extra caution. Vintage caps often have cardboard brims and single stitch construction that falls apart under stress. Never submerge them. Instead, mix a cup of cool water with a few drops of mild detergent, dip a soft cloth in the mix, wring it nearly dry and wipe the surface in small sections. Clean the brim with the same barely damp cloth and never let water pool on it.
Wool caps follow similar rules. Use cool water, minimal soap and almost no agitation, then reshape and dry flat or on a form. Wool that gets hot water or rough handling felts into a smaller, thicker, sadder version of itself, and there is no reversing that.
Skip the washing machine and the dishwasher
You will find plenty of advice online claiming the top rack of the dishwasher is a safe shortcut. It is not. Dishwasher detergent is far harsher than laundry detergent, the water runs hot, and the drying cycle bakes the cap. Caps that survive one dishwasher run often come out faded with a wavy brim, and the damage is cumulative.
The washing machine is worse. Even on a gentle cycle, the agitation crushes structured crowns and the spin cycle sets creases into the brim. Cap cleaning cages, the plastic frames sold to protect hats in the wash, help a little but they do not solve the heat and chemistry problem. Hand washing takes ten minutes. It is the only method that reliably keeps a cap looking right.
How often should you wash your cap
There is no single schedule because it depends on how hard you wear the thing. A cap you wear on weekends for errands needs a wash every few months or whenever it looks dirty. A cap you wear through every session of your home workout routine needs a wash every two to three weeks. Little League parents take note: kids caps that survive a full season of dusty dugouts deserve a wash at least once a month during the season.
Between washes, a few habits stretch the time. Let the cap air out after wearing instead of tossing it in a gym bag. Wipe the sweatband with a damp cloth after heavy sweating. Store caps on a hook or shelf rather than crushed under other gear. And if you wear yours to watch parties and game nights, like when you check where to watch Spurs vs Knicks live with friends, give it a sniff test the next morning. Your nose knows.
Mistakes that destroy caps
Most ruined caps die from one of these avoidable errors. Run through the list before your first wash.
Hot water is the classic mistake. It shrinks cotton, fades dyes and softens the buckram that holds the crown up. Always use cool to lukewarm water, never hot.
Wringing the cap dry twists the brim and collapses the crown. Press water out gently or roll the cap in a clean towel and squeeze the towel.
Drying with heat, whether a clothes dryer, a radiator or a sunny dashboard, warps brims and bakes in wrinkles. Room temperature air drying is slower but it is the only safe finish.
Soaking a cardboard brim turns it to mush. Do the tap test first and keep vintage brims dry.
Using bleach or harsh stain removers eats embroidery thread and weakens fabric. Mild detergent handles almost everything with a little patience.
Conclusion
Keeping a cap clean does not require special products or risky shortcuts. Once you know how to wash a baseball cap without ruining it, the whole method comes down to a few principles you can remember easily. Use cool water and mild soap. Treat stains before you soak. Scrub gently, rinse fully and never wring. Reshape the cap while it is damp and let it dry slowly at room temperature. Give vintage and wool caps the lighter spot clean treatment they need, and leave the washing machine and dishwasher out of the picture entirely.
Follow these steps and your cap will come out of every wash looking sharp, smelling fresh and holding its shape season after season. The ten minutes it takes beats buying a replacement every summer, and your favorite cap gets to keep its place on your head where it belongs.
Frequently asked questions
Can you put a baseball cap in the washing machine?
You can, but you should not. The agitation crushes the crown, the spin cycle creases the brim and the whole process fades colors and frays embroidery. Hand washing takes ten minutes and keeps the cap intact.
Can you put a baseball cap in the dryer?
No. Dryer heat is one of the fastest ways to ruin a cap. It warps the brim, shrinks cotton and can melt the adhesives in structured front panels. Always air dry at room temperature.
Will washing shrink a baseball cap?
Hot water can shrink cotton twill slightly, which is why cool water matters. Most visible change after a bad wash is actually shape loss rather than size loss: the crown collapses instead of the cap getting smaller. Wash cool and reshape while damp and shrinkage is a non issue.
How do you wash an embroidered baseball cap?
Hand wash in cool water with mild detergent and be gentle around the stitching. Do not scrub logos hard, do not use bleach based stain removers on them, and never iron directly over embroidery. For puff embroidery with raised foam underneath, avoid pressing or wringing the design area completely.
How often should you wash a baseball cap?
Wash it when it looks dirty, smells sweaty or you cannot remember the last wash. For daily wear that includes workouts, every two to three weeks is a good rhythm. For occasional weekend wear, a few times a year is plenty.