
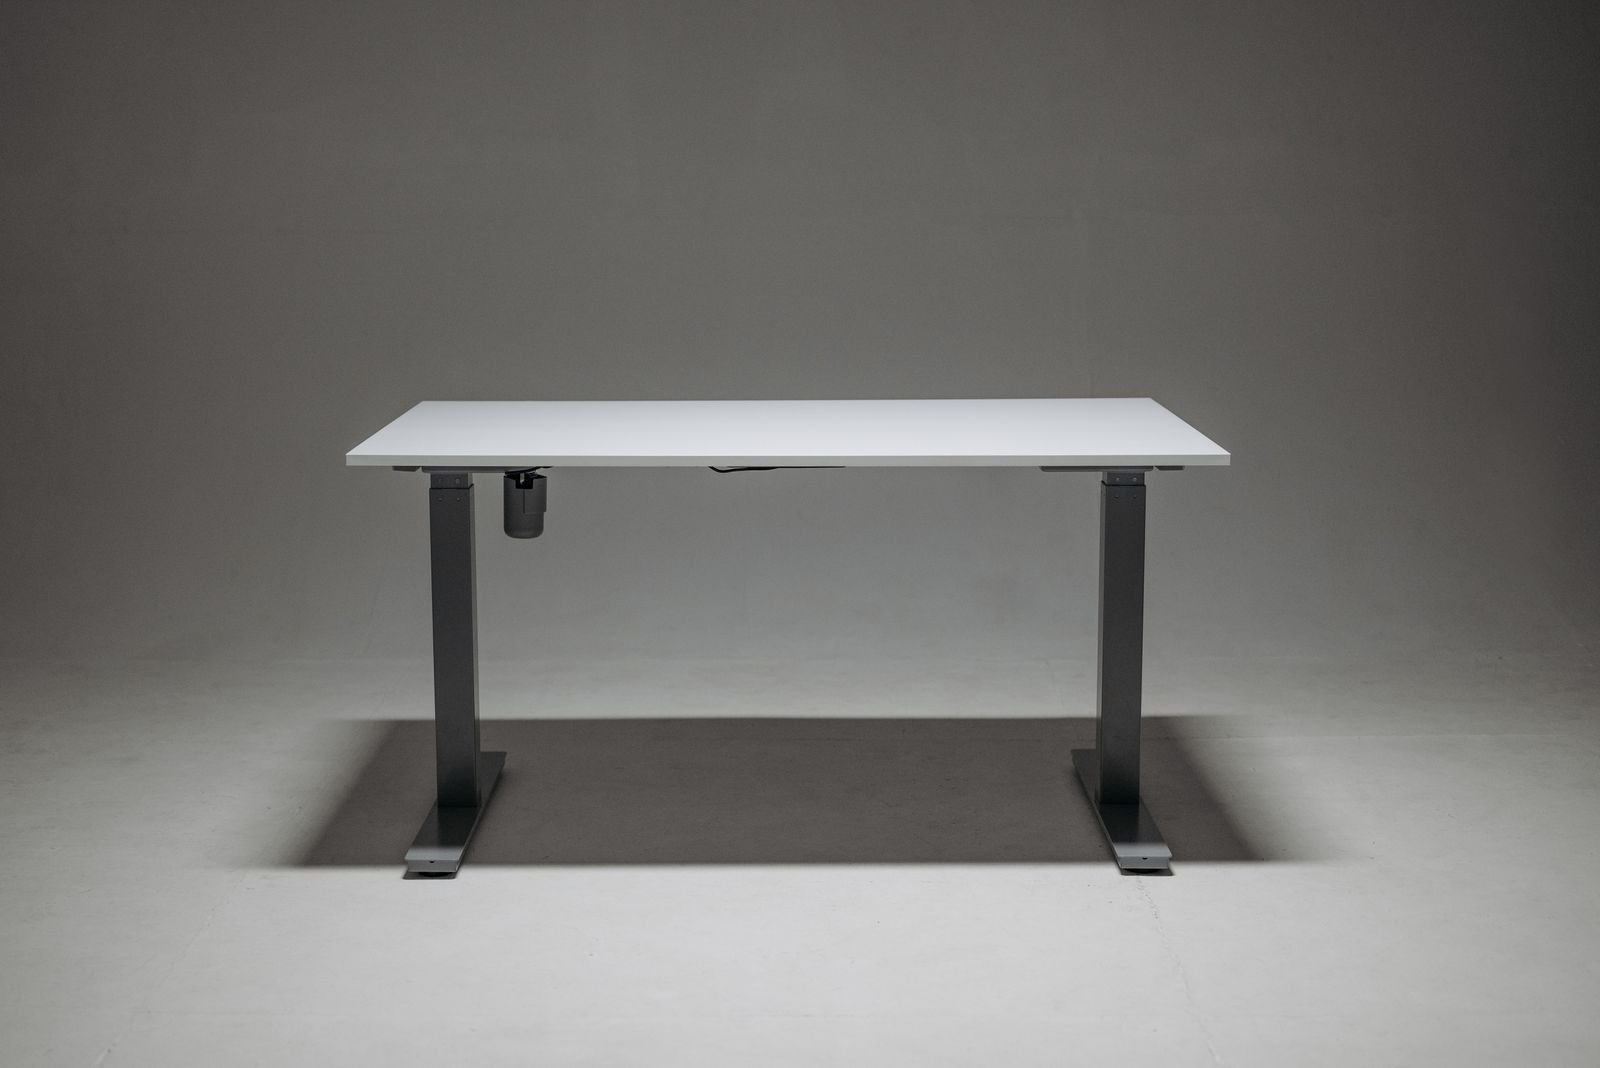
You bought the standing desk with the best intentions. The box arrived, you built it, you raised it to standing height, and for the first few days you felt virtuous. Then the ache started. Your neck felt tight, your shoulders crept up towards your ears, and your lower back complained by lunchtime. The desk was not the problem. The setup was.
Learning how to set up a standing desk correctly is the step most people skip. A standing desk is only a tool, and like any tool it works well only when it is adjusted to fit the person using it. Set it too high and your shoulders strain. Set it too low and your wrists bend. Put the monitor in the wrong place and your neck pays for it all day.
This guide walks through the exact setup, with real measurements you can check with a tape measure this afternoon. It covers sitting and standing heights, monitor position, keyboard and mouse placement, your feet and the floor, and a first week schedule that eases you into standing without soreness. It also covers shared desks, small flats, and the buying notes that matter in the UK.
Why Setup Matters More Than the Desk Itself
Research from the Icahn School of Medicine at Mount Sinai found that people using height adjustable desks only gained health benefits when they used the desks correctly. A desk set at the wrong height can create new problems, including neck strain, shoulder pain, and sore wrists, which is the opposite of what you bought it for.
The core idea is neutral posture. When your body is in a neutral position, your joints sit in their natural alignment, your muscles work without strain, and you can hold the position for a long time without discomfort. Ergonomics guidance from Cornell University, OSHA, and the Canadian Centre for Occupational Health and Safety all points to the same numbers, and those numbers are the backbone of this guide.
The good news is that a correct setup takes about 30 minutes and a tape measure. You do not need special tools, and you do not need to buy anything else. You need to measure your body, set two heights, position your screen, and learn a simple rhythm for switching between sitting and standing.
Start With Your Chair, Not Your Desk
Every good standing desk setup starts from the ground up, and that means your chair comes first. Sit in your chair with your feet flat on the floor and your thighs roughly parallel to the floor. Your knees should bend at about 90 degrees, and your back should rest against the lumbar support.
If your feet dangle, your chair is too high. Lower it until your feet sit flat, or add a footrest under your feet. Dangling feet pull on your lower back all day, and no desk adjustment can fix that. If your knees sit much higher than your hips, your chair is too low. Raise it until your thighs are level.
Once your seated position is right, you can measure your sitting desk height. Rest your forearms on the desk surface with your elbows bent at 90 degrees and your shoulders relaxed. The desk should meet your forearms exactly, with no shrugging and no reaching down. For most adults this sitting height falls between 70 and 76 centimetres, but your body is the only measurement that matters.
Save this height as preset one on your desk memory panel if your desk has one. You will return to it many times a day, and a preset saves you from guessing each time.
How to Set Up a Standing Desk Correctly for Sitting
With your chair set, lower the desk to your sitting elbow height. Sit with your feet flat, your back supported, and your forearms resting lightly on the desk. Your wrists should stay straight and level while you type, not bent up or drooping down.
Check your shoulders. They should hang relaxed, not hunched towards your ears and not pulled down. If you feel your shoulders rising, the desk is too high. Lower it a centimetre at a time until the tension leaves your shoulders.
Your keyboard and mouse should sit close to your body, about 5 to 8 centimetres from the front edge of the desk. Your elbows should stay close to your sides, not flared out. If you have to reach forward to type, pull the keyboard closer or move your chair in.
Many people set their sitting height once and never check it again. Re check it after a week, because a new chair cushion settles, and a small change in seat height changes the right desk height too.
Set Your Standing Height the Same Way
Stand up and let your arms hang naturally at your sides. Raise the desk until the surface meets your elbows with your arms bent at 90 degrees, exactly as it did when you were sitting. For most adults this standing height falls between 100 and 115 centimetres, but tall and short users will sit well outside that range, so measure your own body.
Your wrists should stay straight while you type, and your shoulders should stay relaxed. A common mistake is setting the desk too high, which forces your shoulders up and makes your neck ache within an hour. If your shoulders feel tense, lower the desk a little and test again.
Save this height as preset two. If your desk has a third preset, save a slightly lower standing height for days when you wear flat shoes, because heel height changes your elbow height by a centimetre or two.
Stand with your feet about hip width apart and your weight spread evenly across both feet. Keep your knees soft, not locked. Locking your knees pushes your lower back into an arch and tires your legs quickly, so bend them slightly and shift your weight from time to time.
Position Your Monitor at Eye Level
Monitor height causes more neck pain than any other part of a desk setup. The rule is simple. The top edge of your screen should sit at or slightly below eye level, and the screen should sit about an arm length away from your eyes, roughly 50 to 70 centimetres.
When you look straight ahead, your eyes should land about one third of the way down from the top of the screen. That slight downward gaze is the natural resting position for your neck, according to Cornell University ergonomics guidance. If you have to tilt your head up to see the top of the screen, the monitor is too low or too far away.
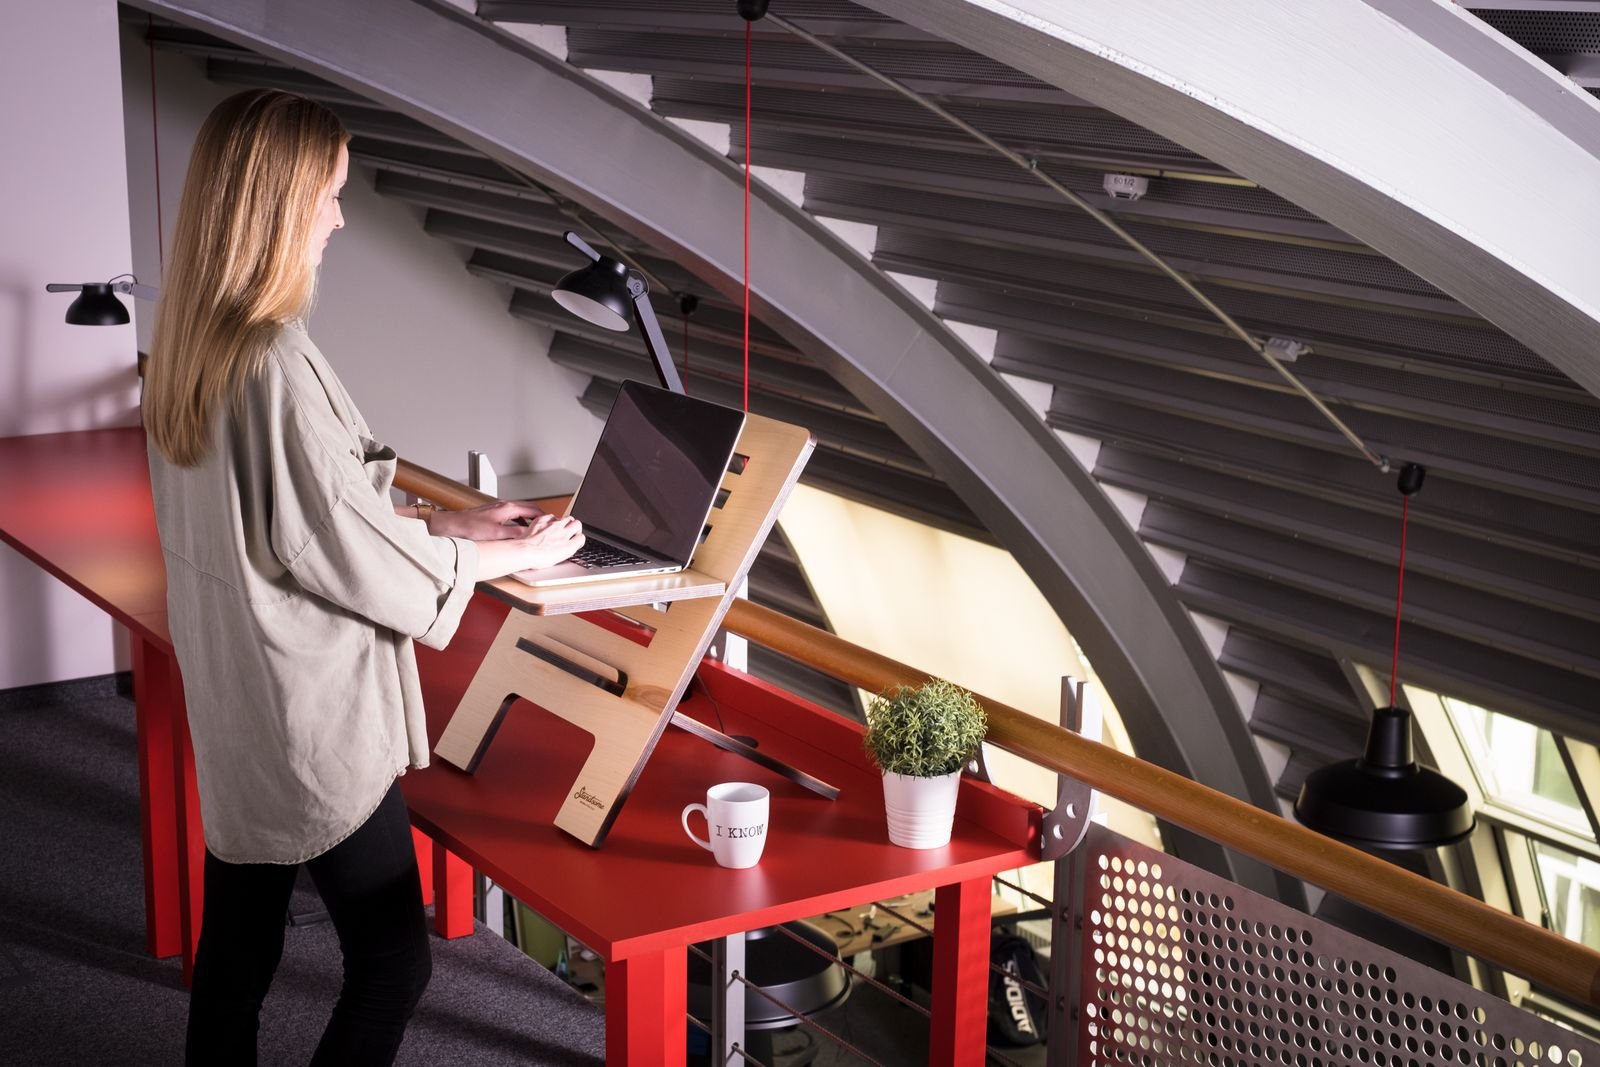
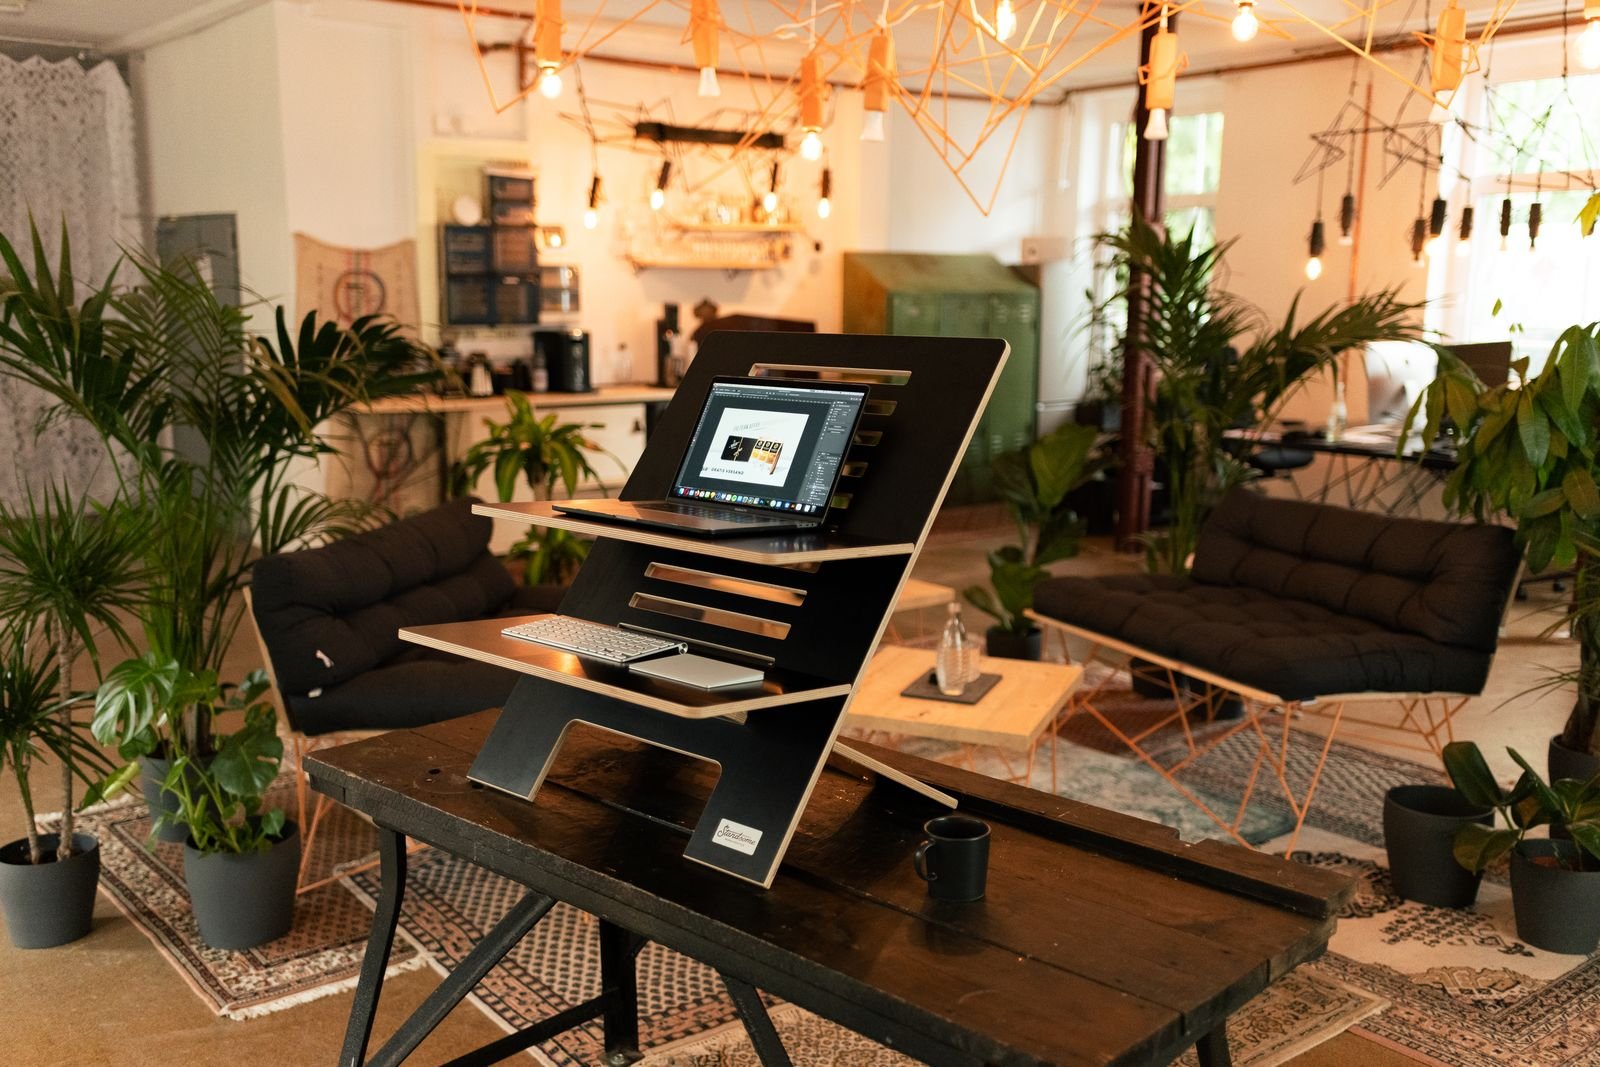
Use a monitor arm or a sturdy riser to lift the screen to the right height. A stack of books works as a temporary fix, but a proper arm or riser is steadier and easier to adjust. If you use a laptop as your main screen, raise it on a stand and use a separate keyboard and mouse, because a laptop on a desk surface always sits too low for your neck.
If you use two monitors, place your main screen directly in front of you and the second screen to one side, angled slightly towards you. Turn your head to look at the second screen, not your whole body. Keep the two screens at the same height so your neck does not tilt every time you switch.
Keyboard, Mouse, and What Sits Where
Your keyboard and mouse should sit on the same level, close enough that you can reach them without stretching. Keep your elbows close to your body and your wrists straight. A wrist rest can help if your desk edge presses into your forearms, but it should support your palms, not your wrists, while you type.
Place the things you use most often within easy reach. Your keyboard, mouse, phone, and notebook belong in the main zone directly in front of you. Things you use rarely, such as reference books or a printer, can sit further away, so you have a reason to move and stretch when you reach for them.
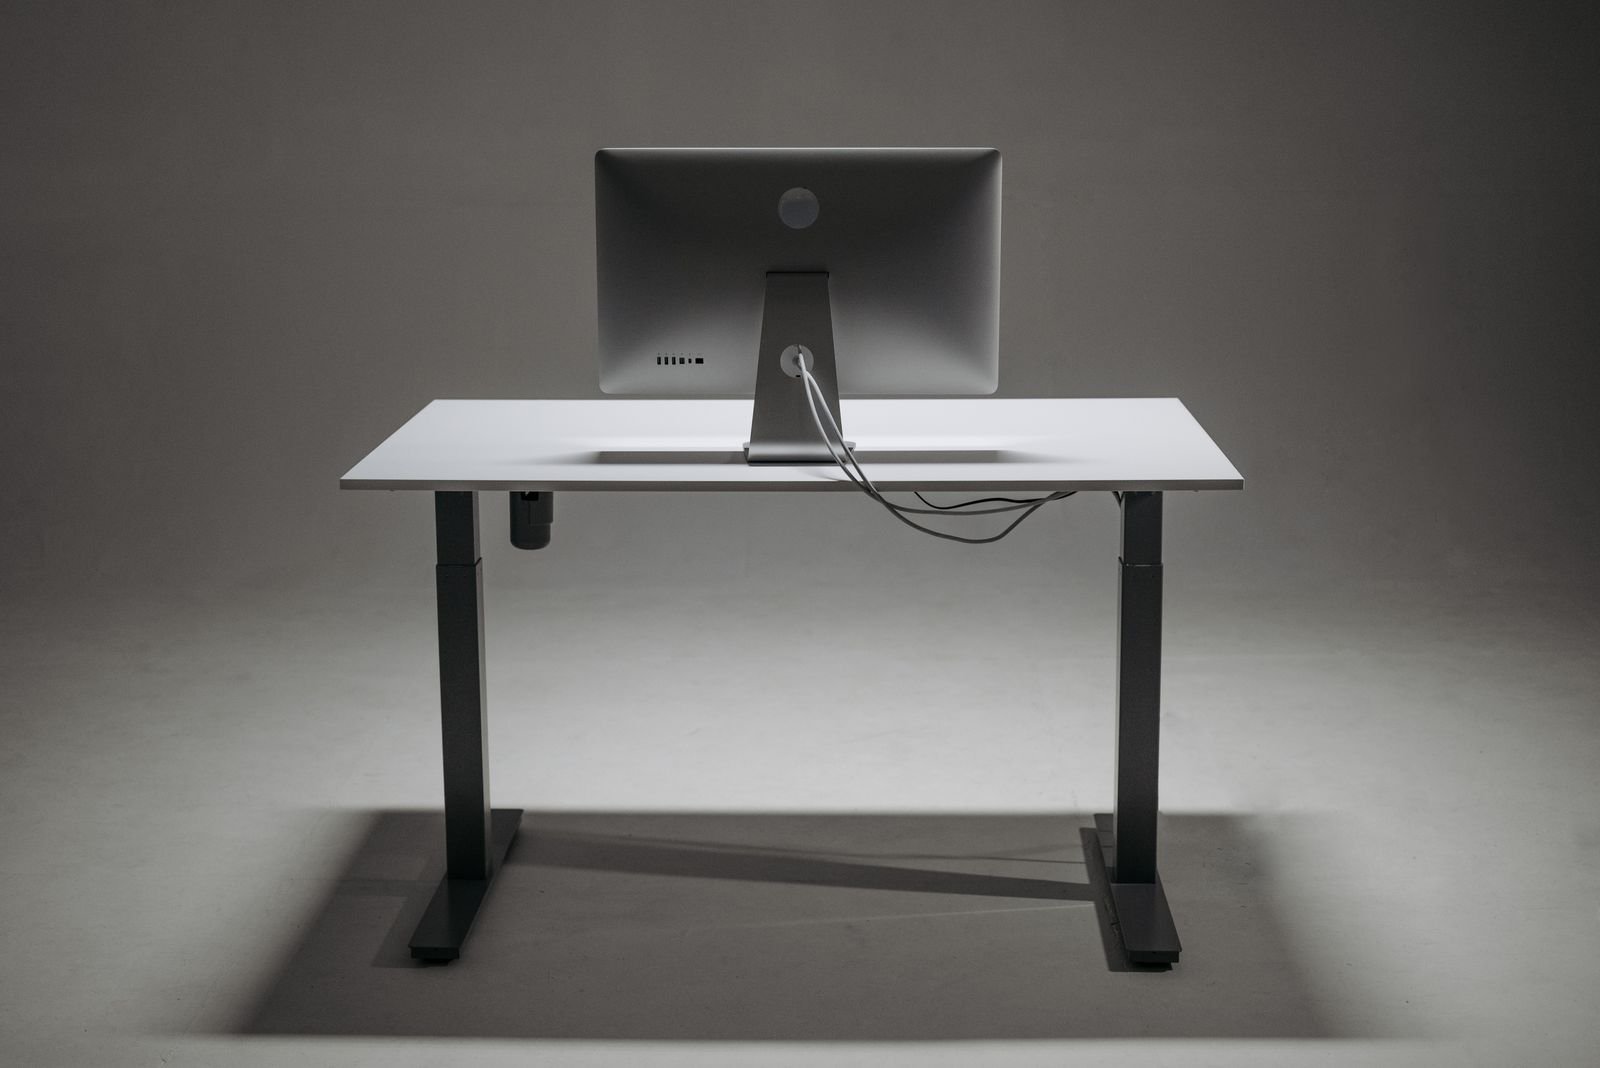
Keep cables tidy with a cable tray or clips under the desk. Loose cables snag when the desk moves up and down, and a cable that pulls tight can drag a monitor or a lamp off the desk. Check the cables at both heights before you call the setup finished.
Your Feet, Your Floor, and the Anti Fatigue Mat
Standing on a hard floor all day is tiring, and a good anti fatigue mat makes a real difference. A mat with a soft, slightly springy surface encourages small movements in your feet and legs, which keeps blood flowing and reduces fatigue. A mat costs about £25 to £40 in the UK, and it is one of the best value additions to a standing desk setup.
Wear supportive shoes while you stand. Flat shoes with no support, or bare feet on a hard floor, tire your legs faster. If you work from home and prefer to stand in socks, the mat matters even more.
Keep the floor around your desk clear. You will shift your weight, step side to side, and occasionally stretch, and a cluttered floor turns those small movements into trips. Give yourself a clear square metre to stand in.
How Long to Stand: A First Week Schedule
The biggest mistake new standing desk owners make is standing all day from day one. Your body needs time to adapt, and standing for eight hours straight will leave your legs and lower back aching, even with a perfect setup. Build up slowly instead.
A good first week schedule alternates every 30 to 60 minutes. Sit for 30 minutes, stand for 20 to 30 minutes, then sit again. The 20 8 2 rule is a useful guide, which means for every 30 minutes, sit for 20, stand for 8, and move for 2. That movement can be a short walk to the kitchen, a stretch, or a few steps around the room.
By week two, aim for a roughly equal split between sitting and standing across the day, but never stand for more than 60 minutes without a break. Prolonged standing brings its own problems, including tired legs and sore feet, so the goal is movement, not standing for its own sake. Planning your switches around your tasks helps, and the same time blocking habit that makes prioritising tasks with the Eisenhower matrix work so well also makes a sit stand routine easy to keep.
Listen to your body. If your lower back aches, sit down. If your legs feel restless, stand up. The desk is there to give you choice, and the best setup is the one you actually use.
Two People, One Desk: Sharing Without Rebuilding
Many UK homes have one standing desk shared by two people working different shifts or different heights. Sharing works well if you use the memory presets properly. Each person should set their own sitting and standing heights once, save them as presets, and write the numbers on a small card stuck to the desk edge.
If your desk has only two presets and two people share it, give each person one preset for their standing height, and adjust sitting height by hand, since sitting height changes less between people of similar height. If the height gap is large, one person can use a footrest to make up the difference while sitting. Sharing a desk also means sharing the room, so agree on quiet hours and handover times in advance, much like setting boundaries with clients keeps a working relationship smooth.
Re check the shared setup monthly. Presets drift when someone bumps the controls, and a quick check keeps both users comfortable.
Setting Up in a Small Flat With No Spare Room
UK flats rarely have a spare room for an office, so the desk often sits in a living room corner or a bedroom alcove. A small space still works, as long as you protect the basics. You need room to stand with your feet hip width apart, space behind the desk for the chair, and enough light to see your screen without glare.
Place the desk side on to a window rather than facing it or with your back to it. Facing a window causes glare on the screen, while sitting with your back to a window puts your own shadow across the screen. Side light is the easiest to work with, and a simple blind or curtain can fix most glare problems.
Use the wall behind the desk for a shelf or a monitor arm, which frees up desk space and keeps cables off the floor. A compact desk of 120 centimetres wide is enough for a monitor, a keyboard, and a notebook, and it fits into most alcoves without dominating the room.
Common Mistakes That Undo a Good Setup
Setting the desk once and never checking it again is the most common mistake. Bodies change, chairs settle, and shoes change with the seasons. Check your heights once a month, and re measure after any change to your chair or your footwear.
Standing still is another trap. A standing desk is not a statue pose. Shift your weight, take a short walk every hour, and stretch your shoulders and neck. Movement is the point, and a desk that lets you move is doing its job.
Forgetting the monitor is a third mistake. Many people set the desk height carefully and leave the monitor where it was, which means their neck bends all day. Set the monitor at both sitting and standing heights, because the right screen height changes when you stand up.
Finally, buying the cheapest desk without checking its height range can leave you stuck. Check the minimum and maximum heights before you buy, and make sure your sitting and standing elbow heights both fall inside the range. A desk that cannot go low enough for sitting is useless for half the day.
UK Buying Notes: Prices, Plugs, and Returns
A decent electric standing desk in the UK costs about £200 to £450, with well known brands at the higher end and good value options from retailers such as IKEA, FlexiSpot, and Amazon UK at the lower end. A manual crank desk costs less, about £120 to £200, but adjusting it several times a day gets tedious, so an electric desk is worth the extra money if you switch often.
Check that the desk comes with a UK plug and a long enough power cable to reach your socket at both heights. A cable that is fine at sitting height can pull tight when the desk rises. A cable tray or a trunking strip keeps the run tidy and safe.
UK distance selling rules give you 14 days to return an online purchase, so use that window. Set the desk up, use it for a full working week, and return it if the height range does not suit you or the motor is too noisy. Keep the box until you are sure.
If you work from home as an employee, ask your employer about home office equipment support. Some UK employers contribute towards a desk or a chair, and some offer a display screen equipment assessment, which is a formal check of your workstation that can catch setup problems early.
Frequently Asked Questions
What height should a standing desk be?
Set it to your elbow height with your arms bent at 90 degrees. For most adults that is 100 to 115 centimetres standing and 70 to 76 centimetres sitting, but measure your own body rather than trusting averages.
How far away should my monitor be?
About an arm length away, roughly 50 to 70 centimetres, with the top of the screen at or slightly below eye level. Your eyes should land about one third down from the top of the screen when you look straight ahead.
How long should I stand at my desk each day?
Build up slowly. Start with 20 to 30 minute standing periods and alternate with sitting every 30 to 60 minutes. Aim for a roughly equal split across the day, and never stand for more than 60 minutes without a break.
Should my elbows be at 90 degrees?
Yes, in both sitting and standing positions. Elbows at 90 degrees with straight wrists and relaxed shoulders is the core rule of a correct standing desk setup, and it prevents most shoulder and wrist strain.
Is a standing desk bad for your back?
A correctly set up standing desk helps most backs, because it lets you move between sitting and standing. A badly set up desk, or standing still all day, can hurt your back. Set the heights right, move often, and sit down when your body asks you to.
Set It Up Once, Check It Monthly, and Move Often
Learning how to set up a standing desk correctly takes one careful afternoon, and it pays off every working day after that. Set your chair first, measure your sitting and standing heights, put your monitor at eye level, and save both heights as presets. Then build the habit of switching every 30 to 60 minutes, and give your body a week to adapt.
The desk will not fix your posture on its own. It gives you the freedom to move, and movement is what protects your back, your neck, and your shoulders over a long working life. The same rhythm that helps you write faster with voice typing without tiring your hands applies here too, since small changes in how you work add up across a whole day. Set the desk up right, check it monthly, and let it do its job.