
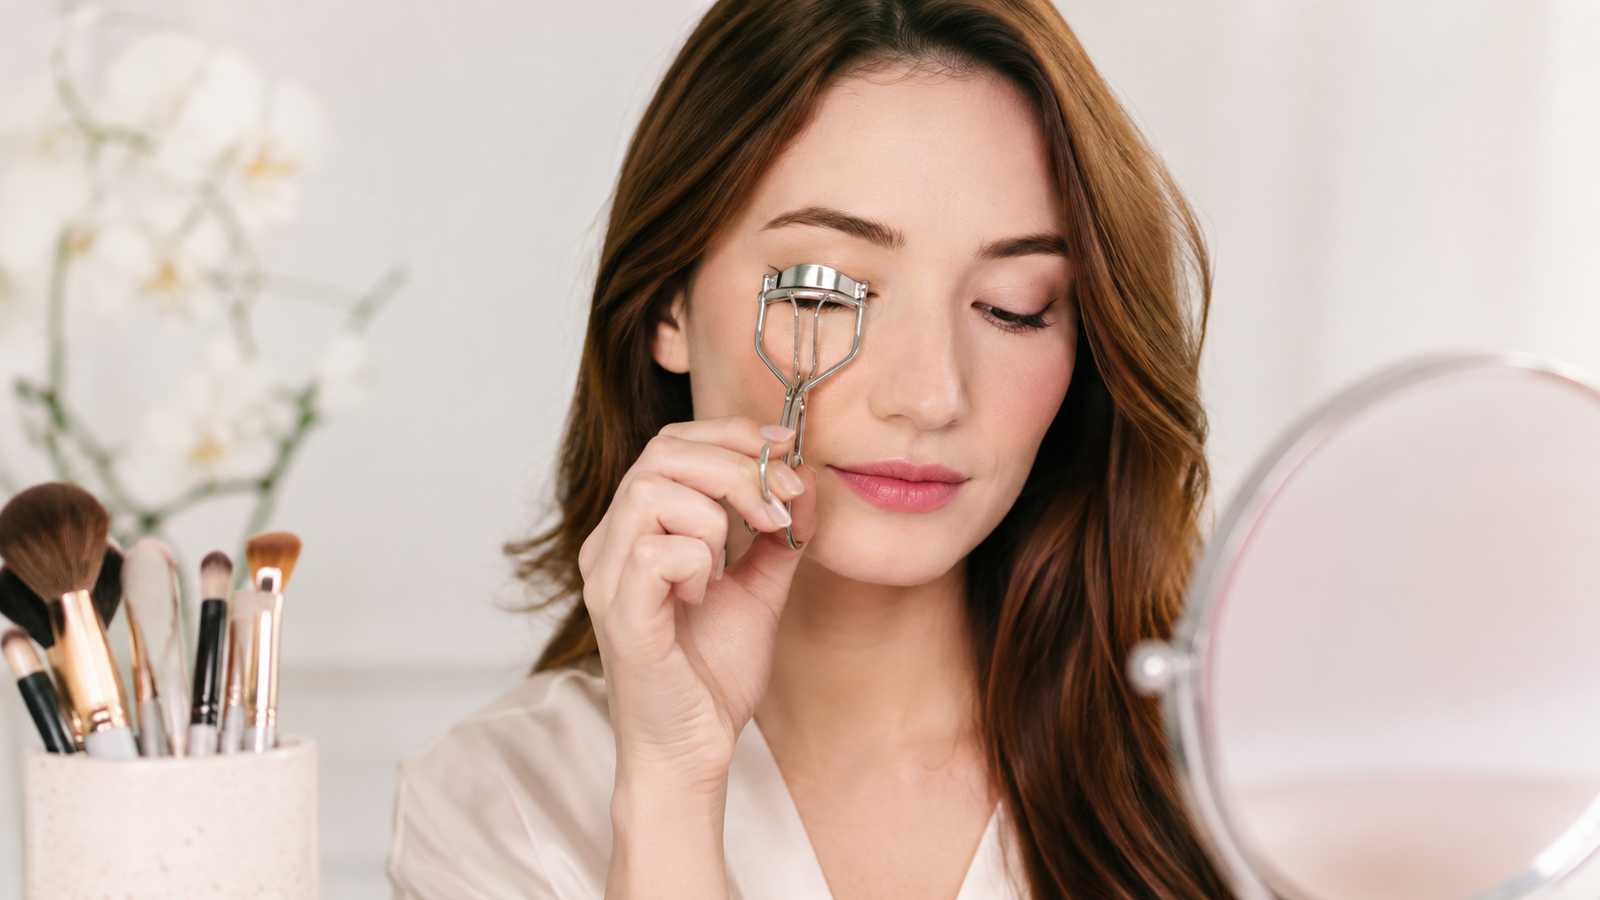
If you have ever stood in front of a mirror wondering why your mascara looks flat no matter how many coats you apply, the answer probably has nothing to do with your mascara at all. It is your lashes. Straight or downward pointing lashes make even the best formula look lifeless, and that is exactly the problem an eyelash curler was designed to solve.
An eyelash curler is a small handheld tool, but the impact it has on your entire eye makeup look is anything but small. Used correctly, it lifts your lashes, opens up your eyes, and makes them appear longer without a single extra product. Used incorrectly, it can pinch, tug, or even damage your natural lashes.
This guide walks you through everything you need to know about an eyelash curler: how to pick the right one for your eye shape, how to use it safely and effectively, how to keep it clean, and how to troubleshoot the most common frustrations people run into. Whether you are buying your first eyelash curler or you have been using one for years and want to get better results, you will find practical, honest advice here.
What Is an Eyelash Curler and Why It Matters
An eyelash curler is a mechanical, hand operated tool that clamps gently around your upper lashes and bends them into a curved, lifted shape. Most versions use a spring loaded hinge with a curved metal or plastic frame and a soft silicone or rubber pad that presses the lashes against the frame when you squeeze the handles.
The idea has been around for close to a century, and the basic design has barely changed because it simply works. What has changed is the variety available today, from classic drugstore versions to heated tools, mini travel sizes, and precision curlers built for small or hard to reach lashes near the inner and outer corners of the eye.
The reason an eyelash curler matters so much in a makeup routine comes down to how light interacts with your lashes. Straight lashes point downward or forward, which shadows the eye and makes it look smaller. Curled lashes catch the light, frame the eye, and create the illusion of length even before mascara is applied. It is a simple mechanical trick, but it is one of the most reliable ways to make your eyes look more awake and defined.
How to Choose the Right Eyelash Curler for Your Eyes
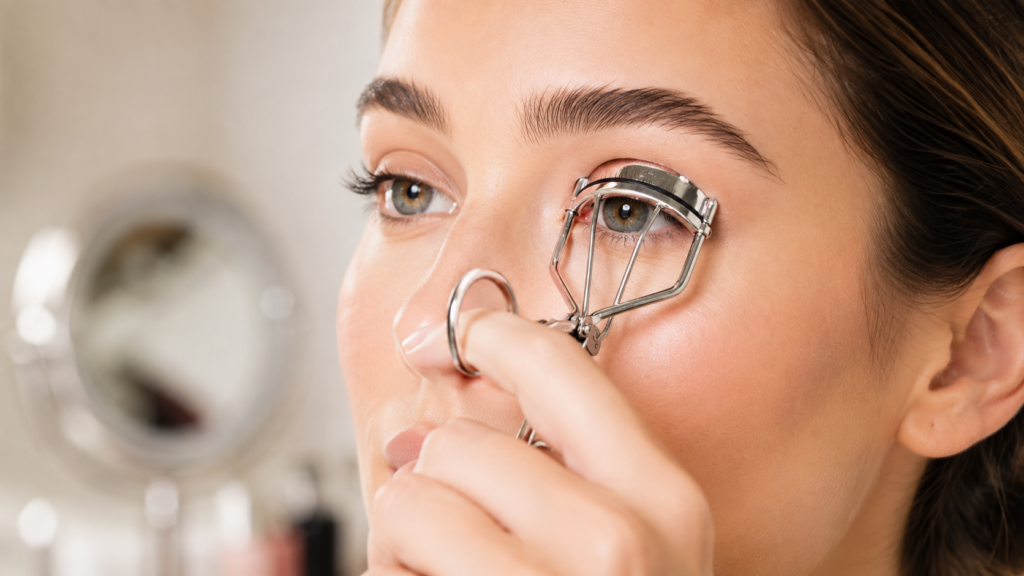
Not every eyelash curler works the same way for every person, and this is where a lot of buying guides fall short. The right choice depends on your eye shape, your natural lash direction, and how much curl you actually want.
Eye Shape Considerations
People with deep set eyes, hooded eyes, or monolids often have lashes that grow straight down rather than outward. A curler with a tighter arc and a narrower opening tends to work better here because it grips closer to the root, where the lift is needed most.
If you have round or almond eyes with naturally curved lashes, a standard wide barrel curler usually gives you plenty of lift without much effort. And if your lashes are unevenly curled, with the outer or inner corners lagging behind, a precision curler designed for those specific areas can finish the job that a full size curler misses.
Curl Type Options
Most brands now offer a few curl intensities, usually labeled as natural, extra, or precision:
- Natural curl curlers create a soft, subtle lift that looks effortless for daytime wear.
- Extra curl curlers have a tighter barrel curve, producing a more dramatic bend, often preferred for evening looks or photos.
- Precision curlers are smaller and target the inner or outer corner lashes that larger tools cannot reach comfortably.
There is no single correct choice here. It genuinely comes down to the look you want and how your lashes behave naturally.
Traditional vs Heated Curlers
Traditional, unheated curlers rely purely on mechanical pressure and are the safer, more forgiving option for daily use. They are simple, affordable, and easy to clean.
Heated eyelash curlers use gentle warmth to help set the curl faster and, according to many users, hold it longer through the day. They can be a good option if your lashes are stubbornly straight or if you find that a traditional curl relaxes within a few hours. That said, heat near the eye area does require more caution, so these tools are best used exactly as instructed, without pressing the heated plates directly against the eyelid skin.
How to Use an Eyelash Curler Correctly
This is the part most people get wrong, and it is also the part that determines whether you end up with a beautiful lift or a crimped, unnatural bend.
Prep Your Lashes
Always start with clean, dry lashes. Curling lashes that already have mascara on them is one of the most common causes of lash breakage, since the wand coating makes lashes brittle and more likely to snap under pressure. If you wear eye makeup, remove it first with a gentle makeup remover before picking up the curler.
Positioning and Technique
Follow this sequence for a natural, even curl:
- Open the curler fully and hold it in your dominant hand, the same way you would hold a small pair of scissors.
- Position it at the very base of your upper lashes, as close to the lash line as you comfortably can without pinching your eyelid skin.
- Close your eyes gently, then slowly squeeze the handles with light, even pressure. Avoid one hard clamp, since a gentle pulsing squeeze gives a more natural bend.
- Hold for about five to ten seconds, then release slowly.
- Move the curler slightly upward toward the middle of your lashes and repeat the squeeze and hold.
- Finish near the tips with one final light squeeze for a soft, graduated curve rather than a single sharp crease.
Once your lashes are curled, apply mascara while they are still lifted. Curling after mascara application increases the risk of lashes sticking to the pads or breaking off entirely.
Common Mistakes to Avoid
A few habits are responsible for most of the frustration people have with eyelash curlers:
- Clamping too close to the eyelid skin instead of the lash base, which causes pinching.
- Pulling the curler forward or outward while it is still closed, which tugs on the lash roots.
- Curling wet or freshly mascaraed lashes, which weakens or breaks them.
- Using worn out, hardened silicone pads that no longer cushion the lashes properly.
- Holding the clamp shut for too long in one spot, which creates a harsh crimp instead of a smooth curve.
Small adjustments to technique make a bigger difference than switching to a more expensive tool.
Eyelash Curler Safety: Protecting Your Eyes and Lashes
Because an eyelash curler is used so close to the eye, safety deserves real attention, not just a passing mention.
The eyelid skin is thin and sensitive, so always check that only your lashes, not the surrounding skin, are inside the curler before you squeeze. If you feel any pinching sensation, stop, reopen the curler, and reposition it slightly further from the lash line.
Repeated hard pulling or holding the clamp shut for too long can weaken lashes at the root, sometimes leading to shedding. Since lashes protect the eye from dust and debris and do not regrow quickly, treating them gently matters more than most people realize.
If you use a heated curler, always check that the heating element has cooled to a safe, gentle warmth before use, and never hold it against the eyelid area. Follow the manufacturer’s timing guidelines closely, since overheating near the eye can cause real harm.
Finally, if you wear contact lenses, curl your lashes before inserting your lenses when possible, or be extra cautious with positioning to avoid any accidental contact with the eye itself.
How to Care for and Clean Your Eyelash Curler
An eyelash curler comes into direct contact with your eye area every time you use it, which makes hygiene more important than many people assume.
Wipe the pads with a clean tissue or a gentle alcohol wipe after each use to remove any residue from mascara or natural oils. This simple habit prevents buildup that can harden the pads and reduce their cushioning ability over time.
Replace the silicone or rubber pads every two to three months, or sooner if you notice they have become stiff, torn, or discolored. Worn pads are one of the most common hidden causes of pinching and lash breakage, since they no longer absorb pressure the way fresh pads do.
If you share a curler with someone else, such as in a professional makeup setting, always sanitize the entire tool thoroughly between uses to avoid transferring bacteria or irritation near the eye.
Store your curler somewhere clean and dry, ideally in a small pouch or case, so dust and debris do not collect on the pads between uses.
Eyelash Curler vs Lash Lift: Which Is Right for You
Many people wonder whether they should skip the daily curling routine entirely and get a professional lash lift instead. Both achieve a similar visual result, a lifted, curled lash, but they work very differently.
An eyelash curler gives you an instant, temporary curl that typically lasts through the day, depending on your lash type, humidity, and technique. It costs very little, takes seconds to use, and gives you full control over the amount of curl each time you apply makeup.
A lash lift is a salon treatment that chemically reshapes the lash for six to eight weeks at a time. It removes the need for daily curling but comes with a higher upfront cost, an appointment requirement, and a chemical process that is not something you would want to do too frequently.
If you enjoy a flexible, no commitment routine and do not mind the extra thirty seconds each morning, a good eyelash curler is usually the more practical and gentler choice. If you want longer lasting results without daily effort and do not mind the cost and commitment, a lash lift might suit your lifestyle better.
Troubleshooting Common Eyelash Curler Problems
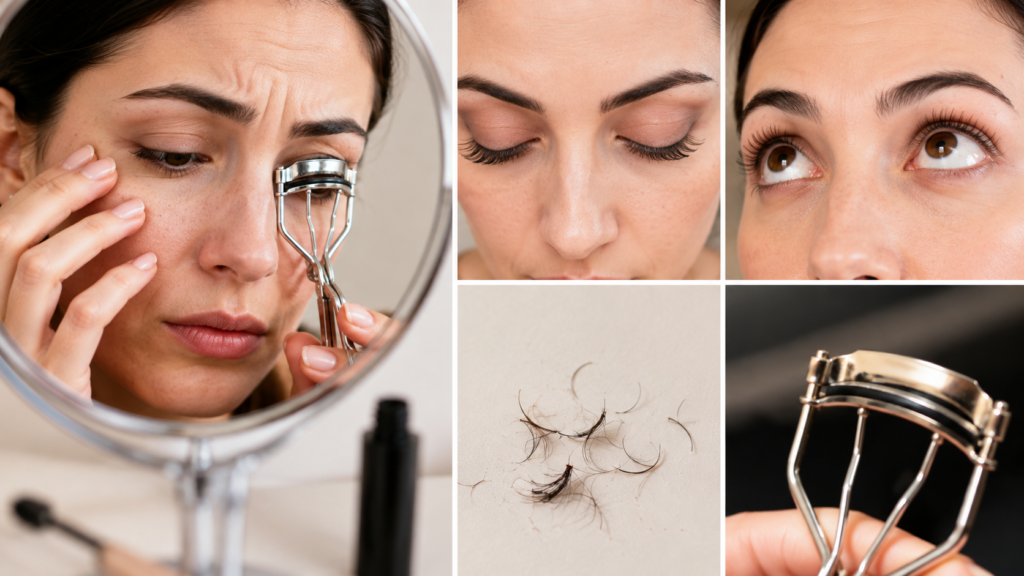
Even with the right tool and technique, a few issues tend to come up repeatedly. Here is how to solve them.
The curl does not last through the day. This usually points to lashes that are naturally very straight or oily, which causes the curl to relax. Try a heated curler, or set the curl with a light coat of mascara immediately after curling while the lash is still warm from your fingers holding the tool.
Lashes slip out of the curler. This often means the curler opening is too wide or too narrow for your lash length. Trying a different barrel size, or using a precision curler for shorter inner corner lashes, usually solves this.
The curl looks crimped instead of curved. This happens when the curler is held in one spot for too long. Moving the curler in small stages from the base to the tip, with a light pulsing squeeze at each stage, produces a much smoother, more natural bend.
Lashes seem to be shedding more than usual. This is often caused by pulling the curler away while it is still closed, or curling too aggressively too often. Easing off the pressure and being gentle with the release almost always resolves this over time.
Conclusion
An eyelash curler is a small tool with an outsized effect on your everyday makeup look. Choosing the right one for your eye shape, using proper technique, and taking care of the pads and hygiene will get you a natural, long lasting lift without the pinching, tugging, or breakage that puts so many people off the tool in the first place.
The key takeaways are simple. Match your curler to your eye shape and lash type. Curl clean, dry lashes before mascara, never after. Use a gentle, staged squeeze from base to tip rather than one hard clamp. Replace your pads regularly, and clean your tool after every use. Small habits like these are what separate a beautiful, lifted lash from a crimped or damaged one.
With the right approach, an eyelash curler becomes one of the easiest, fastest ways to open up your eyes and make your whole face look more awake, no extra products required.
Frequently Asked Questions
Do you curl your eyelashes before or after mascara?
Always curl before applying mascara. Curling lashes that already have mascara on them makes them brittle and much more likely to break or stick to the curler pads.
How long should you hold an eyelash curler in place?
Around five to ten seconds per position is enough. Holding it much longer does not add extra curl and increases the risk of an unnatural crimp.
Can an eyelash curler damage your lashes?
Used correctly, it is very safe. Damage usually comes from pulling the curler while closed, curling wet or mascaraed lashes, or using worn out pads that no longer cushion properly.
How often should you replace the pads on your eyelash curler?
Most pads should be replaced every two to three months, or immediately if they feel stiff, torn, or discolored, since worn pads are a common cause of pinching.
Are heated eyelash curlers better than traditional ones?
Heated curlers can help the curl last longer, especially on very straight lashes, but traditional curlers are generally gentler and easier to use safely for everyday application.