You are holding the angle. You have heard the footsteps. The enemy rounds the corner and for one clean second they are right there in front of you, fully visible, completely unaware. You fire. Your bullets chew the wall beside their head, the floor at their feet, and the air above their shoulder. They turn, fire three shots, and you are staring at the respawn screen wondering what just happened.
If that moment feels familiar, this guide is for you. Learning how to improve aim in FPS games for beginners is not about unlocking some hidden talent. It is about fixing a small set of habits in the right order, and then repeating them until they feel automatic. Most new players lose gunfights they should win, not because their reactions are slow, but because their crosshair starts in the wrong place, their sensitivity fights their hand, and they practise the wrong thing.
The story this guide follows is simple. A beginner player stops blaming reflexes, fixes the setup first, learns where the crosshair should live, trains flicking and tracking as separate skills, and builds a short daily routine that fits into twenty minutes. By the end you will have a plan you can start tonight, drills you can run in free tools, and a way to measure whether you are actually getting better.
Why Your Aim Feels Random
Bad aim feels random because it is made of several separate problems that all show up at the same time. When you miss, you cannot tell whether the problem was your sensitivity, your crosshair position, your timing, or your nerves. So you change everything at once, nothing improves, and you conclude that good aim is a gift you were not given. That conclusion is wrong, and it is also the thing that keeps most beginners stuck.
Aim is not one skill. It is four skills that fail in different ways. Crosshair placement is where your crosshair rests before a fight starts. Flicking is the fast snap to a target that just appeared. Tracking is keeping your crosshair on a moving target while you shoot. Micro adjustment is the tiny correction you make in the last moment before you click. When you know which one failed, you know what to practise. When you do not, every death feels the same and every fix feels like guessing.
Here is the order that matters. Setup comes first, because a bad setup makes every drill harder. Crosshair placement comes second, because it wins more fights than any drill. Flicking and tracking come third, trained separately. Review comes last, because ten minutes of honest review beats an hour of mindless shooting. Follow that order and your aim stops feeling random within a couple of weeks.
Fix Your Setup Before You Practise Anything
New players love to copy a professional player sensitivity and wonder why it feels terrible. A professional player has thousands of hours with one setting and a desk built around it. You have your own hand, your own mouse, and your own desk. Your setup has to fit you, and it has to stay still long enough for your hand to learn it.
Lock one sensitivity and leave it alone
Sensitivity is the single highest leverage setting you own, and changing it is the single most common mistake beginners make. Your hand builds a fixed map between how far it moves and how far the crosshair travels. Every time you change sensitivity, that map breaks and your hand has to rebuild it from scratch. That is why your aim feels great one night and awful the next. It is not your talent changing. It is your settings.
Pick one sensitivity and commit to it for at least two weeks. A good starting point for most beginners is a low to medium sensitivity that lets you turn 180 degrees with one comfortable swipe of your arm, while still letting you make small precise movements with your wrist. In Valorant, a common starting point is 800 DPI with an in game sensitivity near 0.35 to 0.45. In many other shooters the equivalent is an effective DPI, your mouse DPI multiplied by your in game sensitivity, somewhere between 200 and 400. These are starting points, not rules. If your arm aches after one match, it is too low. If you overshoot small targets all the time, it is too high. Find your range, write it down, and stop touching it.
Turn off mouse acceleration
Mouse acceleration is a setting that makes the same hand movement travel a different distance depending on how fast you move. That destroys the fixed map your hand is trying to learn, so turn it off everywhere. In Windows, open the mouse settings, open the additional mouse options, and switch off Enhance pointer precision. Then check your game settings for any mouse acceleration or mouse smoothing option and switch that off too. After this change your aim may feel slower for a day. That is normal. Your hand is learning a consistent relationship for the first time, and consistency is worth more than speed.
Give your arm room to work
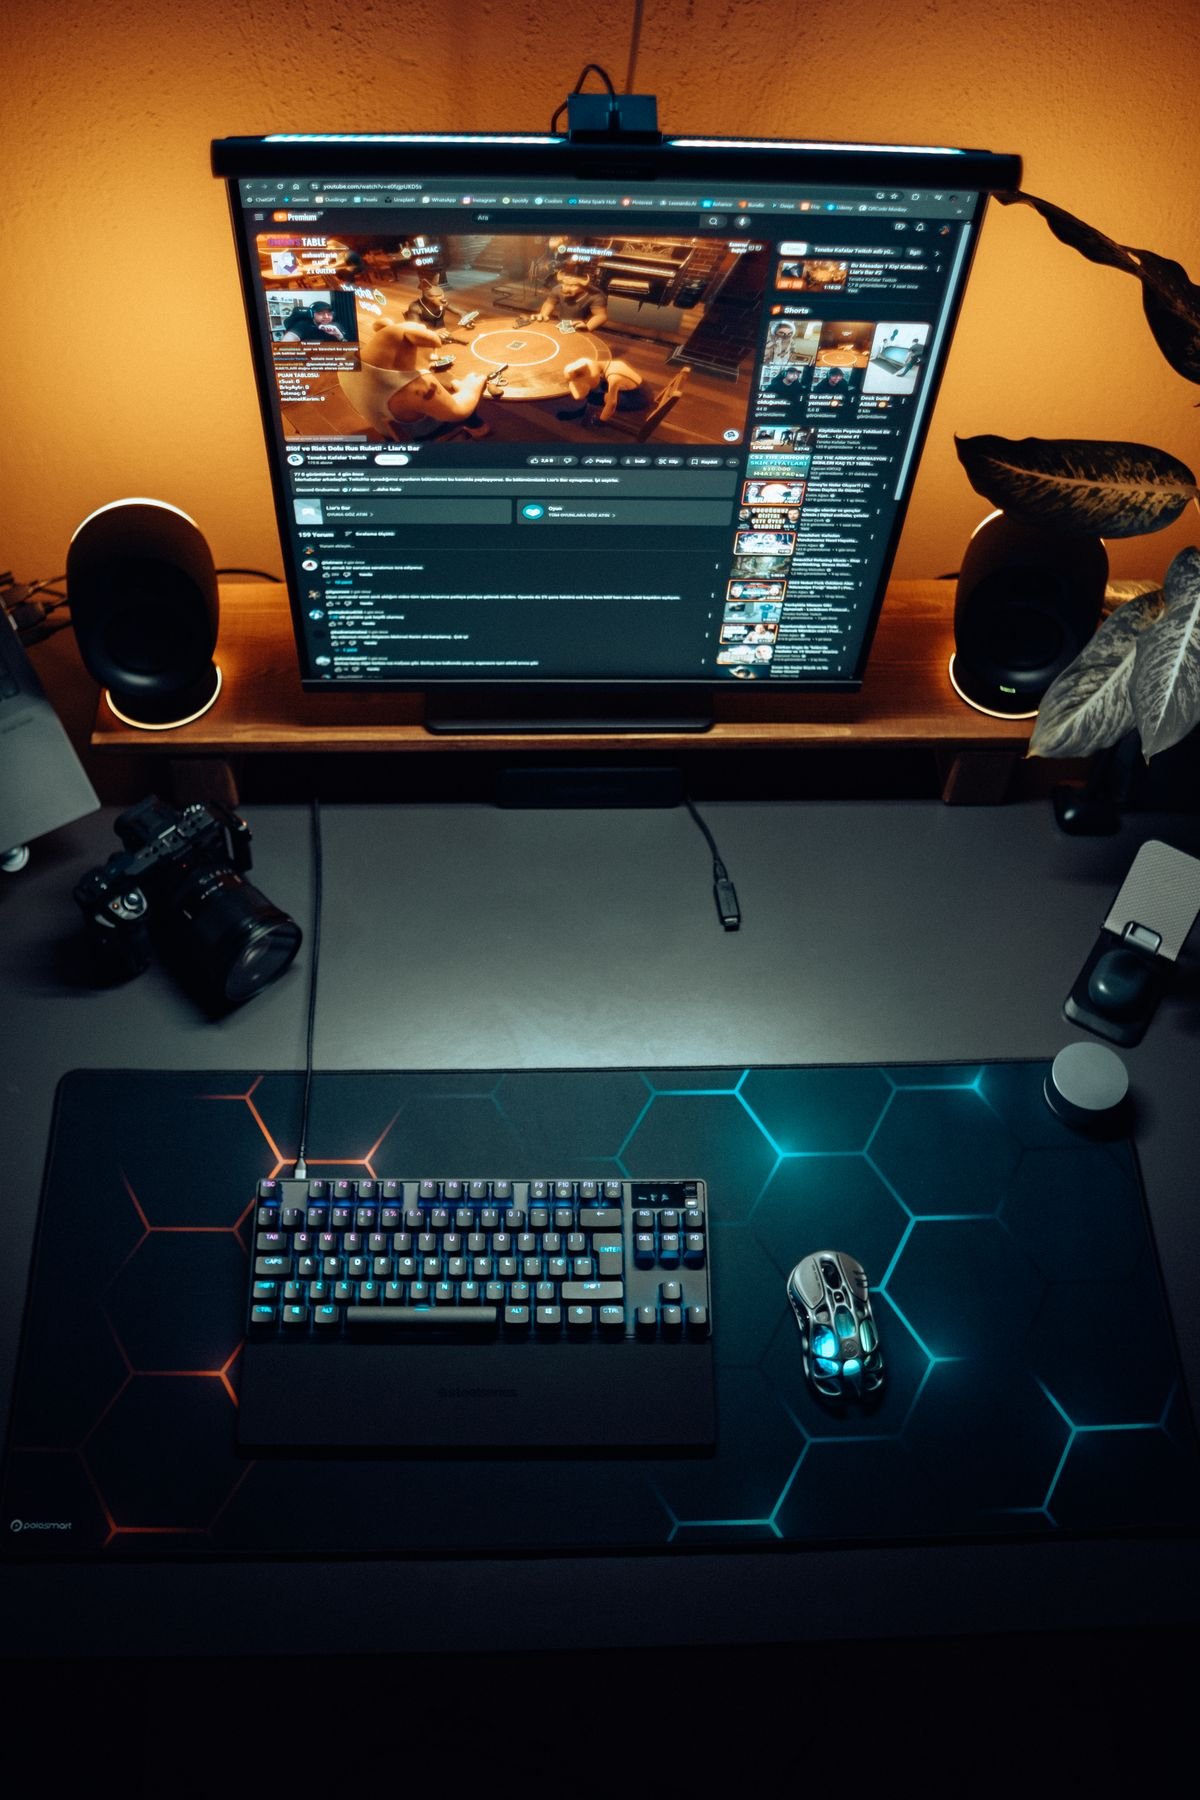
A large mousepad is one of the cheapest aim upgrades you can buy. Low sensitivity aiming uses your arm, and your arm needs space. A small pad forces you to lift and reset your mouse mid fight, and every reset is a moment when you cannot shoot accurately. Clear the desk, use a pad that covers the full sweep of your arm, and keep your keyboard angled so your left hand is comfortable. Sit so your forearm rests flat and your wrist is straight, not bent up or down. A bent wrist gets tired fast and tired hands make sloppy flicks. Keep your monitor at eye level and about an arm length away, so you can see the whole screen without turning your head. Good hardware does not buy aim, but bad hardware quietly taxes it, and overheating kit makes everything worse. Our guide on how to stop Nintendo Switch from overheating in dock covers the same cooling and airflow thinking for console hardware.
Crosshair Placement Is the Skill That Pays First
Here is the secret most aim guides bury at the bottom. Crosshair placement matters more than flicking, more than tracking, and more than reaction time. It matters more because it shrinks the shot before the fight even starts. If your crosshair is already at head height and already pointing at the corner where the enemy will appear, the shot you have to make is tiny. If your crosshair is pointing at the floor, you have to make a huge correction in a fraction of a second, and no amount of flick practice fixes that reliably.
Learning how to improve aim in FPS games for beginners starts here, because placement is a habit you can build in normal matches without any special tool. The rule is one sentence. Keep your crosshair at head height and pre aim every corner like someone is already holding it.
The corner clearing walk
Load a map you play often and walk a full lap of it without firing a shot. Your only job is to keep your crosshair at the height where an enemy head would be, and to swing it to each corner before you round it. Do not look at the floor. Do not look at the sky. Do not stare at the middle of the wall. Every doorway, every corner, every angle gets the same treatment. Your crosshair arrives before you do.
At first this feels slow and awkward. Your hand will drift back to the floor within seconds, and you will have to correct it again and again. That is the training. After a few days the head height position starts to feel like home, and your first shot in a real fight starts landing near the head instead of near the knees. Record one match and watch your deaths. If most of them happen while your crosshair is pointing at the floor or at a wall, placement is your biggest gain, not mechanics.
Stop aiming at the middle of everything
Beginners aim at the middle of doorways and the middle of corridors because it feels safe. It is not safe. Enemies appear at edges, not in the middle. When you walk past a corner, your crosshair should sit tight against the edge, at head height, so the moment an enemy steps out they are already inside your crosshair. When you hold an angle, hold it where the enemy head will be when they peek, not where their chest will be. Headshots end fights faster and they punish sloppy aim less, because a near miss at head height can still clip the head, while a near miss at chest height hits nothing.
Flicking and Tracking Are Two Different Skills
Once your setup is locked and your placement is improving, it is time to train the two movement skills separately. Flicking is snapping onto a target that just appeared. Tracking is following a target that keeps moving. They use different hand movements, they fail in different ways, and training them together in one messy drill trains neither properly.
Train your flick
A flick is a single confident movement to a target, then a stop. The stop matters as much as the movement. Beginners flick past the target, then flick back, then flick past again, and the crosshair never settles. The fix is to practise flicks that end in a full stop on the target, then a click. Speed comes later. Accuracy of the stop comes first.
Use a free aim trainer like Aim Lab or KovaaK and pick one static target scenario. Spend five minutes a day on it. Flick, stop, click. If you overshoot, slow down until the stop lands. If you undershoot, speed up slightly. Do not change your sensitivity to fix a flick problem. Your sensitivity is locked. Your hand is learning the distance, and the learning only works if the distance stays the same.
Train your tracking
Tracking is smooth, steady movement while holding the crosshair on a target that will not stand still. It is the skill that wins fights against strafing enemies, and it is the skill beginners ignore because flicking looks more exciting. Pick one smooth tracking scenario in your aim trainer and spend five minutes a day on it. Follow the target with your arm, not your wrist. Keep the movement smooth even if it feels slow. Speed without smoothness is just shaking.
One detail matters here. Match your aim trainer sensitivity to your in game sensitivity before you start. Most trainers have a setting for this, and matching it means the practice transfers to your real matches instead of training a second, incompatible hand movement. Ten minutes of matched practice beats an hour of mismatched practice.
A Simple 20 Minute Daily Routine
Short, repeated practice beats occasional long sessions. Twenty minutes a day for two weeks will change your aim more than one heroic three hour session on a Sunday. The routine below is the whole plan. Run it before your first match of the day, not after you are already tired.
- Warm up for 3 to 5 minutes with slow, easy target practice. Loose, smooth movements. No score chasing.
- Flicking block for 5 to 8 minutes. One static target scenario. Flick, stop, click. Slow down until the stop lands.
- Tracking block for 5 to 8 minutes. One moving target scenario. Smooth arm movement. No jerking.
- One match with a single goal. Today the goal is crosshair placement only. Tomorrow it might be tracking only. One goal per match keeps your attention where it belongs.
Stop a session when your accuracy drops sharply or your hand feels tense. Practising tired builds sloppy habits, and sloppy habits are harder to unlearn than the original problem. Rest is part of the training, not a break from it.
How to Practise Inside Real Matches
Aim trainers build the raw skill. Real matches teach you when to use it. Deathmatch is the best bridge between the two, because it gives you constant gunfights with no pressure about winning the round. Load a deathmatch, pick one weapon, and give yourself one goal for the whole session. Crosshair at head height the whole time. Nothing else matters. Not your score, not your deaths, not the player who keeps killing you from behind. One goal, repeated until it holds under pressure.
After deathmatch, play your normal matches the same way. Pick one goal before the match starts and judge yourself on that goal, not on the scoreboard. Did I keep my crosshair at head height? Did I stop changing sensitivity? Did I pre aim the corners? If the answer is yes, the session was a success even if you lost the match. This is how improvement actually feels. It is not a sudden jump. It is a slow shift in what your hand does without thinking.
Learn your weapons too. Every gun has a recoil pattern, and spraying without knowing the pattern is just noise. Go into a practice range, fire one weapon at a wall without moving your mouse, and look at the shape the bullets make. Then learn to pull against that shape. Start with one weapon and use it for a week. Switching weapons every match is the same mistake as switching sensitivity every day. Your hand cannot learn a moving target.
Controller Players: Aim Assist Is Not a Shortcut
If you play on a controller, the same principles apply, but the tools are different. Your thumbstick is less precise than a mouse, so your settings matter even more. Start with a low to medium sensitivity, turn down any deadzone that makes your stick feel loose, and use the aim assist your game provides. Aim assist is not cheating. It is part of the game on controller, and every good controller player uses it.
Your practice looks different too. Use the in game practice range instead of a mouse aim trainer. Spend five minutes a day on target tracking with your thumbstick, moving smoothly instead of jerking the stick. Learn the strafe rhythm of your game, because on controller your movement is often the aim. A good strafe puts the enemy in your crosshair while your thumb stays still, and that is a real skill, not a trick. Keep your crosshair at head height here too. The rule does not change just because the input does.
Mistakes That Keep Beginners Stuck
Most beginners do not have an aim problem. They have a habit problem, and the habits below are the ones that cost the most progress. Read them honestly and count how many sound familiar.
Changing sensitivity every day is the biggest one. Every change resets the map your hand is building. Lock it, write it down, and leave it alone for two weeks. Copying a professional player settings is the second. Their settings fit their hand, their mouse, and thousands of hours of practice. Your settings have to fit your hand and your desk. Use theirs as a starting point, not a destination.
Flicking at everything is the third. Not every target needs a flick. If your crosshair placement is good, most fights need only a tiny adjustment. Save the flicks for the moments when a target genuinely appears from nowhere. Practising while tilted is the fourth. After three bad matches in a row, your hands are tense, your decisions are rushed, and your aim gets worse with every round. Step away, take a break, and come back fresh. A short break from the screen helps more than another frustrated match, and our guide on how to do a digital detox weekend shows how to reset properly when the game starts feeling like a chore.
The last mistake is ignoring your body. Aim lives in your hand, your wrist, and your eyes. If your wrist hurts, stop and stretch it. If your eyes are dry and tired, look away from the screen for a few minutes. Pain is not a badge of effort. It is your body telling you the session is over. Players who look after their hands play for years. Players who ignore the pain stop playing altogether.
How to Tell If You Are Improving
Improvement in aim is hard to feel day to day, which is why beginners quit too early. You need numbers, and the numbers you track should be simple. Track three things, once a week, in the same aim trainer scenario, with the same sensitivity.
First, your accuracy in a static target scenario. If it climbs from 55 percent to 65 percent over three weeks, you are improving, even if your matches do not feel different yet. Second, your time to first shot in a real match. Watch a recording and count how long it takes you to fire after an enemy appears. As your placement improves, that time shrinks. Third, your deaths to bad placement. Count how many deaths happened while your crosshair was on the floor or on a wall. That number should fall every week, and when it does, your win rate follows.
Do not judge your aim by one match, and do not judge it by your rank. Rank moves slowly and depends on teammates, maps, and luck. Your placement, your accuracy, and your time to first shot are yours alone, and they move first. Trust the numbers that belong to you.
Conclusion
Learning how to improve aim in FPS games for beginners comes down to three ideas. First, aim is mostly setup and positioning, not reflexes, so lock one sensitivity, switch off mouse acceleration, and keep your crosshair at head height. Second, flicking and tracking are separate skills, so train them separately with short daily drills instead of grinding random matches. Third, progress is slow and measurable, so track a few simple numbers and judge yourself on your habits, not on one match.
Start tonight with the setup fixes. They take ten minutes and they change everything after them. Then run the twenty minute routine for two weeks, one goal per match, and watch your deaths to bad placement fall. Your aim will not transform overnight, and anyone who promises that is selling something. It will transform the honest way, a little at a time, until one evening an enemy rounds the corner and your crosshair is already there waiting for them.
Frequently Asked Questions
How long does it take to improve aim in FPS games?
Most beginners see a clear difference in two to three weeks of twenty minutes of daily practice. Crosshair placement improves first, often within days, while flicking and tracking take longer. Judge progress weekly, not daily.
What is the best sensitivity for beginners in FPS games?
There is no single best sensitivity, because it depends on your mouse, your desk, and your hand. A good starting point is 800 DPI with an in game sensitivity near 0.35 to 0.45 in Valorant, or an effective DPI between 200 and 400 in other shooters. Pick one setting, write it down, and leave it alone for two weeks.
Are aim trainers worth using for beginners?
Yes, if you use them for short focused sessions. Ten minutes a day on one flicking scenario and one tracking scenario builds the raw skill faster than random matches. Match the trainer sensitivity to your in game sensitivity so the practice transfers.
Is crosshair placement more important than flicking?
Yes, for beginners it is the highest value skill. Good placement means the shot you have to make is tiny, so you win more fights with less mechanical skill. Flicking matters too, but it pays off after placement is solid.
Can you get good aim on a controller?
Yes. Controller players use aim assist, low to medium sensitivity, and strafe based aiming to compete at a high level. The same rules apply: lock your settings, keep your crosshair at head height, and practise tracking daily in the practice range.