
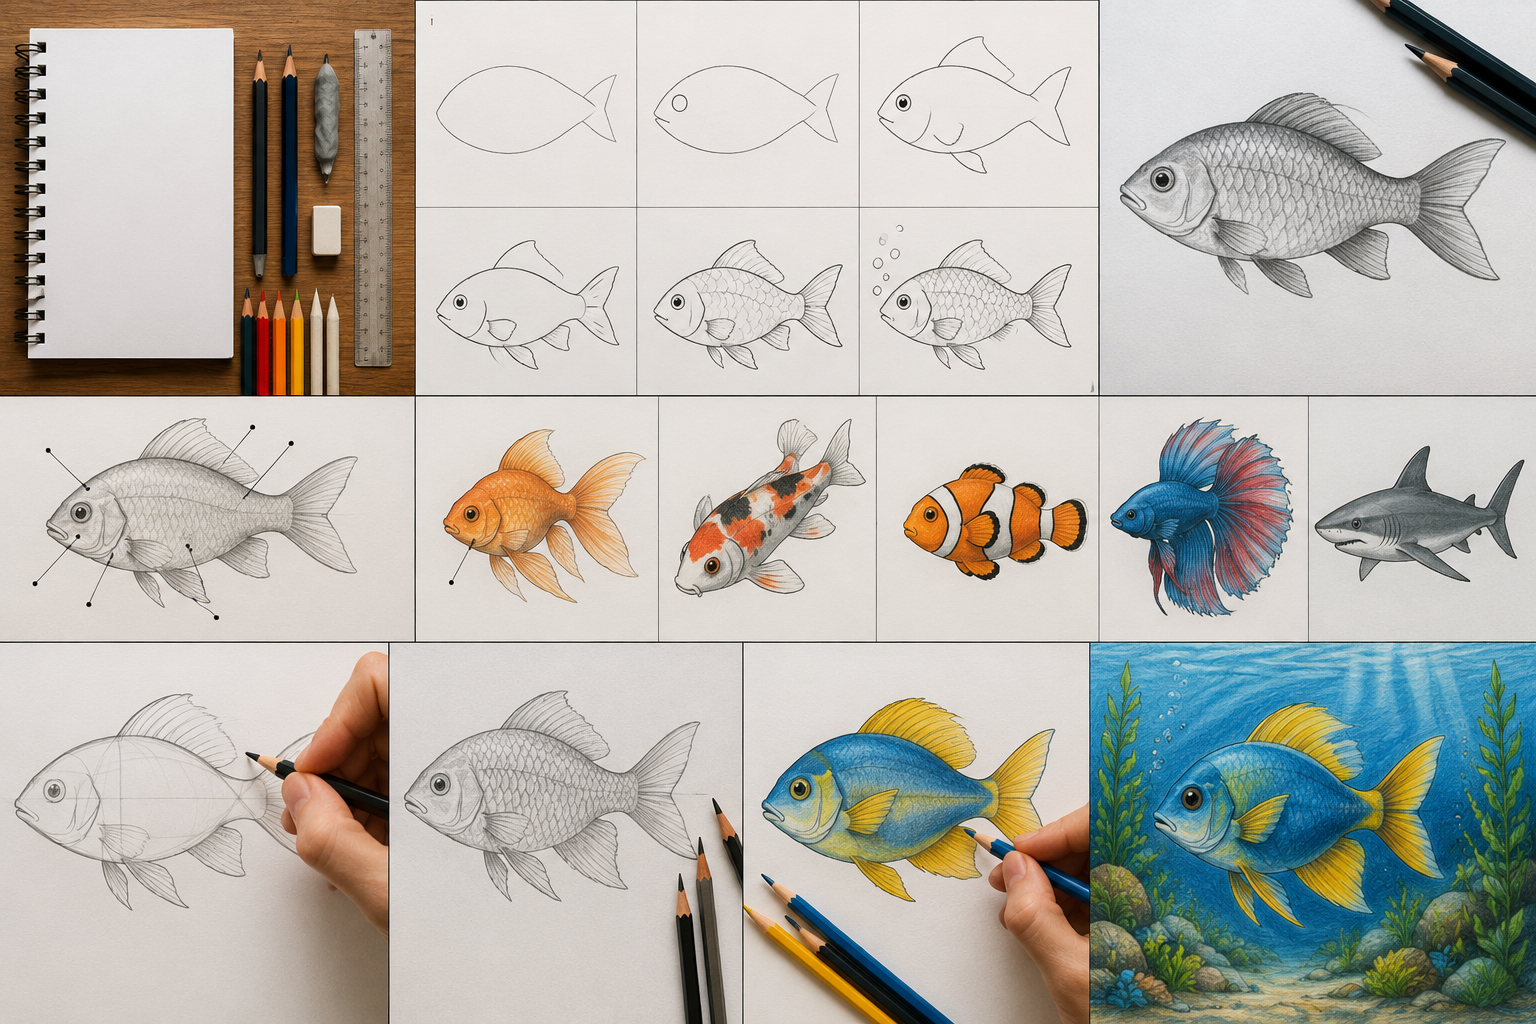
Learning fish drawing does not require years of art school or a shelf full of expensive supplies. All it takes is a bit of patience, a few basic shapes, and a willingness to practice.
Whether you are a parent helping a child with a school project, a beginner picking up a pencil for the first time, or a hobbyist ready to add more realism to your sketchbook, this guide walks you through everything you need. You will find simple steps for total beginners, a more detailed method for intermediate artists, and shading techniques that bring a fish to life on paper.
By the end, you will not only know how to draw a fish. You will understand why each line and curve matters, which makes every future drawing easier.
Why Fish Are a Great Subject to Draw
Fish are one of the best animals to practice on if you are building your drawing confidence. Their bodies are made up of simple, repeatable shapes: an oval for the body, triangles for fins, and a curved tail.
Unlike drawing a human face or a complex animal like a horse, a fish does not demand perfect symmetry or intricate proportions to look convincing. This makes fish drawing an ideal entry point for children learning to sketch and for adults returning to art after a long break.
There is also enormous creative freedom here. Fish come in thousands of shapes, colors, and patterns, so there is no single correct way to draw one. You can keep it playful and cartoonish or aim for a scientifically accurate illustration. Both approaches are equally valid.
What You Need Before You Start
You do not need a professional art kit to get started. A basic setup works perfectly well and can be expanded later as your interest grows.
For pencil and paper drawing:
- A regular sheet of paper, either plain or lightly gridded
- A standard HB pencil for sketching
- A softer pencil, such as a 2B, for shading
- An eraser, ideally a kneaded one for cleaner corrections
- Fine tip markers or colored pencils for the final details
Optional but helpful:
- A ruler for reference lines
- Blending stumps for smoother shading
- A printable practice sheet, which many beginners find useful for repetition
If you are drawing with children, keep the setup simple. Crayons and thick markers work well for younger kids who are more focused on shapes and colors than fine detail.
Understanding Basic Fish Anatomy
One thing that separates a good fish drawing from an average one is a basic understanding of fish anatomy. You do not need to memorize scientific terms, but knowing the main parts helps every drawing look more accurate and intentional.
The main parts of a fish include:
- Body: Usually oval or torpedo shaped, narrower at the head and tail
- Dorsal fin: The fin on top of the back, which helps with stability
- Pectoral fins: A pair of fins near the head, used for steering
- Pelvic fin: Located on the underside, closer to the body’s midpoint
- Caudal fin: The tail fin, which powers movement through water
- Gills: The curved line near the head where the fish breathes
- Lateral line: A faint line running along the body, often visible in realistic drawings
Once you recognize these parts, you will notice they appear across nearly every fish species, just in different proportions. A shark has a taller dorsal fin, a goldfish has a rounder body, and a clownfish has more compact fins. Understanding the framework makes it much easier to adapt your drawing to any species.
Easy Fish Drawing for Beginners and Kids
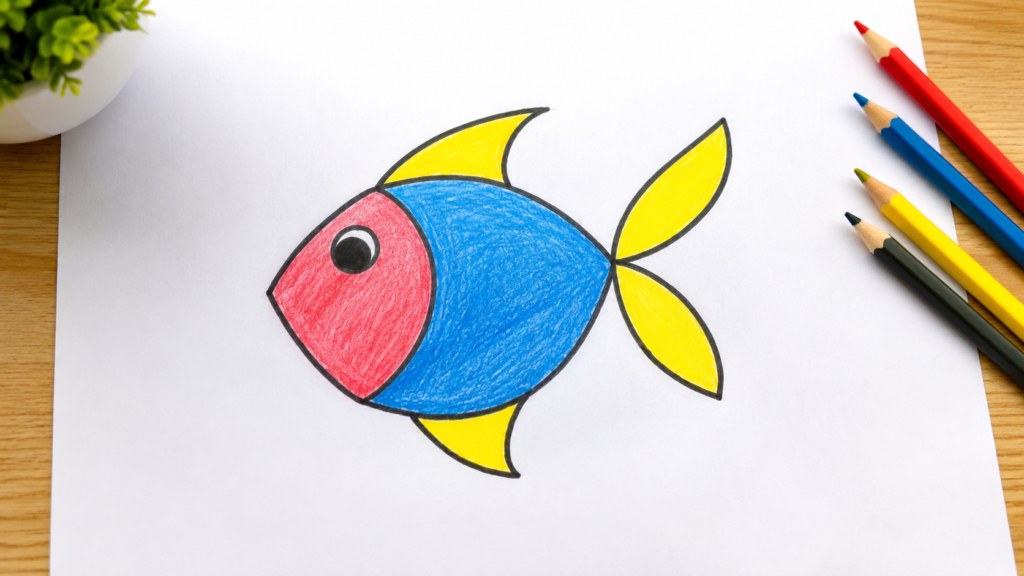
This method is designed for anyone picking up a pencil for the first time, including young children. It focuses on simple curves and shapes rather than fine detail.
Step 1: Draw the body outline. Sketch a curved line from left to right, then draw a second curved line beneath it that meets the first at a point on the right side. This creates a simple almond or leaf shape for the body.
Step 2: Add the tail. At the point where the two curves meet, draw a small triangle or a slightly curved V shape. This becomes the tail fin.
Step 3: Draw the eye. Add a small circle near the front of the body, then a smaller dot inside it for the pupil. Leave a tiny unshaded spot for a highlight, which makes the eye look brighter.
Step 4: Add the mouth and gill line. Draw a short curved line near the front for the mouth, and another gentle curve behind the eye to represent the gill.
Step 5: Add fins. Sketch one fin below the body and a smaller one on top. Keep the shapes simple, like rounded triangles.
Step 6: Add finishing touches. Draw a few bubbles above the fish’s mouth, then add a scale pattern using small curved lines or dots across the body.
This approach can be completed in under ten minutes and is perfect for classroom activities, coloring pages, or a quick creative break.
Intermediate Fish Drawing With More Detail
Once you feel comfortable with the basic shape, you can add more structure and personality to your fish drawing.
Start with construction lines. Rather than drawing the outline directly, lightly sketch a horizontal guideline and a rough oval for the body. This keeps your proportions consistent before you commit to final lines.
Build the fins with more accuracy. Instead of simple triangles, draw the dorsal fin as an elongated curved shape connected along the back. Add the pelvic and pectoral fins as separate, layered shapes rather than single triangles. This alone makes a noticeable difference in realism.
Refine the head and face. Add a slightly open mouth, a more defined gill cover, and layered circles for the eye to create depth. Position the eye near the top third of the head for a natural look.
Add texture with scale patterns. Instead of scattered dots, draw overlapping curved lines in rows, similar to shingles on a roof. This technique reads as scales without requiring you to draw each one individually, which saves time and still looks convincing.
Vary your fin details. Add thin lines running through each fin to represent rays, the small supporting structures found in real fish fins. This small addition adds a surprising amount of realism.
Advanced Fish Drawing With Shading and Realism
For artists ready to push further, shading transforms a flat outline into a three dimensional image.
Establish your light source first. Decide where the light is coming from before you begin shading. Most fish drawings look most natural with light coming from above, since that mimics how sunlight filters through water.
Shade from dark to light. Fish typically have a darker back that gradually lightens toward the belly. Use your softer pencil to build this gradient gradually, blending as you go rather than pressing hard in one pass.
Add a reflective streak. Many fish have smooth, slightly reflective scales. Leave a subtle lighter band running along the middle of the body to suggest this natural shine.
Layer in patterns after your base shading. If your fish has stripes, spots, or other markings, add them after the initial shading layer. This keeps the pattern from looking flat or pasted on top of the drawing.
Finish the eye last. Shade the eye with care, keeping a small highlight untouched. This tiny detail often makes the biggest difference in how lifelike the final drawing appears.
Drawing Different Fish Species
Once you understand the core structure, adapting your fish drawing to different species becomes much easier.
- Goldfish: Rounder body, flowing tail fin, minimal patterning
- Koi: Elongated body, whisker like barbels near the mouth, bold color blocking
- Clownfish: Compact oval body, distinct white and orange bands, rounded fins
- Betta fish: Dramatic, flowing fins that take up more visual space than the body itself
- Shark: Streamlined torpedo shape, tall triangular dorsal fin, small eyes relative to body size
Practicing a few different species helps you understand how proportion changes the overall feel of a drawing, even when the underlying structure stays the same.
Digital Fish Drawing Tips
More artists are moving from paper to tablets, and fish drawing translates well to digital tools.
If you are using an app like Procreate or a similar drawing program, start on a low opacity layer for your sketch, then create a new layer for clean linework. This mirrors the traditional pencil and ink process but allows you to undo mistakes instantly.
Digital brushes that mimic pencil texture work best for the sketching stage, while a smaller, harder brush is ideal for clean final lines. For shading, use a soft airbrush tool at low opacity and build up gradually, just as you would with a physical pencil.
One advantage of digital fish drawing is the ability to experiment with color on a separate layer without committing to a final choice. This makes it easier to try a tropical color scheme, a realistic freshwater palette, or something entirely imaginative.
Common Mistakes and How to Fix Them
Even experienced artists run into a few recurring issues when drawing fish. Recognizing these early can save a lot of frustration.
The fish looks flat. This usually happens when shading is skipped or applied too evenly. Add a gradual gradient from dark to light rather than a single flat tone.
Fins look stiff or pasted on. Fins should follow the curve of the body, not sit as separate straight shapes. Try angling them slightly to suggest movement through water.
Proportions look off. If the head looks too large or the tail too small, go back to your construction lines before adding detail. Adjusting proportions is much easier at the sketch stage than after the drawing is finished.
Scales look busy or cluttered. Overlapping curved rows almost always look cleaner than individually outlined scales. Less detail often reads as more realistic from a normal viewing distance.
The eye looks lifeless. A missing highlight is usually the culprit. That small untouched spot in the pupil does more work than most artists expect.
Bringing Your Fish Drawing to Life With Color
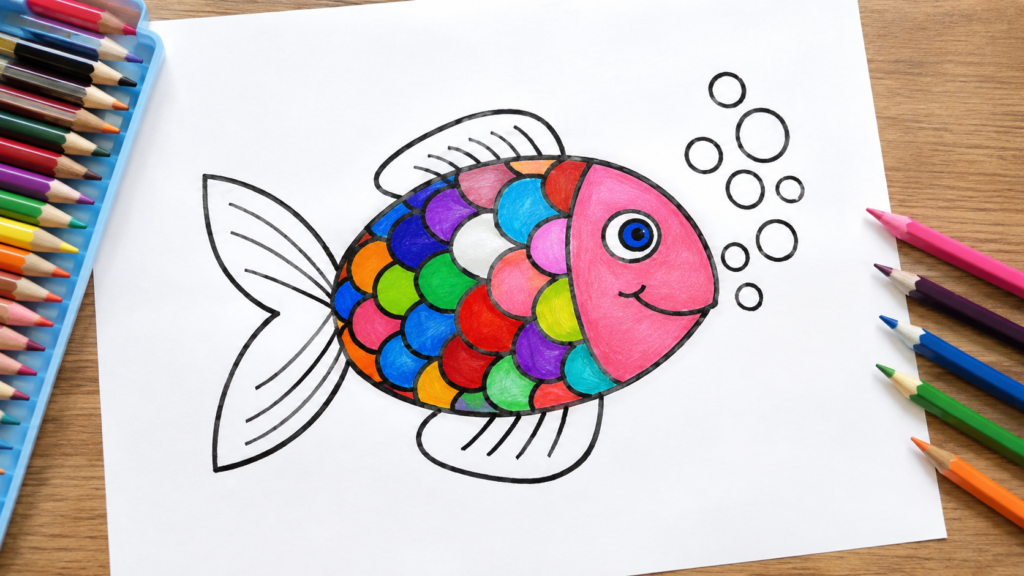
Color is where a fish drawing truly comes together. Fish exist in nearly every color combination imaginable, so there is no wrong choice, but a few approaches tend to work particularly well.
For a natural look, use a darker shade along the top of the body, a mid tone through the middle, and a lighter or even white tone along the belly. This mirrors how light interacts with real fish in water.
For a more playful or tropical style, bold contrasting colors like orange and white, blue and yellow, or purple and green create instant visual interest. This approach works especially well for younger artists or decorative pieces.
Whichever direction you choose, apply color in light layers rather than one heavy pass. This gives you more control and makes blending transitions between colors much smoother.
Final Thoughts
Fish drawing is one of the most rewarding subjects to practice because it rewards patience without demanding perfection. Starting with simple shapes builds confidence, understanding basic anatomy improves accuracy, and layering in shading or color takes the drawing from flat to lifelike.
Whether you are guiding a child through their first sketch, refining your own technique, or exploring digital tools for the first time, the same core principles apply. Start simple, build up gradually, and pay attention to the small details like the eye highlight or the fin curve. Those little touches are often what separate a good fish drawing from a great one.
Grab a pencil, pick a fish you like, and start sketching. The more you practice, the more natural each curve and line will feel.
Frequently Asked Questions
What is the easiest fish to draw for beginners?
A simple, generic fish with an oval body and basic triangle fins is the easiest starting point. Goldfish and clownfish are also beginner friendly because their shapes are rounded and forgiving.
How do you make fish scales look realistic?
Draw overlapping curved lines in rows rather than individual outlined scales. This technique creates a convincing texture without requiring excessive detail.
What pencil is best for shading a fish drawing?
An HB pencil works well for the initial sketch, while a softer 2B or 4B pencil is better suited for building up shading and depth.
How long does it take to learn fish drawing?
Basic fish shapes can be learned in a single sitting, often within ten to fifteen minutes. Developing more realistic shading and proportion typically comes with regular practice over a few weeks.
Can fish drawing techniques apply to digital art?
Yes. The same principles of shape, shading, and proportion apply whether you are working with pencil and paper or a drawing tablet. Digital tools simply offer more flexibility for corrections and color experimentation.