You taped the last photo to the board on a bright January morning. The beach house. The new job title. The marathon medal. The kitchen you wanted. For two weeks you looked at it every morning and felt a small lift. Then life filled in. By February the board was still on the wall, but you had stopped seeing it. By March it was decoration.
If that story sounds familiar, you are not bad at dreaming. You built the kind of board most guides teach, and that kind of board rarely survives contact with a normal week. If you want to learn how to make a vision board that actually works, start by forgetting the glossy trophy wall and building a focus system instead. A working board does not show a fantasy life. It shows the next 90 days of a real one, in pictures you can act on.
This guide walks through seven steps that turn a board from wall art into a weekly tool. You will picture one ordinary good day, pick one focus for the next 90 days, build the board in three layers, and run a five minute review every week. There is also a full worked example near the end, so you can see a complete board for one realistic goal before you build your own.
Why Most Vision Boards Stop Working by February
Most boards fail for the same quiet reason. They show the prize, not the path. A photo of a beach house says nothing about the saving habit that pays for it. A photo of a marathon medal says nothing about the Tuesday morning run in the rain. When a board only shows endings, your brain enjoys the ending for a few days and then moves on. There is nothing left to do, so there is nothing left to notice.
A second problem is size. A board with twelve dreams in twelve areas asks you to care about everything at once. Careers, money, fitness, travel, romance, home, learning, style, family, health, hobbies, and a side business cannot all be the focus of one season. When everything matters, nothing gets a next step. The board becomes a collage of wishes, and wishes do not come with a calendar.
A third problem is placement. Many boards end up in a spare room, behind a door, or high on a wall you pass without looking. A board you never see cannot remind you of anything. A board that works lives where your day already happens, near the coffee, the desk, or the door you leave through each morning.
None of this means vision boards are useless. It means the usual method is incomplete. A picture can hold your attention and point it in one direction. That is a real job, and it is enough. The board is not a magic tool. It is a compass. A compass does not walk the road for you, but it does stop you walking in circles.
The Research Warning Most Board Guides Skip
Before you cut a single image, it helps to know what the research actually says, because one popular idea about visualisation is backwards. Picturing only the happy ending can lower motivation, not raise it. That finding surprises most people, and it changes how a good board should look.
What the studies really say
In a 2011 study, Kappes and Oettingen found that positive fantasy about a desired future can drain energy for action. People who daydreamed in detail about success felt as if they had already enjoyed it, so they put in less effort afterwards. The fantasy felt good in the moment and cost effort later. That is the exact trap of a board covered in trophies. You get the warm feeling in January and the flat feeling in February.
An earlier study by Pham and Taylor in 1999 found the opposite pattern for a different kind of visualisation. Students who pictured the process of studying, the steps, the schedule, the hard parts, did better than students who only pictured the good grade. Seeing yourself do the work prepares you to do the work. Seeing only the reward prepares you to enjoy the reward in your head.
A meta analysis of 21 studies on mental contrasting and related methods reached a similar conclusion. Imagining a good outcome helps most when it is paired with an honest look at the obstacles in the way. Wish plus reality beats wish alone, because the gap between the two becomes a plan instead of a daydream.
How WOOP turns a wish into a plan
WOOP is a simple method from the same line of research, and it fits a vision board well. The letters stand for Wish, Outcome, Obstacle, Plan. You name a wish, you picture the best outcome, you name the main obstacle inside you, and you make a plan for the moment the obstacle appears. The plan is an if then rule. If it rains on run day, then I walk for twenty minutes indoors. If a sale tempts me, then I move the money to savings first.
Your board can carry this method without looking like a worksheet. The centre image shows the outcome. The images around it show the process. A small note on the board names the obstacle and the plan. That one note is the difference between a poster and a tool. Keep it visible, keep it short, and keep it honest.
How to Make a Vision Board That Actually Works Starts With One Honest Goal
The first move is not shopping for images. The first move is choosing one honest goal for the next 90 days. Ninety days is long enough to see real change and short enough to stay believable. A year is too far away to feel urgent. A week is too short to build anything. Ninety days sits in the middle, where effort turns into evidence.
Write the goal in one plain sentence before you open a magazine or a search tab. Make it specific enough that you will know in 90 days whether it happened. Save 500 dollars for a family trip is a goal. Get better with money is a wish. Walk four mornings a week is a goal. Get fit someday is a wish. The board can only focus you if the goal can be counted or clearly seen.
If several goals compete for the top spot, use a simple sort. Ask which goal would make the next 90 days feel different if it moved forward, even a little. The rest do not vanish. They wait for the next season. A board with one centre and a few supports beats a board with ten centres every time.
If you find it hard to pick one focus because everything feels urgent, it can help to sort tasks before you choose. Our guide to prioritize tasks using the Eisenhower Matrix shows a plain way to separate what is urgent from what is truly important, and that split often makes the right 90 day focus obvious.
Step 1 Picture Your Ordinary Good Day
Now close the goal list and picture a Tuesday. Not a holiday, not a prize ceremony, just a good ordinary day inside the life you want. What time do you wake up? What do you eat? Who is at the table? What work fills the morning? What does the evening hold? The answers matter more than any stock photo of a mansion, because an ordinary good day is a life you can actually live.
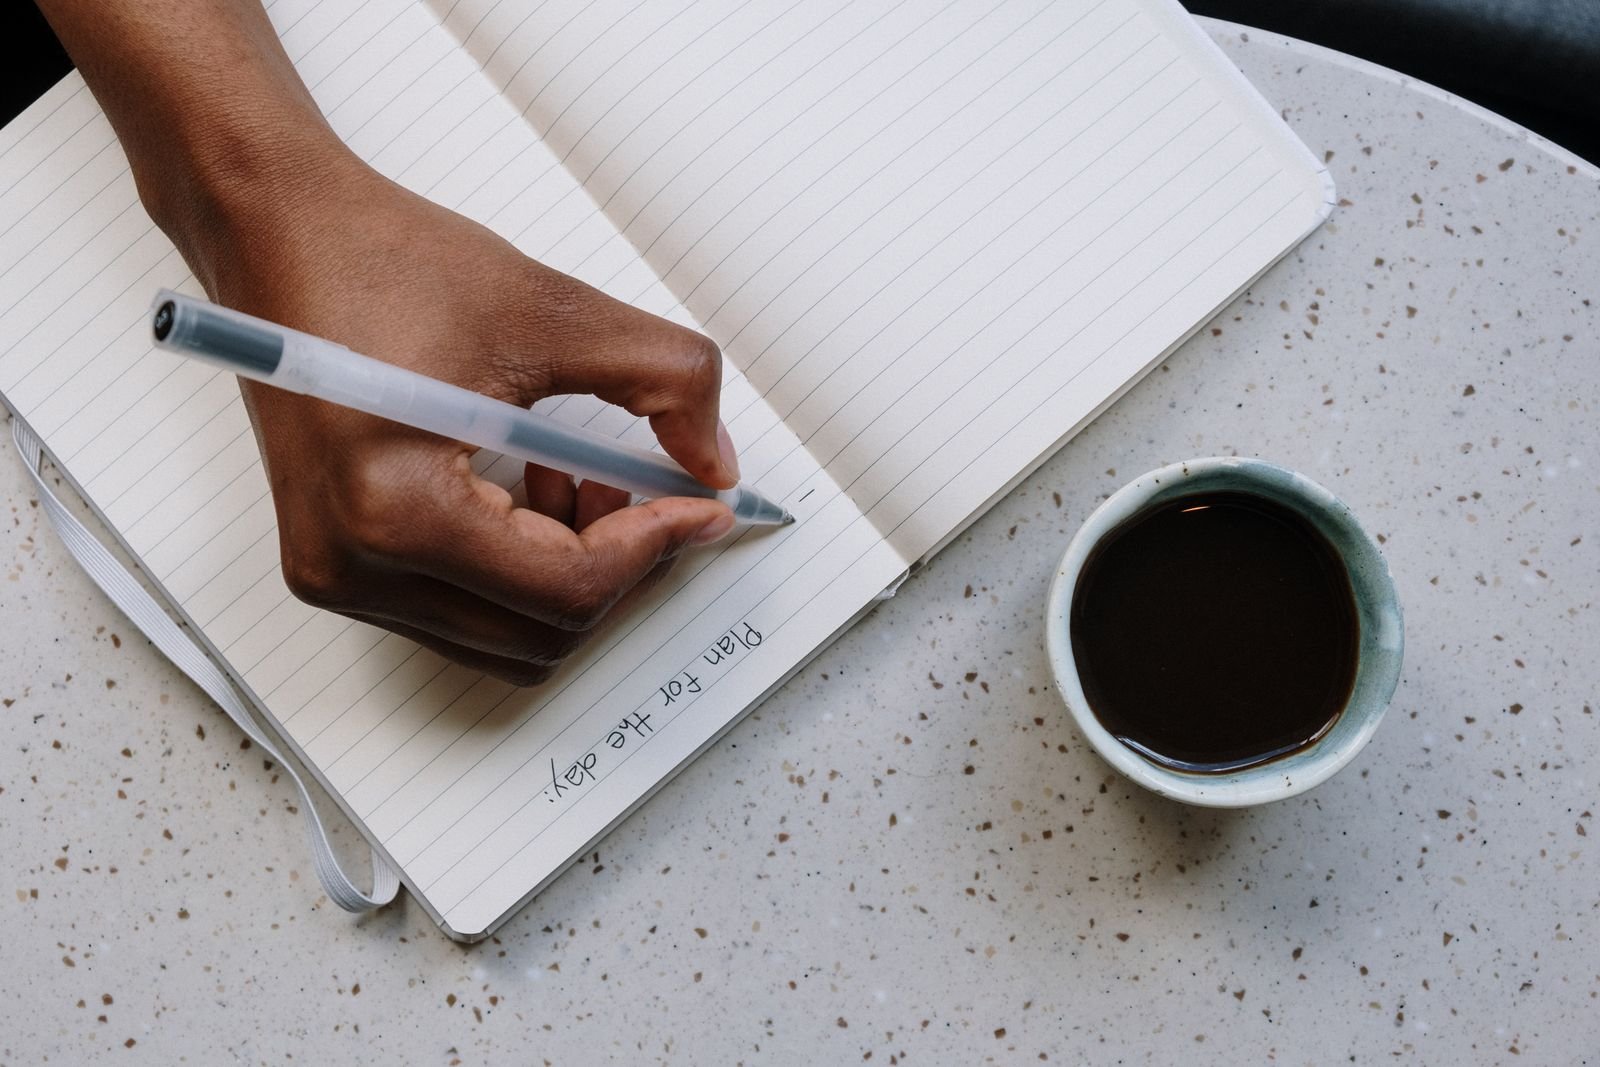
Write down five to seven details of that day in plain words. Keep them sensory and small. Morning light through the kitchen window. A walk before email. Lunch packed at home. An hour of reading after dinner. A phone call with a friend on Sunday. These details are the raw material of your board. Each one can become an image, and each image points to a habit, not a trophy.
This step also protects you from a board full of other peoples dreams. A beach house might belong to a travel magazine, not to you. A quiet morning with coffee and a notebook might be the real dream, and it costs almost nothing. When the pictures match your own good day, the board feels personal. When they match an advertisement, the board feels borrowed, and borrowed boards are easy to ignore.
Take your time here. Ten quiet minutes with a notebook will save you from a board that looks impressive and means nothing. If a detail does not make you feel calmer or more alive when you picture it, leave it out. The board is small on purpose. Only the details that matter earn a place on it.
Step 2 Pick One 90 Day Focus
Look at your good day notes and ask which single change would bring that day closer. That change is your 90 day focus. It should be one thing, not five. One focus gives the board a centre. Everything else on the board supports that centre or waits for next season.
Name the focus in a short phrase you can say out loud. Save 500 dollars. Walk 100 miles. Finish the first draft. Cook dinner at home four nights a week. A focus you can say in one breath is a focus you can remember on a busy morning. If the phrase needs a paragraph to explain it, it is still two goals wearing one coat. Split it and pick the half that matters most.
Check the focus against real life before you commit. Do you have the hours, the money, and the help you need to move it forward each week? A focus that needs ten free hours a week from a person who has two is a fantasy, not a plan. Shrink it until it fits your actual calendar. A small focus you can keep beats a grand focus you abandon by week three.
Personal time often loses out when life gets busy, so be honest about what you will protect. If your focus is rest, reading, or a hobby you have missed, our guide on how to make time for hobbies as a busy parent has practical ways to guard small pockets of time without a big schedule overhaul. The board can remind you of the focus. The calendar has to protect it.
Step 3 Build in Three Layers
A board that works has three layers, not one flat field of pictures. The layers give the board a shape your eye can read in seconds. The centre holds the focus. The middle ring holds the supports. The outer edge holds one long anchor, a picture that points past the 90 days and reminds you why this season matters.
The centre: one 90 day focus
Put one large image in the middle of the board. This image stands for the 90 day focus and nothing else. For a savings goal, it might be a photo of the trip you are saving for, or a simple image of a full savings jar. For a fitness goal, it might be a photo of the trail you will walk, not a photo of a strangers body. The centre image should make you think of the life you want, not of a person you are not.
Keep the centre image big and leave space around it. White space is not wasted space. It tells your eye where to land first. A crowded centre competes with itself. A clear centre gives the whole board a point.
The middle ring: three to five supports
Around the centre, place three to five smaller images. Each one stands for a support, a habit or area that feeds the focus. For a savings goal, the supports might be home cooking, a weekly money check, and a free weekend hobby. For a fitness goal, they might be sleep, a walking route, and a healthy breakfast. Each support earns its place by helping the centre, not by looking pretty beside it.
Limit the supports to five at most. Three is often enough. Each support should connect to one action you can take in a normal week. If you cannot name the action for a picture, the picture is decoration. Take it off the board and save it for a later season.
The outer edge: one long anchor
On the outer edge, place one image that points past the 90 days. This is the long anchor. It might be a photo of the house you hope to buy in two years, or a picture of the skill you want to build over time. The anchor keeps the season honest. It says this 90 day focus is one step on a longer road, not the whole road.
One anchor is enough. Two anchors pull the eye in two directions and blur the focus. The anchor should feel calm, not urgent. It is there to remind you why the work matters on the weeks when progress feels slow.
Step 4 Choose Verbs Not Nouns
Here is the rule that separates a working board from a wish list. Fill the board with verbs, not nouns. Nouns name things you want to own. Verbs name things you will do. A board full of nouns invites you to stare. A board full of verbs invites you to move.
Look at each image and ask what action it shows. A photo of a running shoe is a noun. A photo of a person running at sunrise is a verb. A photo of a stack of money is a noun. A photo of a hand dropping coins into a jar is a verb. The difference looks small on paper and feels large in practice. Action images prime your brain to act. Object images prime your brain to want.
Words on the board should follow the same rule. Short verb phrases beat grand nouns. Walk before email. Cook on Sunday. Save twenty dollars on Friday. Call Mom on Sunday. Each phrase is a small instruction, and instructions are easy to follow on a tired day. A single word like abundance is not an instruction. It is a mood, and moods do not come with a next step.
When you gather images, search for the doing, not the having. Search for a person cooking, not a perfect kitchen. Search for a person writing at dawn, not a bestseller list. Search for a person walking a trail, not a medal. The doing is the part you can copy tomorrow morning. The having is the part you cannot copy at all.
Step 5 Give Every Area One Next Step
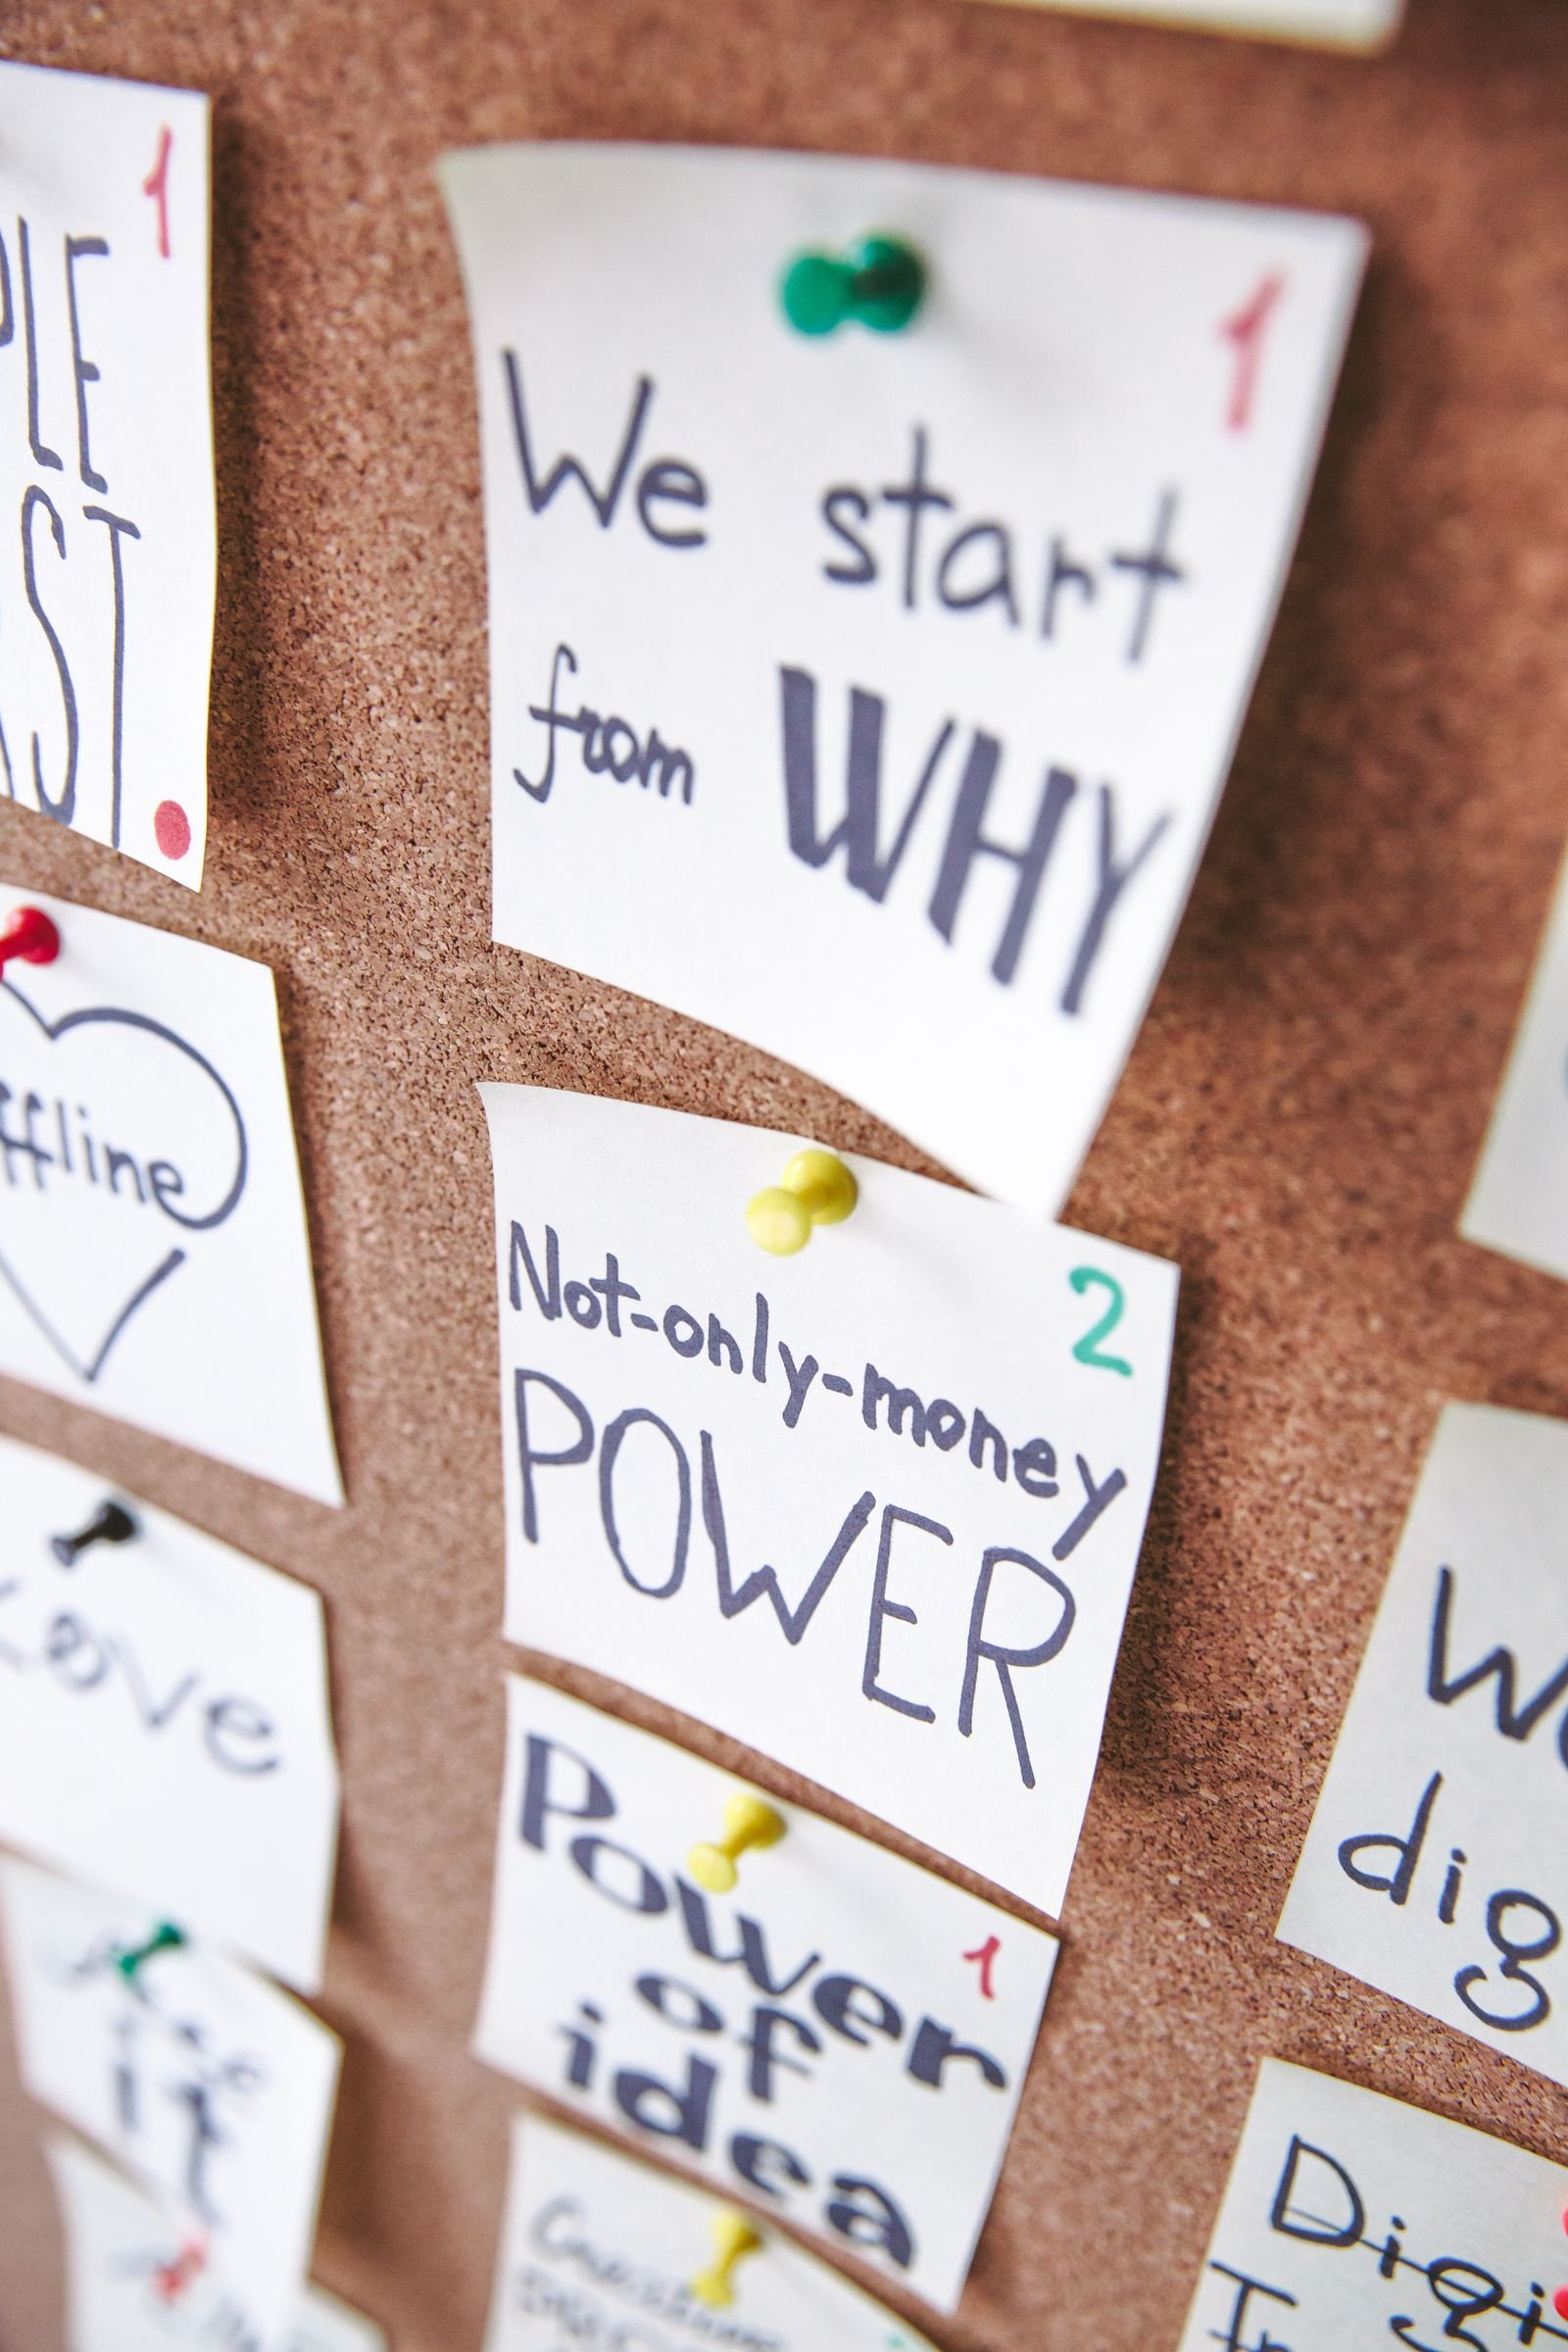
Every picture on the board needs one next step, written down where you can see it. Not a plan for the whole season. One small step, doable this week, tied to that image. The step turns a picture into a task, and a task turns a wish into motion.
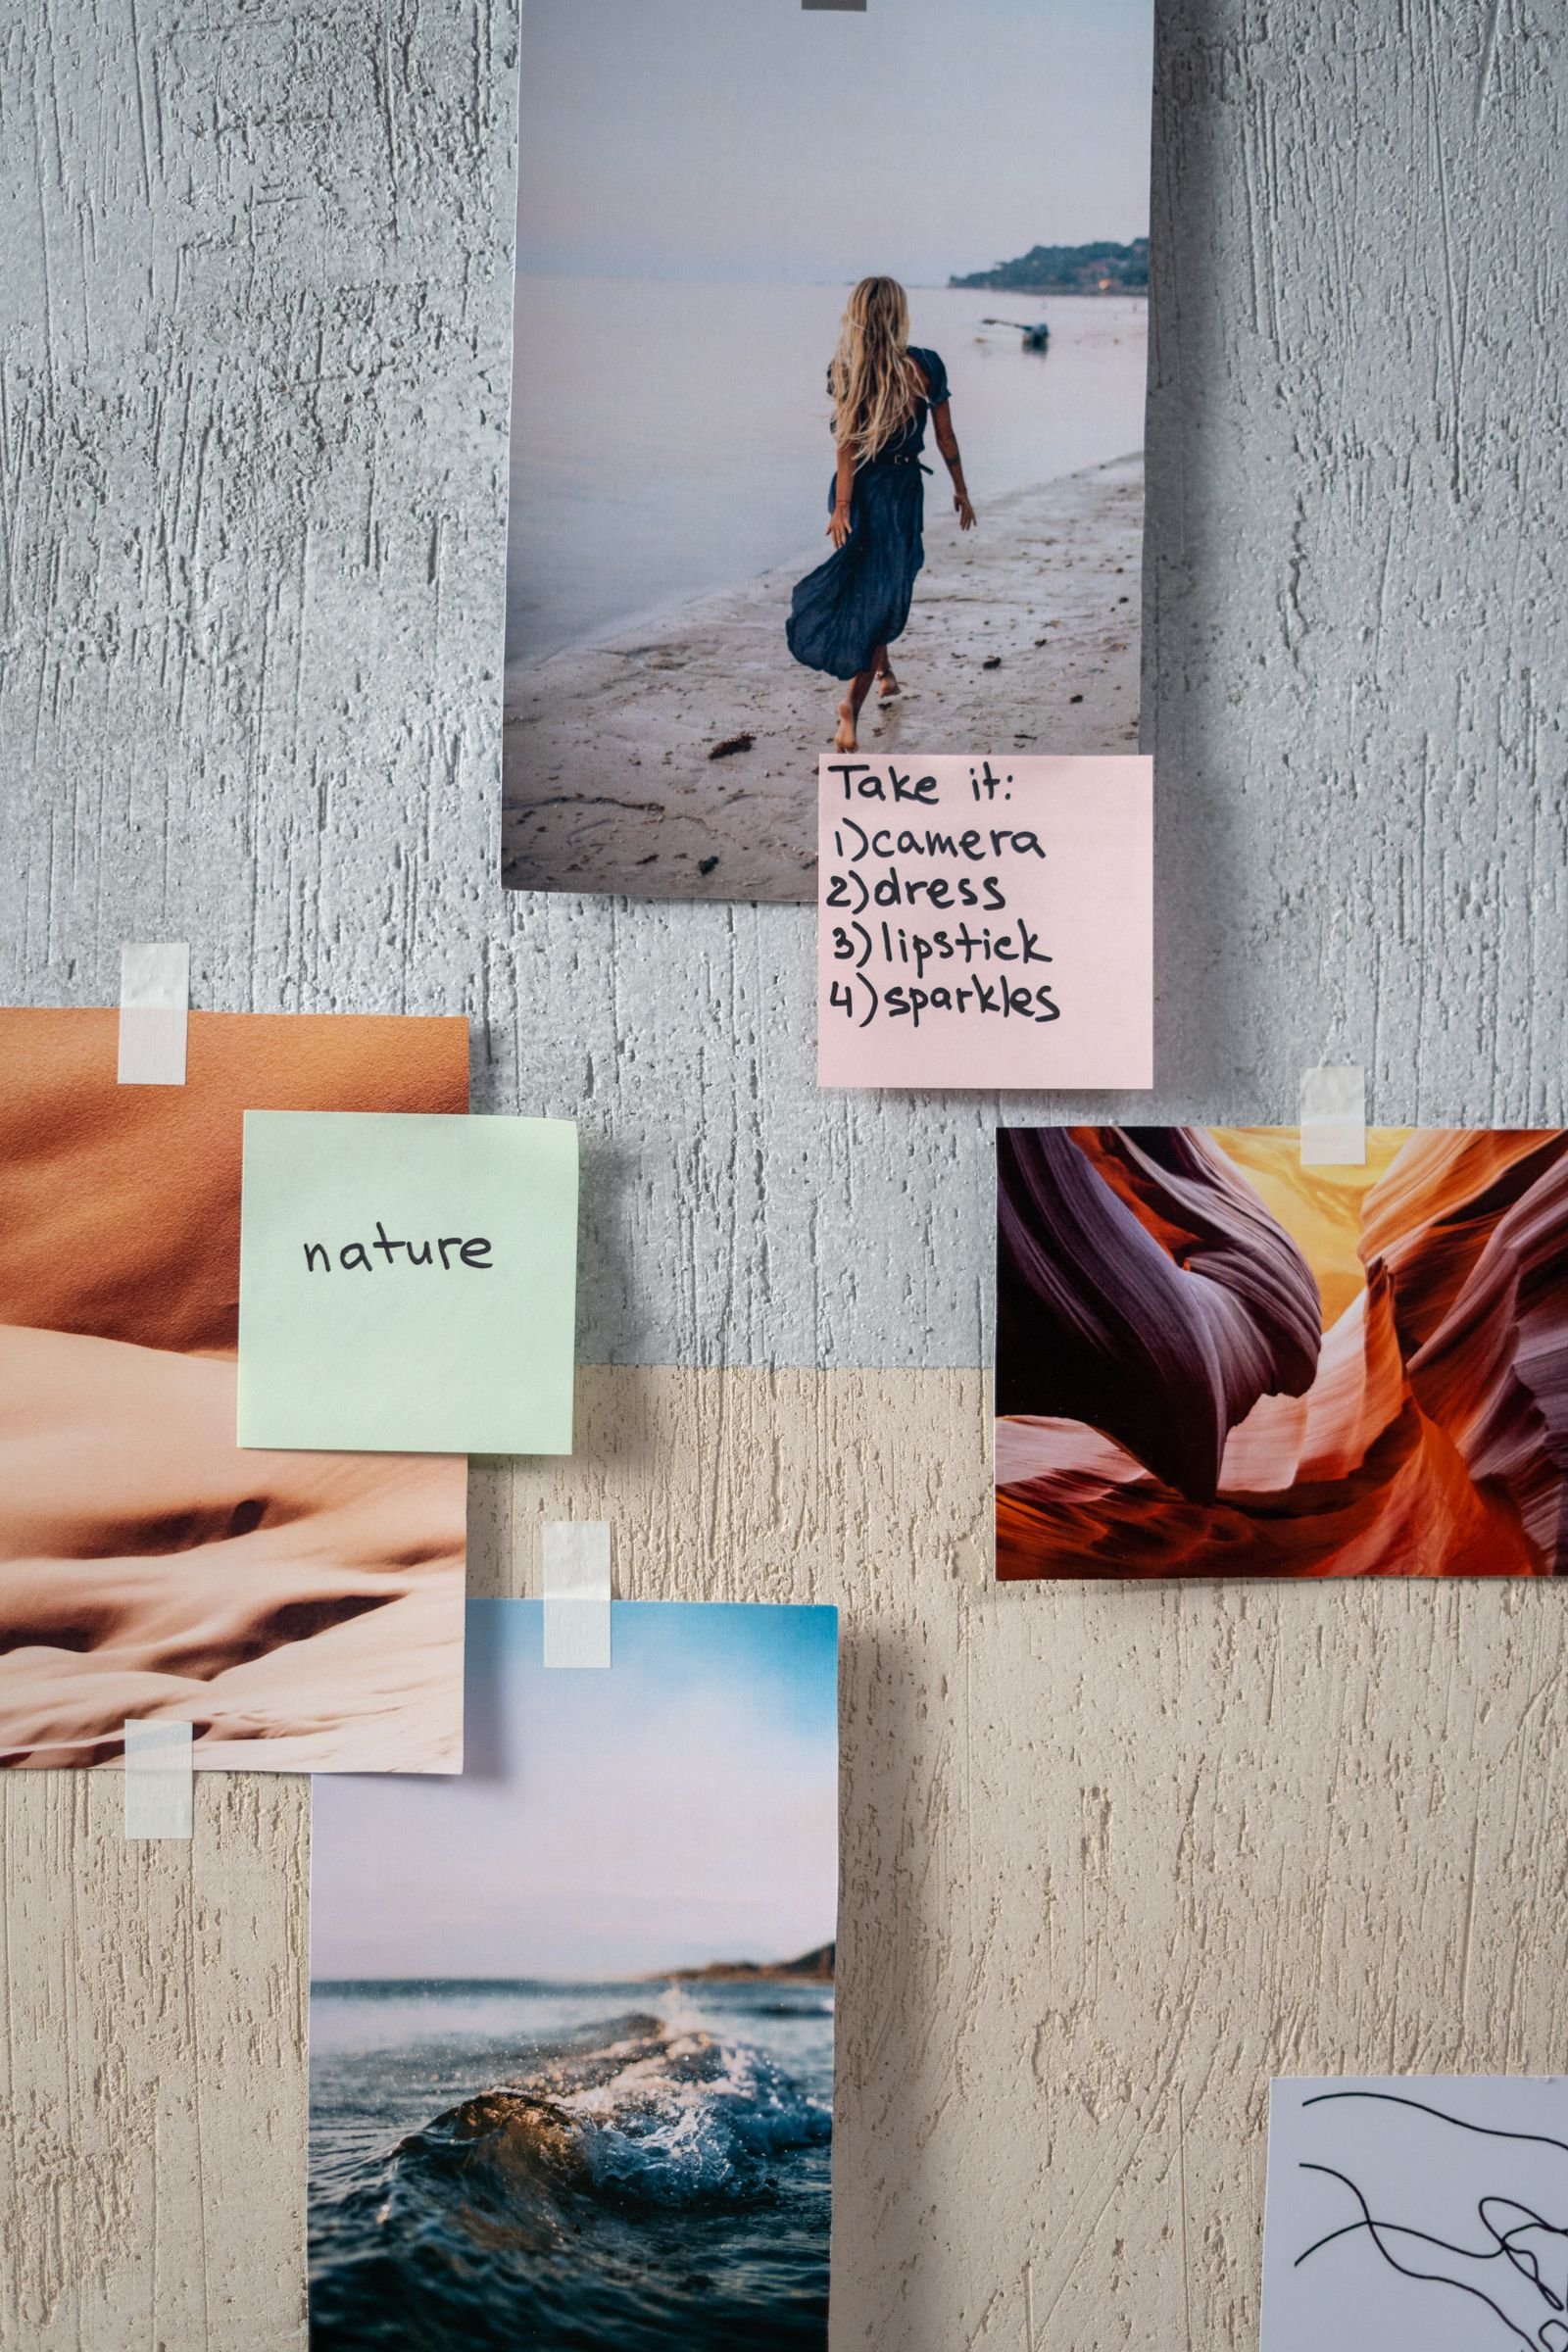
Write each next step on a small card or sticky note and place it beside its image. Keep the steps tiny on purpose. Open a savings account. Lay out walking shoes tonight. Buy rice and beans for the week. Text a friend to set the Sunday walk. A step that takes less than ten minutes is a step you will actually take. A step that takes a whole weekend is a step you will postpone.
If an image has no clear next step, it has two choices. Find the step, or remove the image. There is no third choice that keeps the board honest. This rule sounds strict, and it is meant to be. A board where every image has a step is a board you can use on Monday morning. A board where half the images have no step is a board you admire and ignore.
Keep a copy of the steps in your notebook too, so a fallen sticky note does not erase the plan. The board shows the direction. The notebook holds the details. Together they make a system you can run without thinking hard each week.
Step 6 Build the Board in One Sitting
Set aside one hour and build the whole board in a single sitting. Gather your images first, then arrange them, then fix them in place. Working in one sitting keeps the board coherent. A board built over three weekends often ends up as three different boards glued together, with no clear centre.
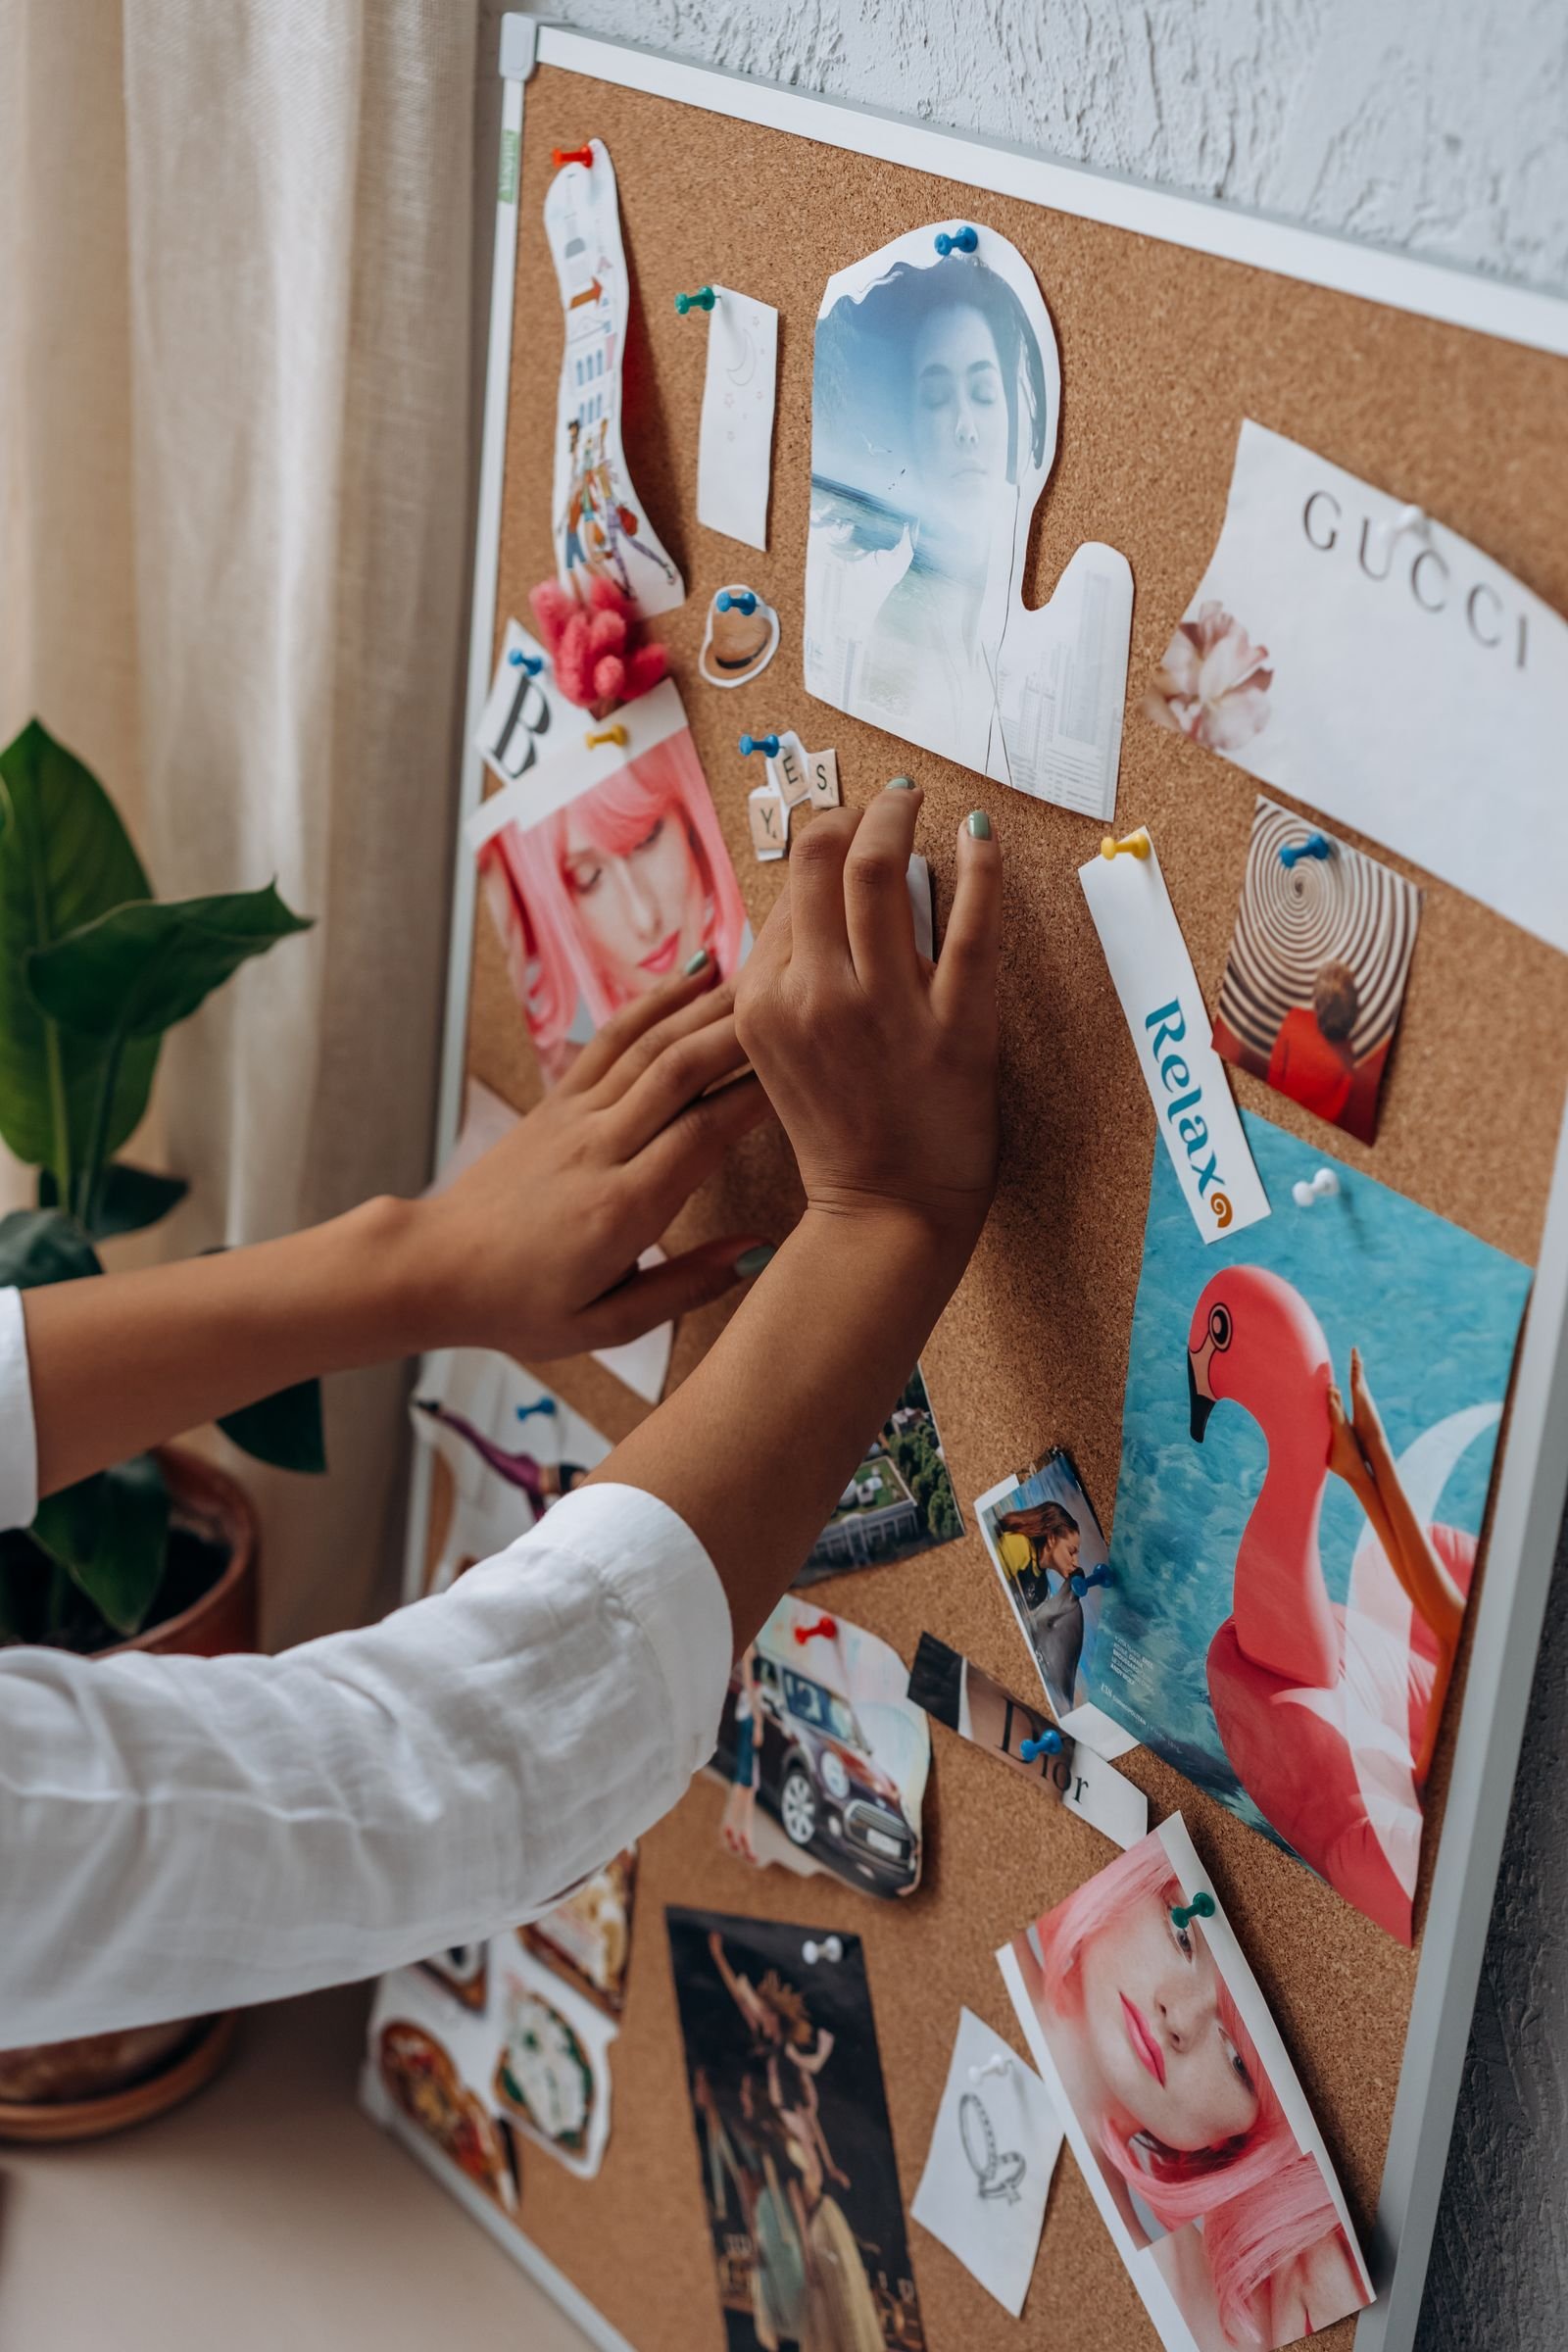
For a physical board, you need a cork board or a foam board, pins or tape, scissors, and your printed images. Print photos at a small size, about four by six inches for the centre and smaller for the supports. Cut them out, lay them on the board without fixing them, step back, and look. Move the pieces until the centre reads clearly and the supports frame it. Then pin everything down and add the sticky notes with your next steps.
For a digital board, Canva is a simple free option. Start with a blank layout, place the centre image first, add the supports around it, and type the verb phrases and next steps as text boxes. A digital board works well as a phone wallpaper or a laptop background, which puts it in front of you many times a day. Just make sure the text stays readable at a small size, and keep the layout simple enough to read in one glance.
Place the finished board where your day already happens. Near the desk, by the coffee maker, or on the wall you face while you eat breakfast. If you work from home, the wall above your desk is a natural home. A calm workspace helps the board do its job, and our guide on how to set up a home office for remote work on a budget shows how to set up a simple desk area without spending much. Avoid the inside of a closet door or a spare room you rarely enter. A board you never see is a board you never use.
Take a photo of the finished board on your phone. The photo is your backup if a note falls off, and it lets you carry the board with you when you travel. It also gives you a clear record of what the board looked like on day one, which makes the weekly review more honest later.
A Complete Worked Example: One Board, One 90 Day Goal
Most guides stop at advice. This one goes further, because a worked example shows what the steps look like when they meet a real life. Meet Ana. She is 34, works full time from home, and has two children. Her last board had a beach house, a sports car, and a marathon medal. It gathered dust by February. This time she builds a board around one 90 day goal that fits her actual life.
The goal
Ana picks one focus: save 500 dollars in 90 days for a family weekend trip, while walking four mornings a week. The money goal is the centre. The walking habit is the main support, because morning walks clear her head and keep her from starting the day with spending and snacking. The goal is specific, countable, and sized to her calendar. Five hundred dollars in 90 days means about 42 dollars a week, which she can find by cooking at home and skipping two takeout meals.
Her ordinary good day looks like this. She wakes at 6:30, walks for twenty five minutes before email, makes breakfast at home, works in focused blocks, eats lunch she packed the night before, and ends the day with an hour of reading after the children are in bed. Nothing on that list needs a lottery win. Every item is a habit she can repeat.
The three layers on her board
The centre image is a photo of the lake town where the family trip will happen, a calm street with bikes and a small cafe. It shows the trip, but it also shows a place she can picture clearly. Below it, a sticky note reads: save 500 dollars by the end of the season.
The middle ring has four supports. A photo of a person walking at sunrise stands for the morning walk. A photo of a home cooked meal stands for cooking at home. A photo of a savings jar with coins stands for the Friday money move. A photo of an open book stands for the evening reading hour. Each support has a next step beside it on a small card. Lay out shoes tonight. Plan five dinners on Sunday. Move money on Friday. Read ten pages after bedtime.
The outer edge holds one long anchor: a photo of a small house with a garden, the home she hopes to buy in a few years. It is calm and distant, and it reminds her that the 500 dollars is practice for bigger saving later. One anchor, one direction, no clutter.
Her first week
Ana builds the board on a Sunday afternoon in one hour. Her first steps are tiny. She opens a separate savings account online. She lays out her walking shoes by the door. She plans five dinners and writes the shopping list. She moves the first 42 dollars to savings on Friday. None of these steps is heroic. Together they prove the system works, and proof in week one is worth more than a grand promise in January.
When rain cancels her Tuesday walk, her plan is ready. Her sticky note says: if it rains, then I walk indoors for twenty minutes after lunch. She follows the rule and the week stays on track. The obstacle was named in advance, so it never became an excuse. That is WOOP doing its quiet work on a cork board.
Step 7 Run a Five Minute Weekly Review
The board is built. Now the part that actually makes it work begins. Once a week, for five minutes, stand in front of the board and ask three questions. What moved forward this week? What got stuck? What is the one next step for the coming week? Write the answers on a small card and pin it to the board. Five minutes, three questions, one card.
Do the review at the same time each week, tied to something you already do. Sunday evening after dinner works for many people. Friday after lunch works for others. The time matters less than the repeat. A review tied to a habit survives. A review tied to willpower fades by the third week.
During the review, move or replace images that have stopped working. A support that never got a step can come down. A goal that turned out to be wrong can be swapped for the true one. A board that never changes is a board you have stopped using. A board that changes a little each month is a board that is alive.
Also track one number each week, the number tied to your centre focus. Dollars saved. Miles walked. Pages read. Dinners cooked at home. Write the number on the review card each week, so the board shows a rising line of evidence. Evidence beats enthusiasm. When you can see four weeks of small wins, you stop needing a pep talk to continue.
If a week goes badly, the review still happens. A bad week is information, not failure. Write down what got in the way, shrink the next step, and keep going. A board that only works in good weeks is not a system. A board that survives a bad week is.
Seven Mistakes That Turn a Board Into Wall Art
Most failed boards share the same few mistakes. Check yours against this list before you hang it up.
- Too many centres. Ten dreams in ten areas means no focus. Pick one centre and let the rest wait.
- Only nouns, no verbs. Photos of things you want to own give you nothing to do. Choose photos of actions you can copy.
- No next steps. A picture without a step is decoration. Every image needs one small action beside it.
- Hidden placement. A board in a spare room cannot remind you of anything. Put it where your day already happens.
- Only the happy ending. Picturing just the prize can lower energy. Pair the outcome with the process and the obstacle.
- Never reviewed. A board without a weekly check becomes invisible in days. Five minutes a week keeps it alive.
- Built for someone else. Images copied from a magazine spread may look good and mean nothing to you. Build from your own good day.
Conclusion: A Compass, Not a Guarantee
A vision board cannot promise you a result. No board can. What it can do is hold one direction in front of you every day, in pictures you chose, tied to steps you can take. That is a modest promise, and it is one a board can keep.
Learning how to make a vision board that actually works comes down to three habits. Start from an ordinary good day instead of a trophy list. Build in three layers with one focus, verbs not nouns, and one next step per picture. Then review the board for five minutes every week and let the evidence, not the enthusiasm, carry you forward.
Build yours this week, in one hour, with one honest goal. Hang it where you will see it tomorrow morning. Then take the first small step before the coffee gets cold. The board will not do the work for you. It will simply make sure you never forget what the work is for.
Frequently Asked Questions
Do vision boards actually work?
They work as focus tools, not as magic. A board helps when it shows one clear goal, the actions behind it, and a weekly review. Picturing only the happy ending can lower motivation, so pair the outcome with the process and a plan for obstacles.
How many goals should I put on a vision board?
One main goal for 90 days, with three to five supports around it. More than that splits your attention and leaves most pictures without a next step. Other goals can wait for the next season.
Should I make a physical board or a digital one?
Either works if you see it daily. A physical board suits a desk wall or kitchen. A digital board suits a phone wallpaper or laptop background. Pick the form you will actually look at each morning.
How often should I look at my vision board?
Glance at it each morning and review it properly for five minutes once a week. The glance keeps the goal in mind. The weekly review keeps the plan honest and lets you update steps and swap out pictures that no longer help.
What should I do when a goal on my board changes?
Change the board. Take down the old image, pin up the new focus, and write a fresh next step. A board that changes with your life stays useful. A board you refuse to update becomes a record of a person you no longer are.